- 本文链接:使用 Lottie 动画装饰一下你的 404 页面
- 版权声明: 本博客所有文章除特别声明外,均采用
BY-NC-SA 许可协议,转载请注明出处!
使用 Lottie 动画装饰一下你的 404 页面
2023/3/21大约 4 分钟
使用 Lottie 动画装饰一下你的 404 页面
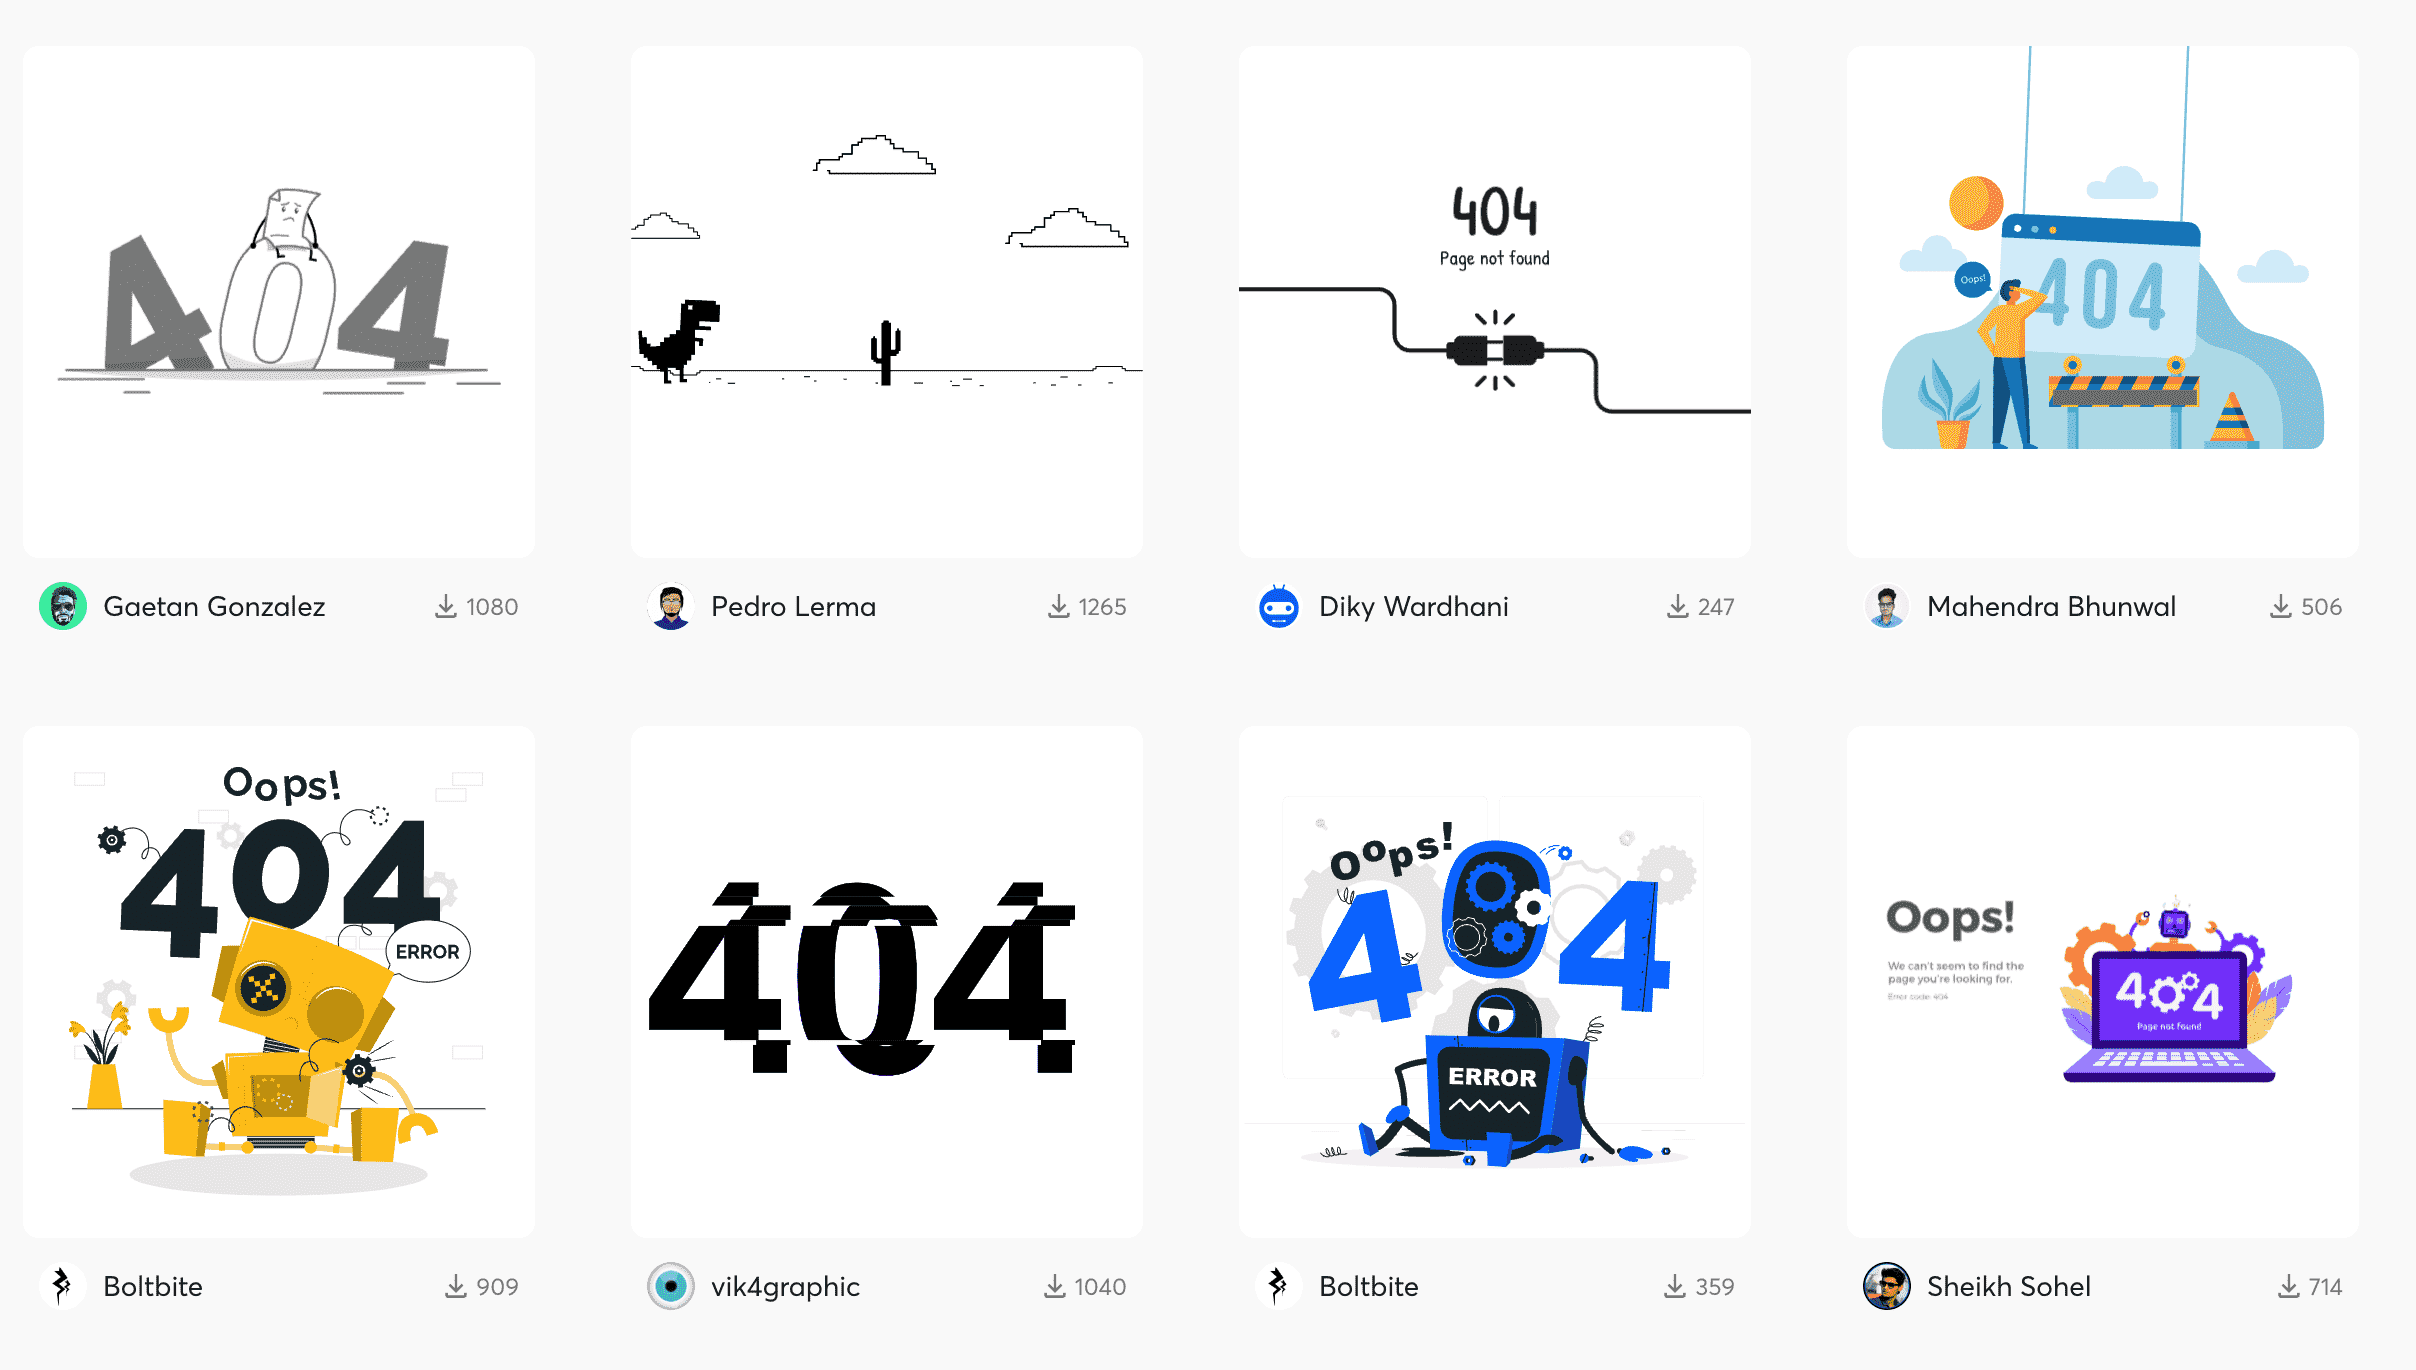
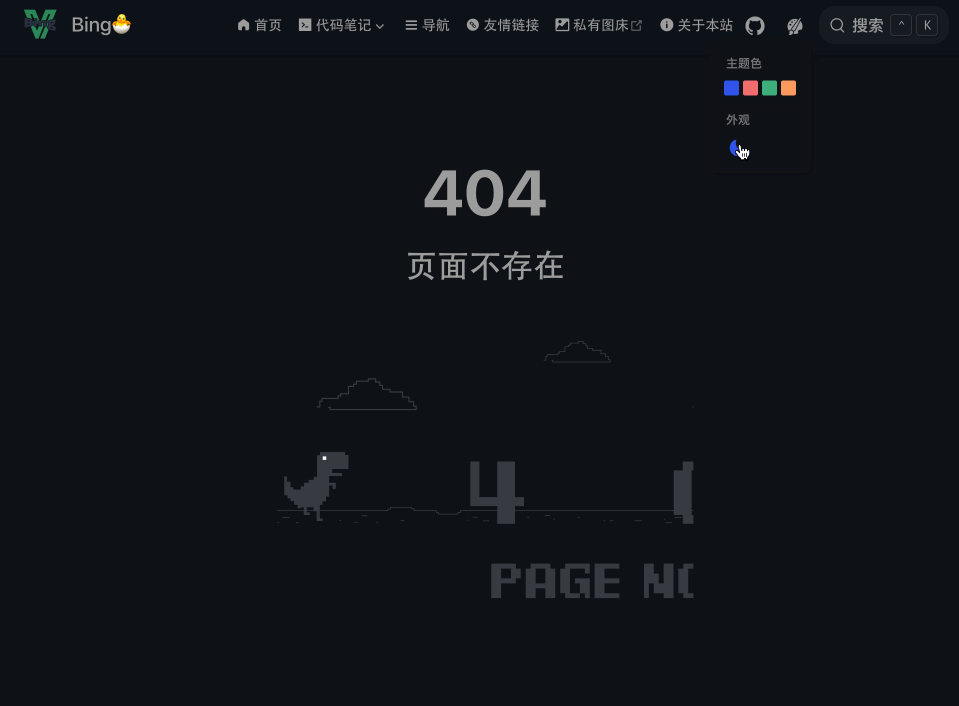
自己博客的 404 页面太单调无趣了,由于之前项目使用过Lottie-Web做过动画,想着给 404 页面加上一个有趣的动画。然后就去 LottieFiles动画库搜索了下404,发现一个和谷歌浏览器断网小恐龙游戏类似的的 404 动画效果,感觉很有趣,那就用它了,最终的效果大家可以通过访问 404 页面查看。
下载动画 JSON
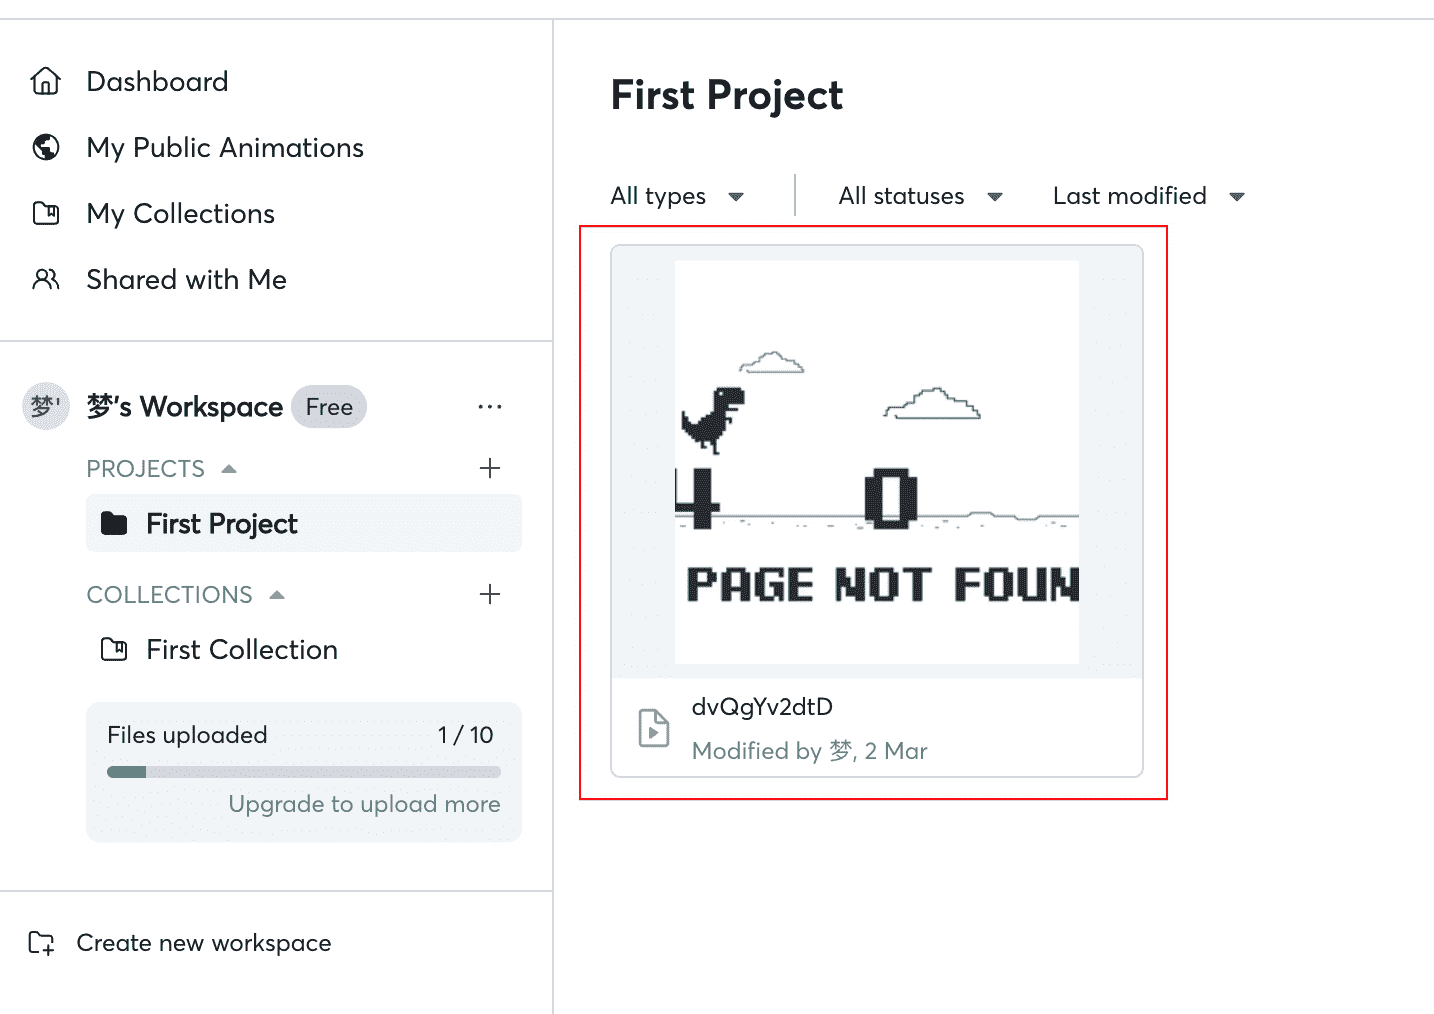
LottieFiles上面能找到很多 404 页面的动画,可以挑一个你喜欢了。
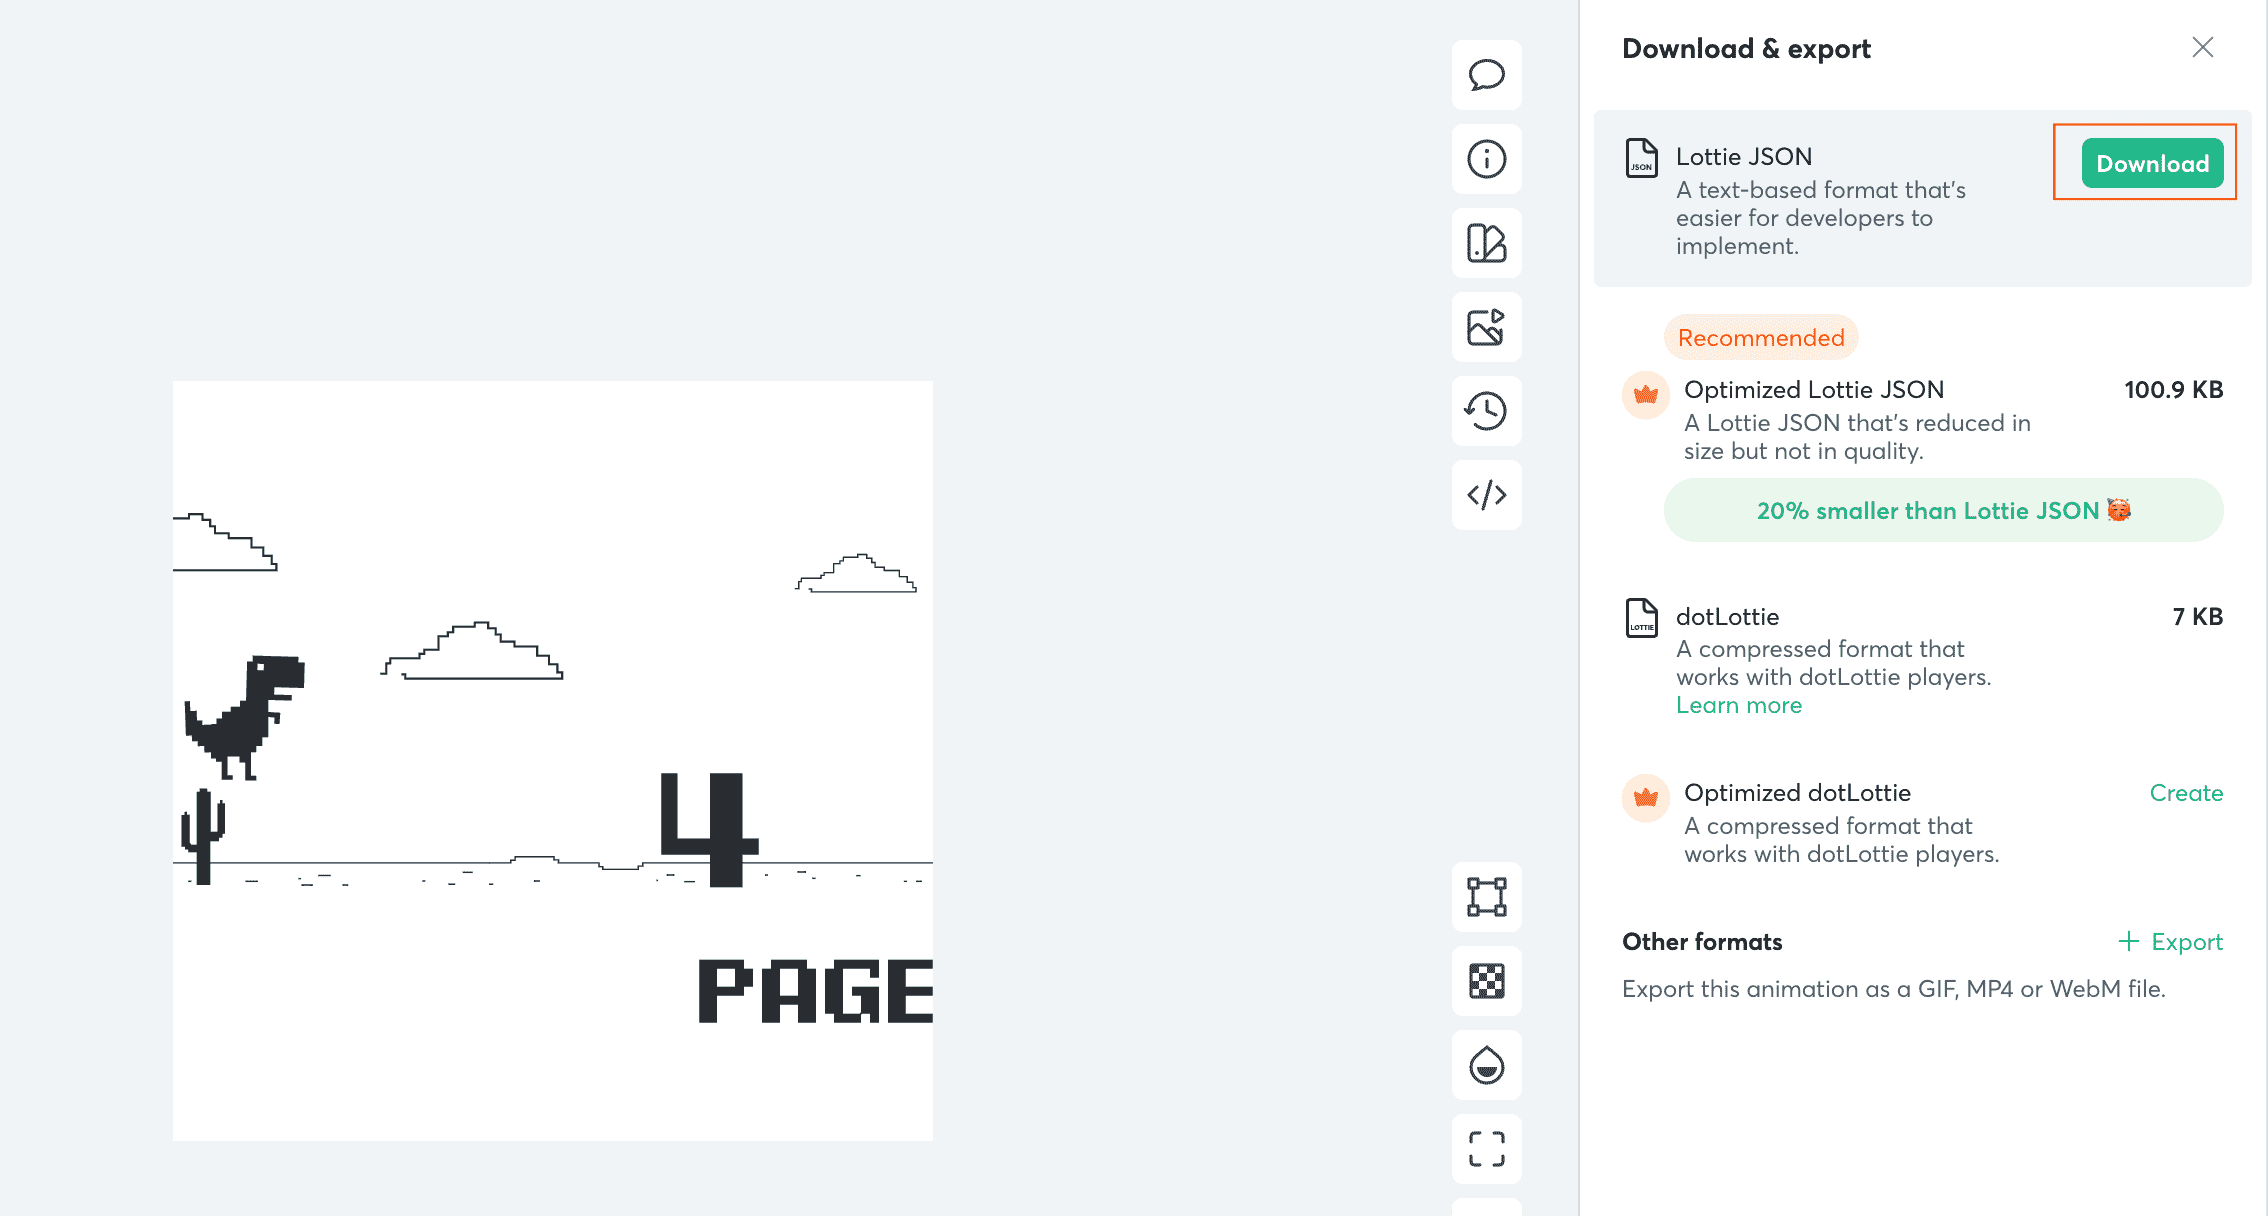
这里就选择小恐龙的动画,点击右上角的Download按钮,选择Lottie JSON进行下载。
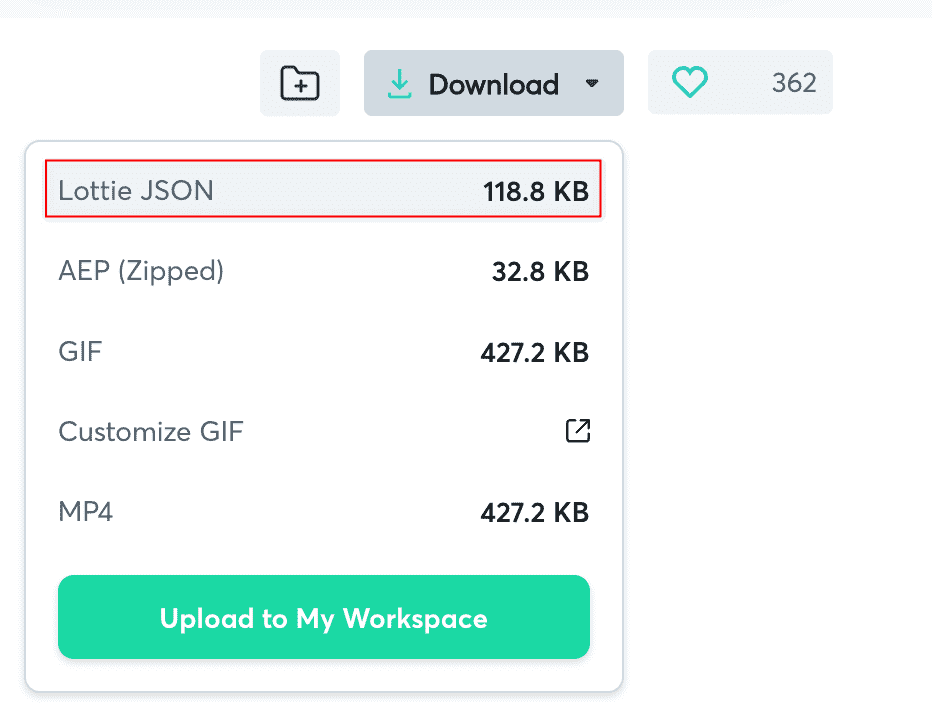
下载完成后会得到一个 json 文件。
提示
目前提供dotLottie文件下载了,体积更迷你,上面下载的100多kb的JSON文件,下载后的dotLottie文件只有7kb左右。集成文档参考@lottiefiles/dotlottie-web
修改默认颜色
由于动画内容的黑色和博客默认的黑色不太一样,所以还需要借助 LottieFiles 提供的编辑器修改下颜色。
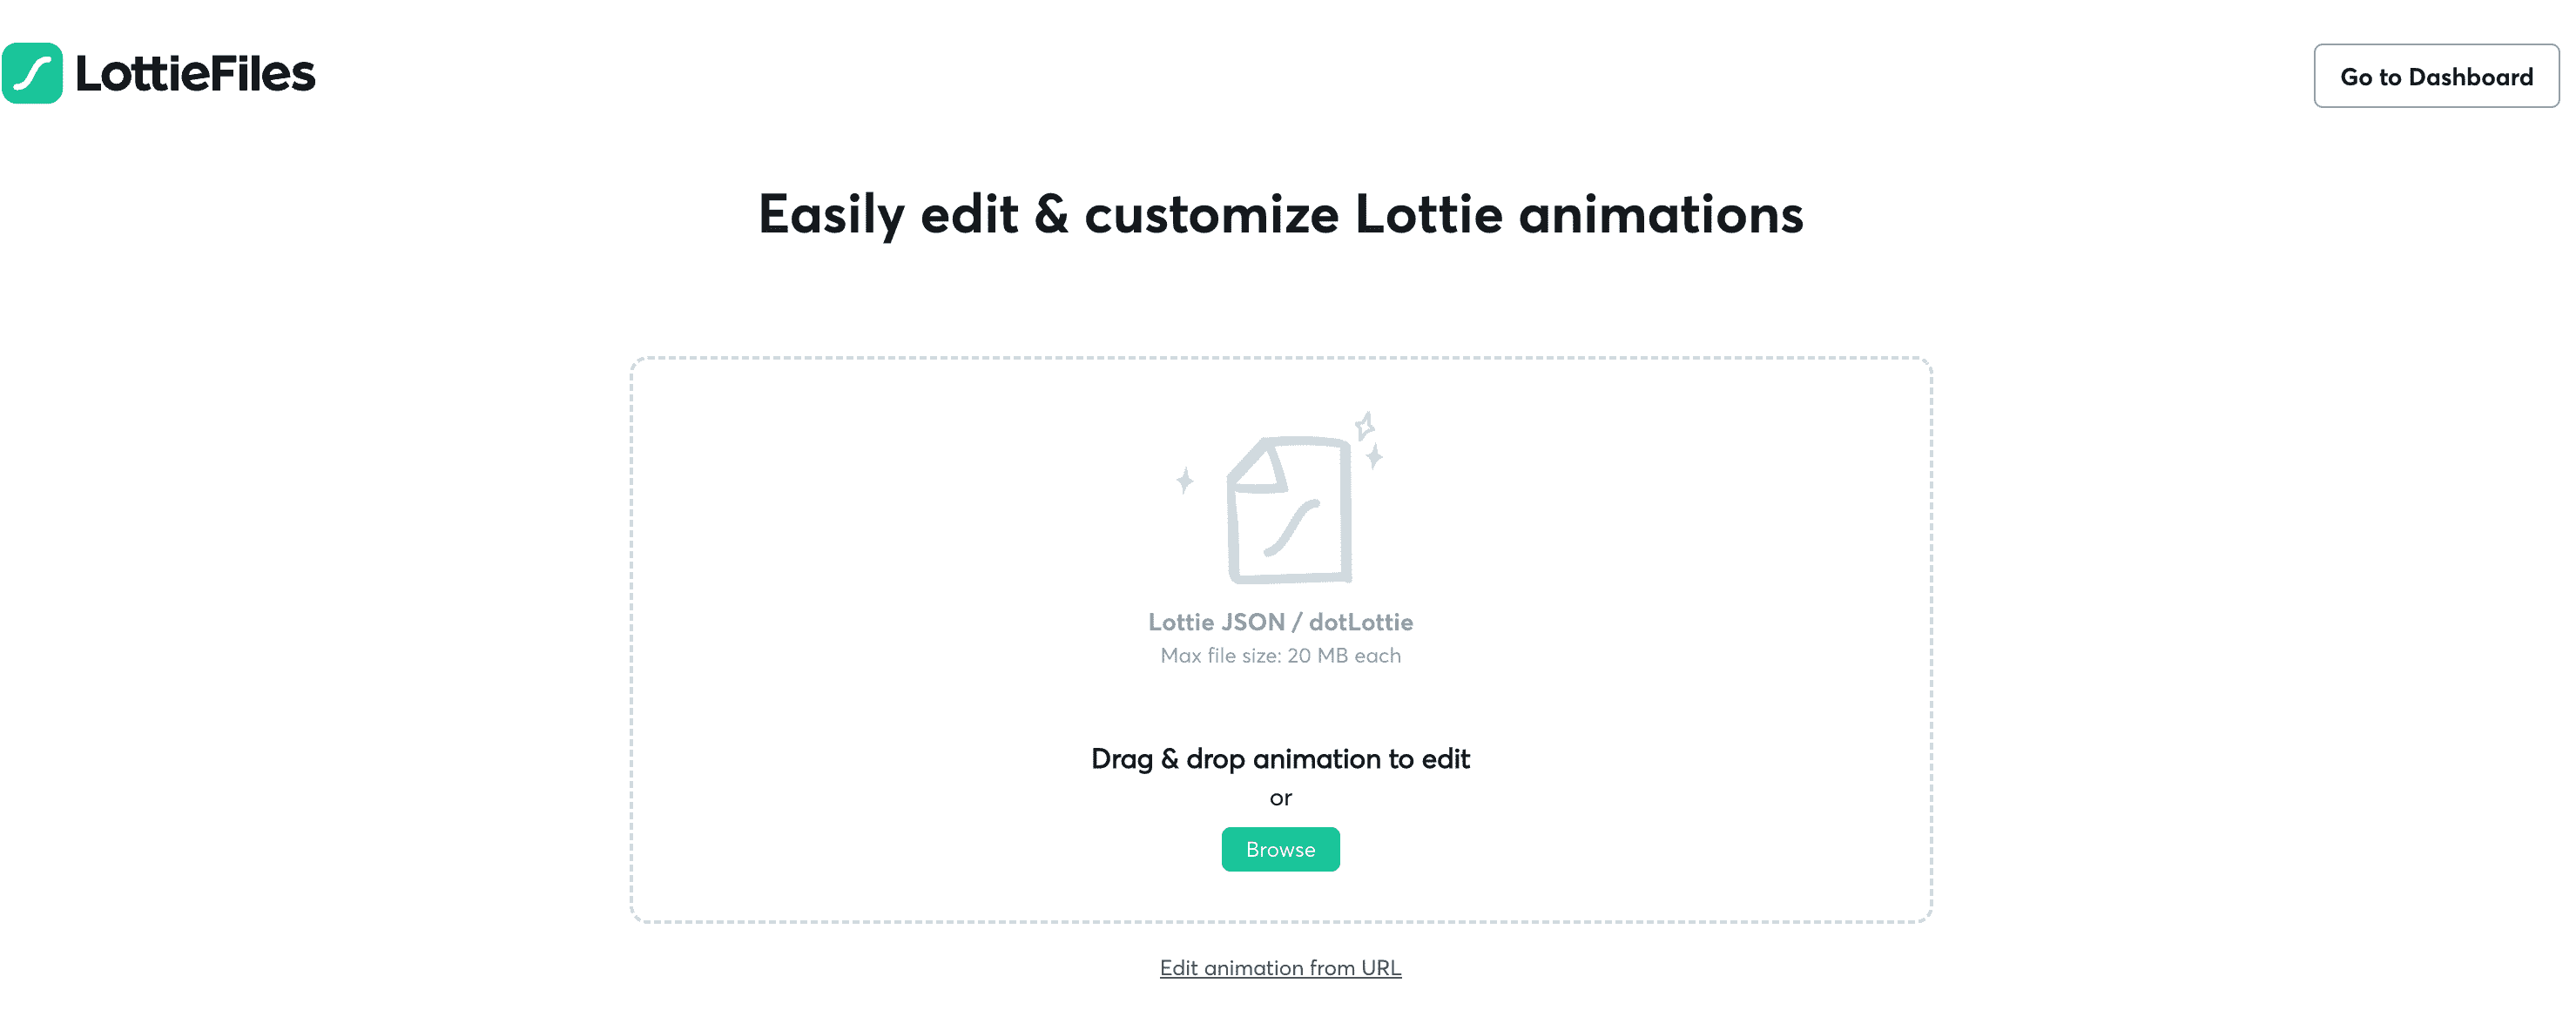
上传刚刚下载的 json 文件,将Unique colors里面的黑色修改成想要的颜色。
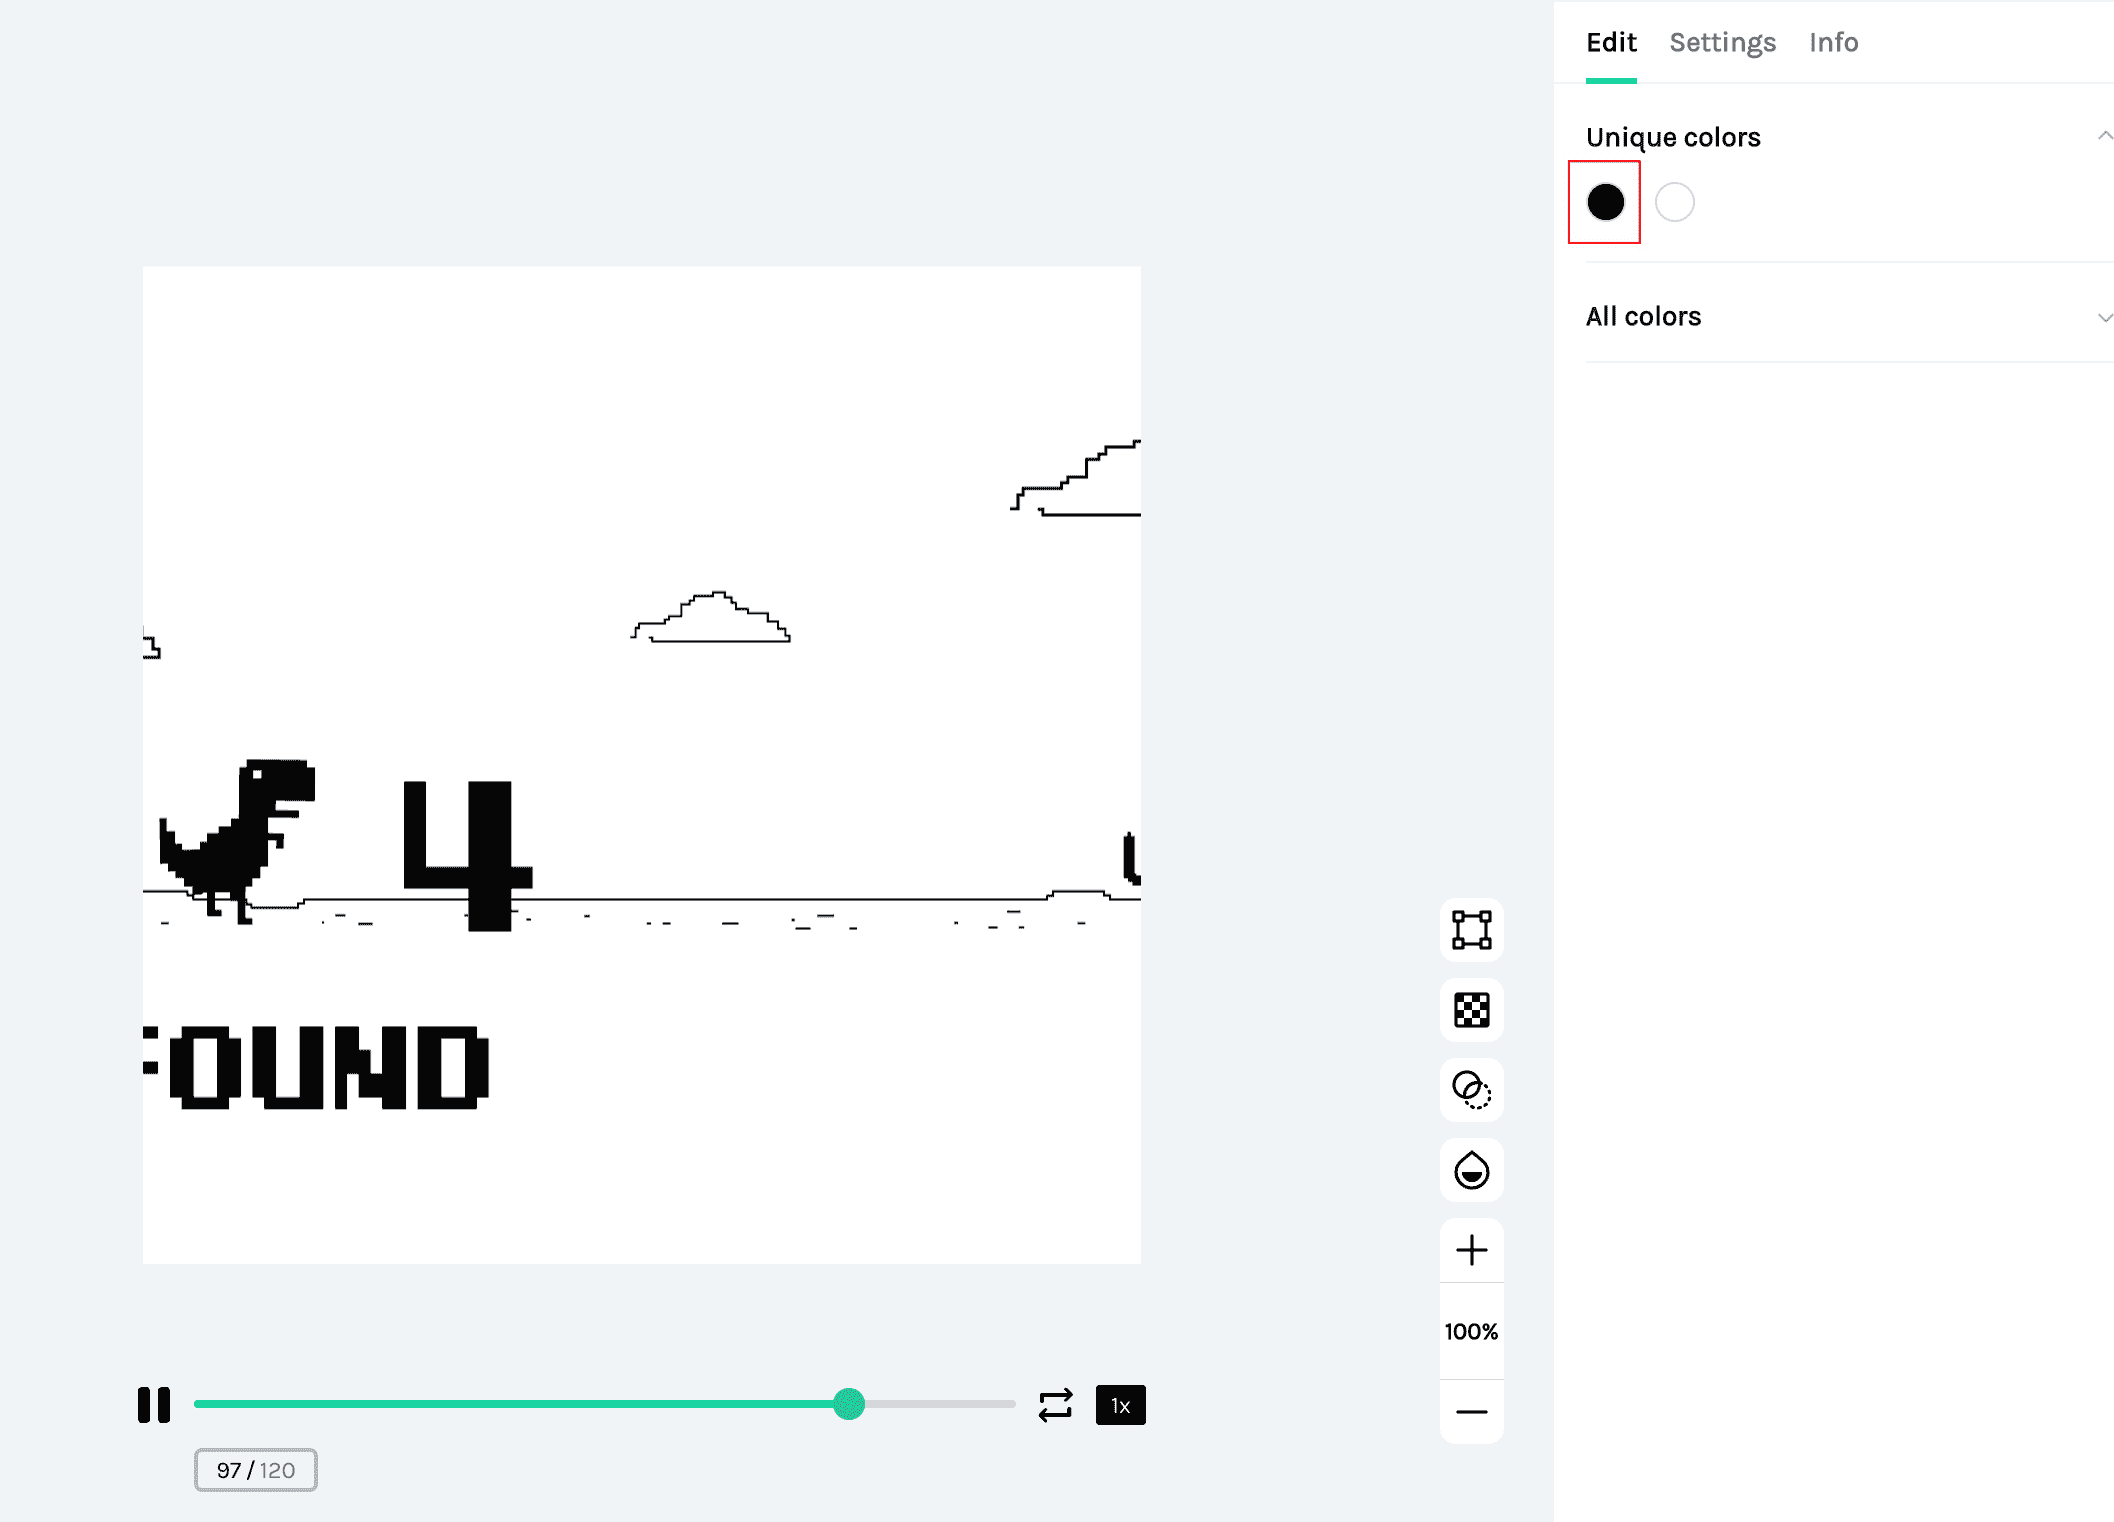
点击Save按钮保存后就能在自己的项目中找到修改后的动画了。
同样是下载 Lottie JSON 文件。
动画组件
Lottie Web 的动画使用很简单,只需要传入一个容器container和动画 json 所在路径path,下面是文档中的一个初始化示例。
var animation = bodymovin.loadAnimation({
  container: document.getElementById('lottie'), // Required
  path: 'data.json', // Required
  renderer: 'svg/canvas/html', // Required
  loop: true, // Optional
  autoplay: true, // Optional
  name: 'Hello World' // Name for future reference. Optional.
})所以可以写一个简单的组件,传入相关参数即可,当然你也可以使用别人封装好的lottie-web-vue,这里由于使用场景比较简单,就自己撸一个了,先将 lottie-web 安装一下。
NPM
npm install lottie-webYARN
yarn add lottie-web由于自己的博客使用的 vuepress2,可以在src/.vuepress/components目录中新建一个LottieWeb的自定义组件。
由于使用场景比较简单,将相关配置直接通过options传入,派发一个DOMLoaded事件。
LottieWeb/index.vue
<template>
  <div class="lottie-web" ref="animContainer"></div>
</template>

<script lang="ts" setup>
import { onBeforeUnmount, onMounted, ref } from 'vue'
import type { AnimationItem } from 'lottie-web'
import lottie from 'lottie-web'

const props = defineProps({
  options: {
    type: Object,
    required: true
  }
})

const emit = defineEmits(['DOMLoaded'])
const animContainer = ref<Element | null>(null)
const anim = ref<AnimationItem | null>(null)

onMounted(() => {
  anim.value = lottie.loadAnimation({
    container: animContainer.value as Element,
    renderer: 'svg',
    loop: props.options.loop !== false,
    autoplay: props.options.autoplay !== false,
    animationData: props.options.animationData,
    path: props.options.path,
    rendererSettings: props.options.rendererSettings
  })
  anim.value.addEventListener('DOMLoaded', () => {
    emit('DOMLoaded', anim)
  })
})

onBeforeUnmount(() => {
  if (anim.value && anim.value) {
    anim.value.destroy()
  }
})
</script>
集成到 404
可以参照 Vuepress 的继承文档说明替换默认的 404 页面。博客主题使用的是Mr.Hope大佬写的VuePress Theme Hope主题,好在大佬贴心的给NotFound布局提供了一个默认的内容插槽,所以我们只需要引用内置的NotFound,将动画内容放到里面即可。
在src/.vuepress/layouts下面新建一个新的 NotFound 布局,将上面下载的 json 数据放到同级目录下并通过new URL('./data.json', import.meta.url).href形式传入 path。
新的 NotFound 布局写好后在src/.vuepress/client.ts中的layouts中引入即可。
NotFound/index.vue
<template>
<NotFound>
<div class="not-found-hint">
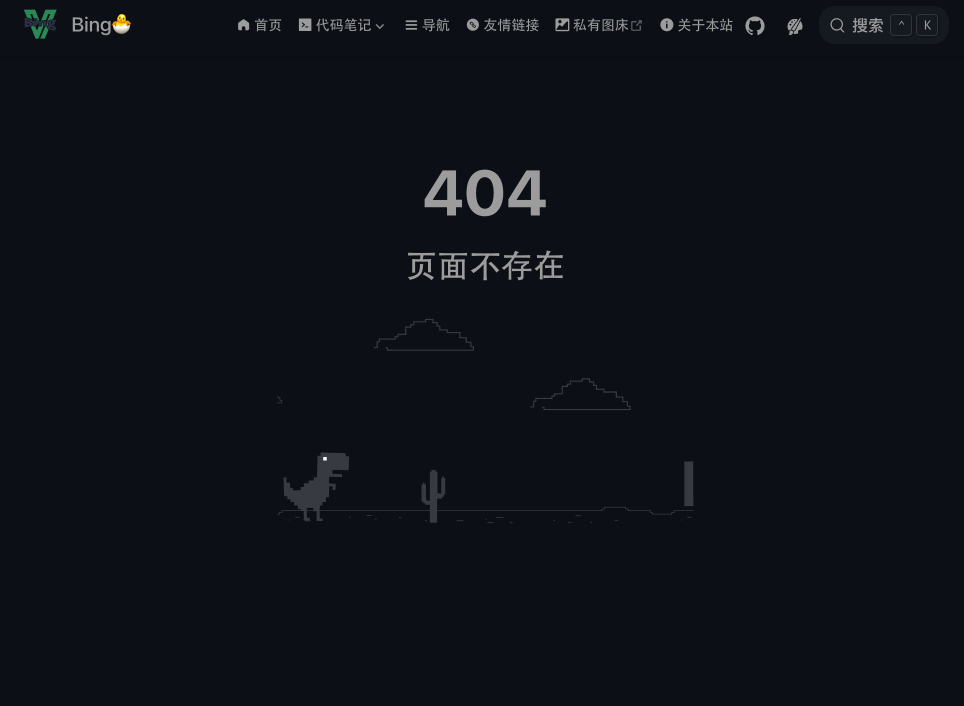
<p class="error-code">404</p>
<h1 class="error-title">页面不存在</h1>
</div>
<LottieWeb
:options="options"
:style="{
height: '50vh',
opacity: showLottieWeb ? 1 : 0,
'margin-top': '-60px'
}"
@DOMLoaded="DOMLoaded"
/>
</NotFound>
</template>
<script lang="ts" setup>
import NotFound from 'vuepress-theme-hope/layouts/NotFound'
import LottieWeb from '../../components/LottieWeb/index.vue'
import { ref } from 'vue'
const showLottieWeb = ref(false)
const options = ref({
path: new URL('./data.json', import.meta.url).href
})
function DOMLoaded() {
const $rectList = document.querySelectorAll(
'.lottie-web rect[fill="#ffffff"]'
)
$rectList.forEach((element) => {
element.setAttribute('fill', 'transparent')
})
showLottieWeb.value = true
}
</script>
<style scoped lang="scss">
.not-found-hint {
padding-bottom: 0;
}
</style>client.ts
import NotFound from './layouts/NotFound/index.vue'
import { defineClientConfig } from '@vuepress/client'

export default defineClientConfig({
  layouts: {
    NotFound
  }
})
适配暗黑模式
由于动画背景是白色的,在暗黑模式下还是白色的会很刺眼,所以在上述代码在DOMLoaded的时候做了特殊处理。
我们可以在生成的动画 SVG 中找到背景的元素rect元素,
通过document.querySelectorAll('.lottie-web rect[fill="#ffffff"]')定位到该元素,
使用setAttribute修改该背景的fill为transparent透明色。
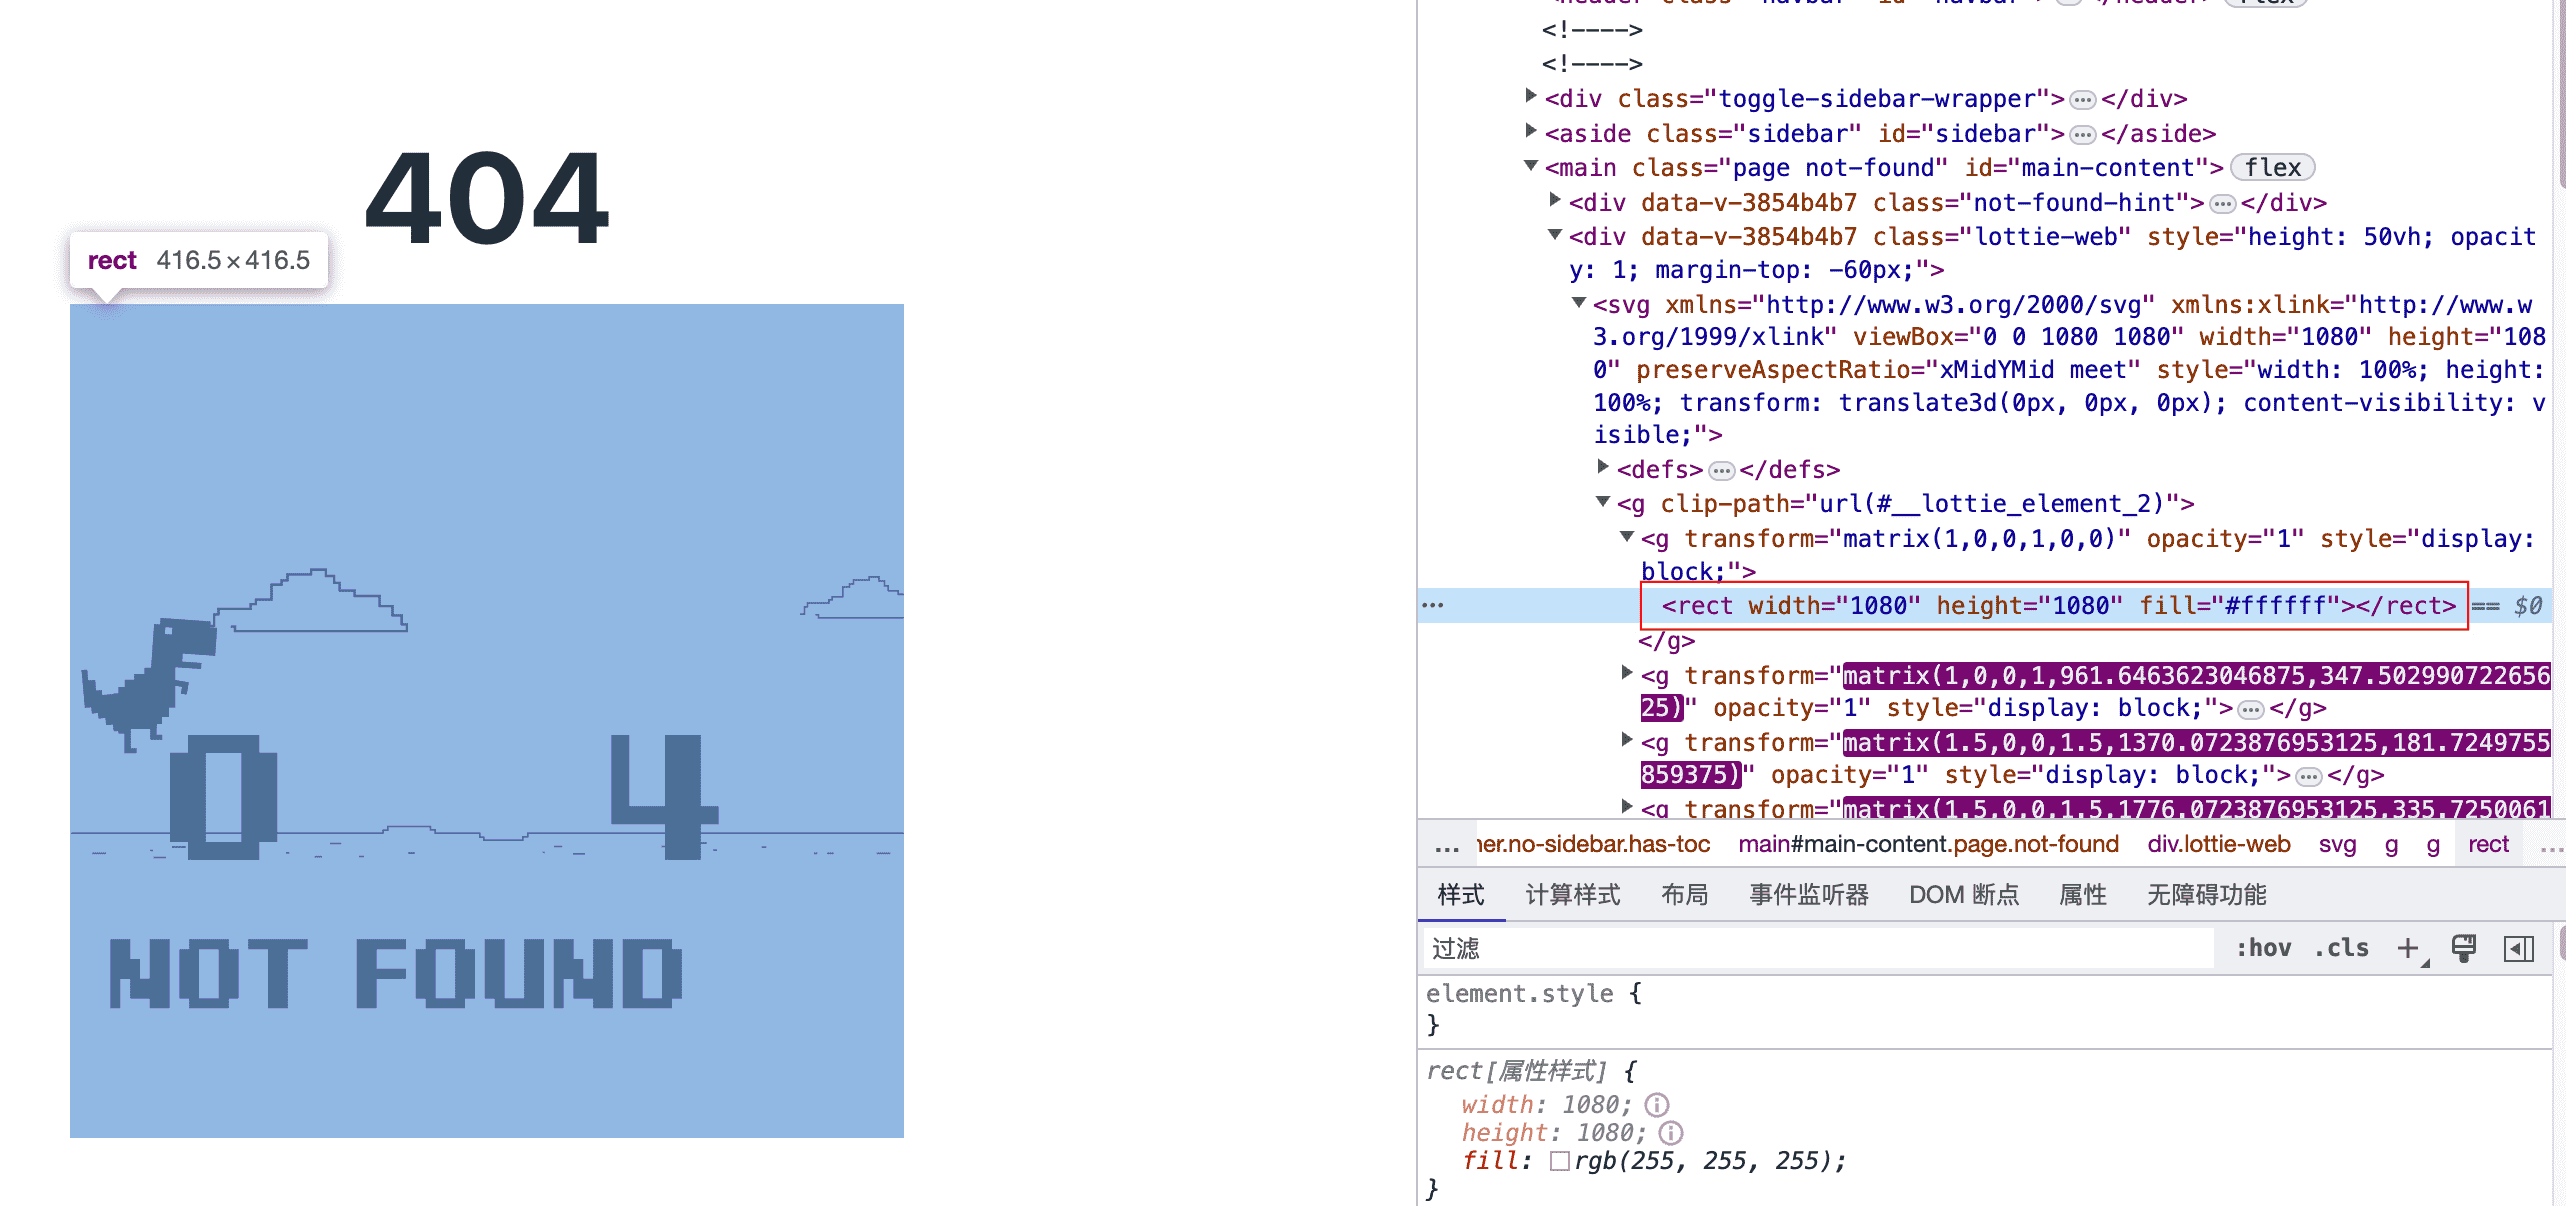
此时在暗黑模式下刷新页面的时候会存在白色背景一闪的情况,如下图所示:
为了解决这个可以在动画组件上加个style样式opacity默认为 0,这样初始的时候不可见,通过showLottieWeb变量控制最终的显示,在样式替换完成后将动画组件显示可见,这样有一个缓冲就不会出现上述的现象了。
效果预览
 Cloudflare
 1Panel
 VuePress
 VuePress Theme Hope