- 本文链接:1Panel Docker 超详细 Misskey 部署教程
- 版权声明: 本博客所有文章除特别声明外,均采用
BY-NC-SA 许可协议,转载请注明出处!
1Panel Docker 超详细 Misskey 部署教程
2025/7/31大约 7 分钟
1Panel Docker 超详细 Misskey 部署教程
网上找了些教程参考,基本都是 Docker Compose 一套下来部署,由于 1Panel 提供了单独的数据库模块,其中也包括了PostgreSQL 和 Redis,网上的一些基本教程就不太适用了,只能参考一下,顺便记录下自己摸索使用 1Panel 部署 Misskey 的全过程,希望可以帮助到有需要的朋友。
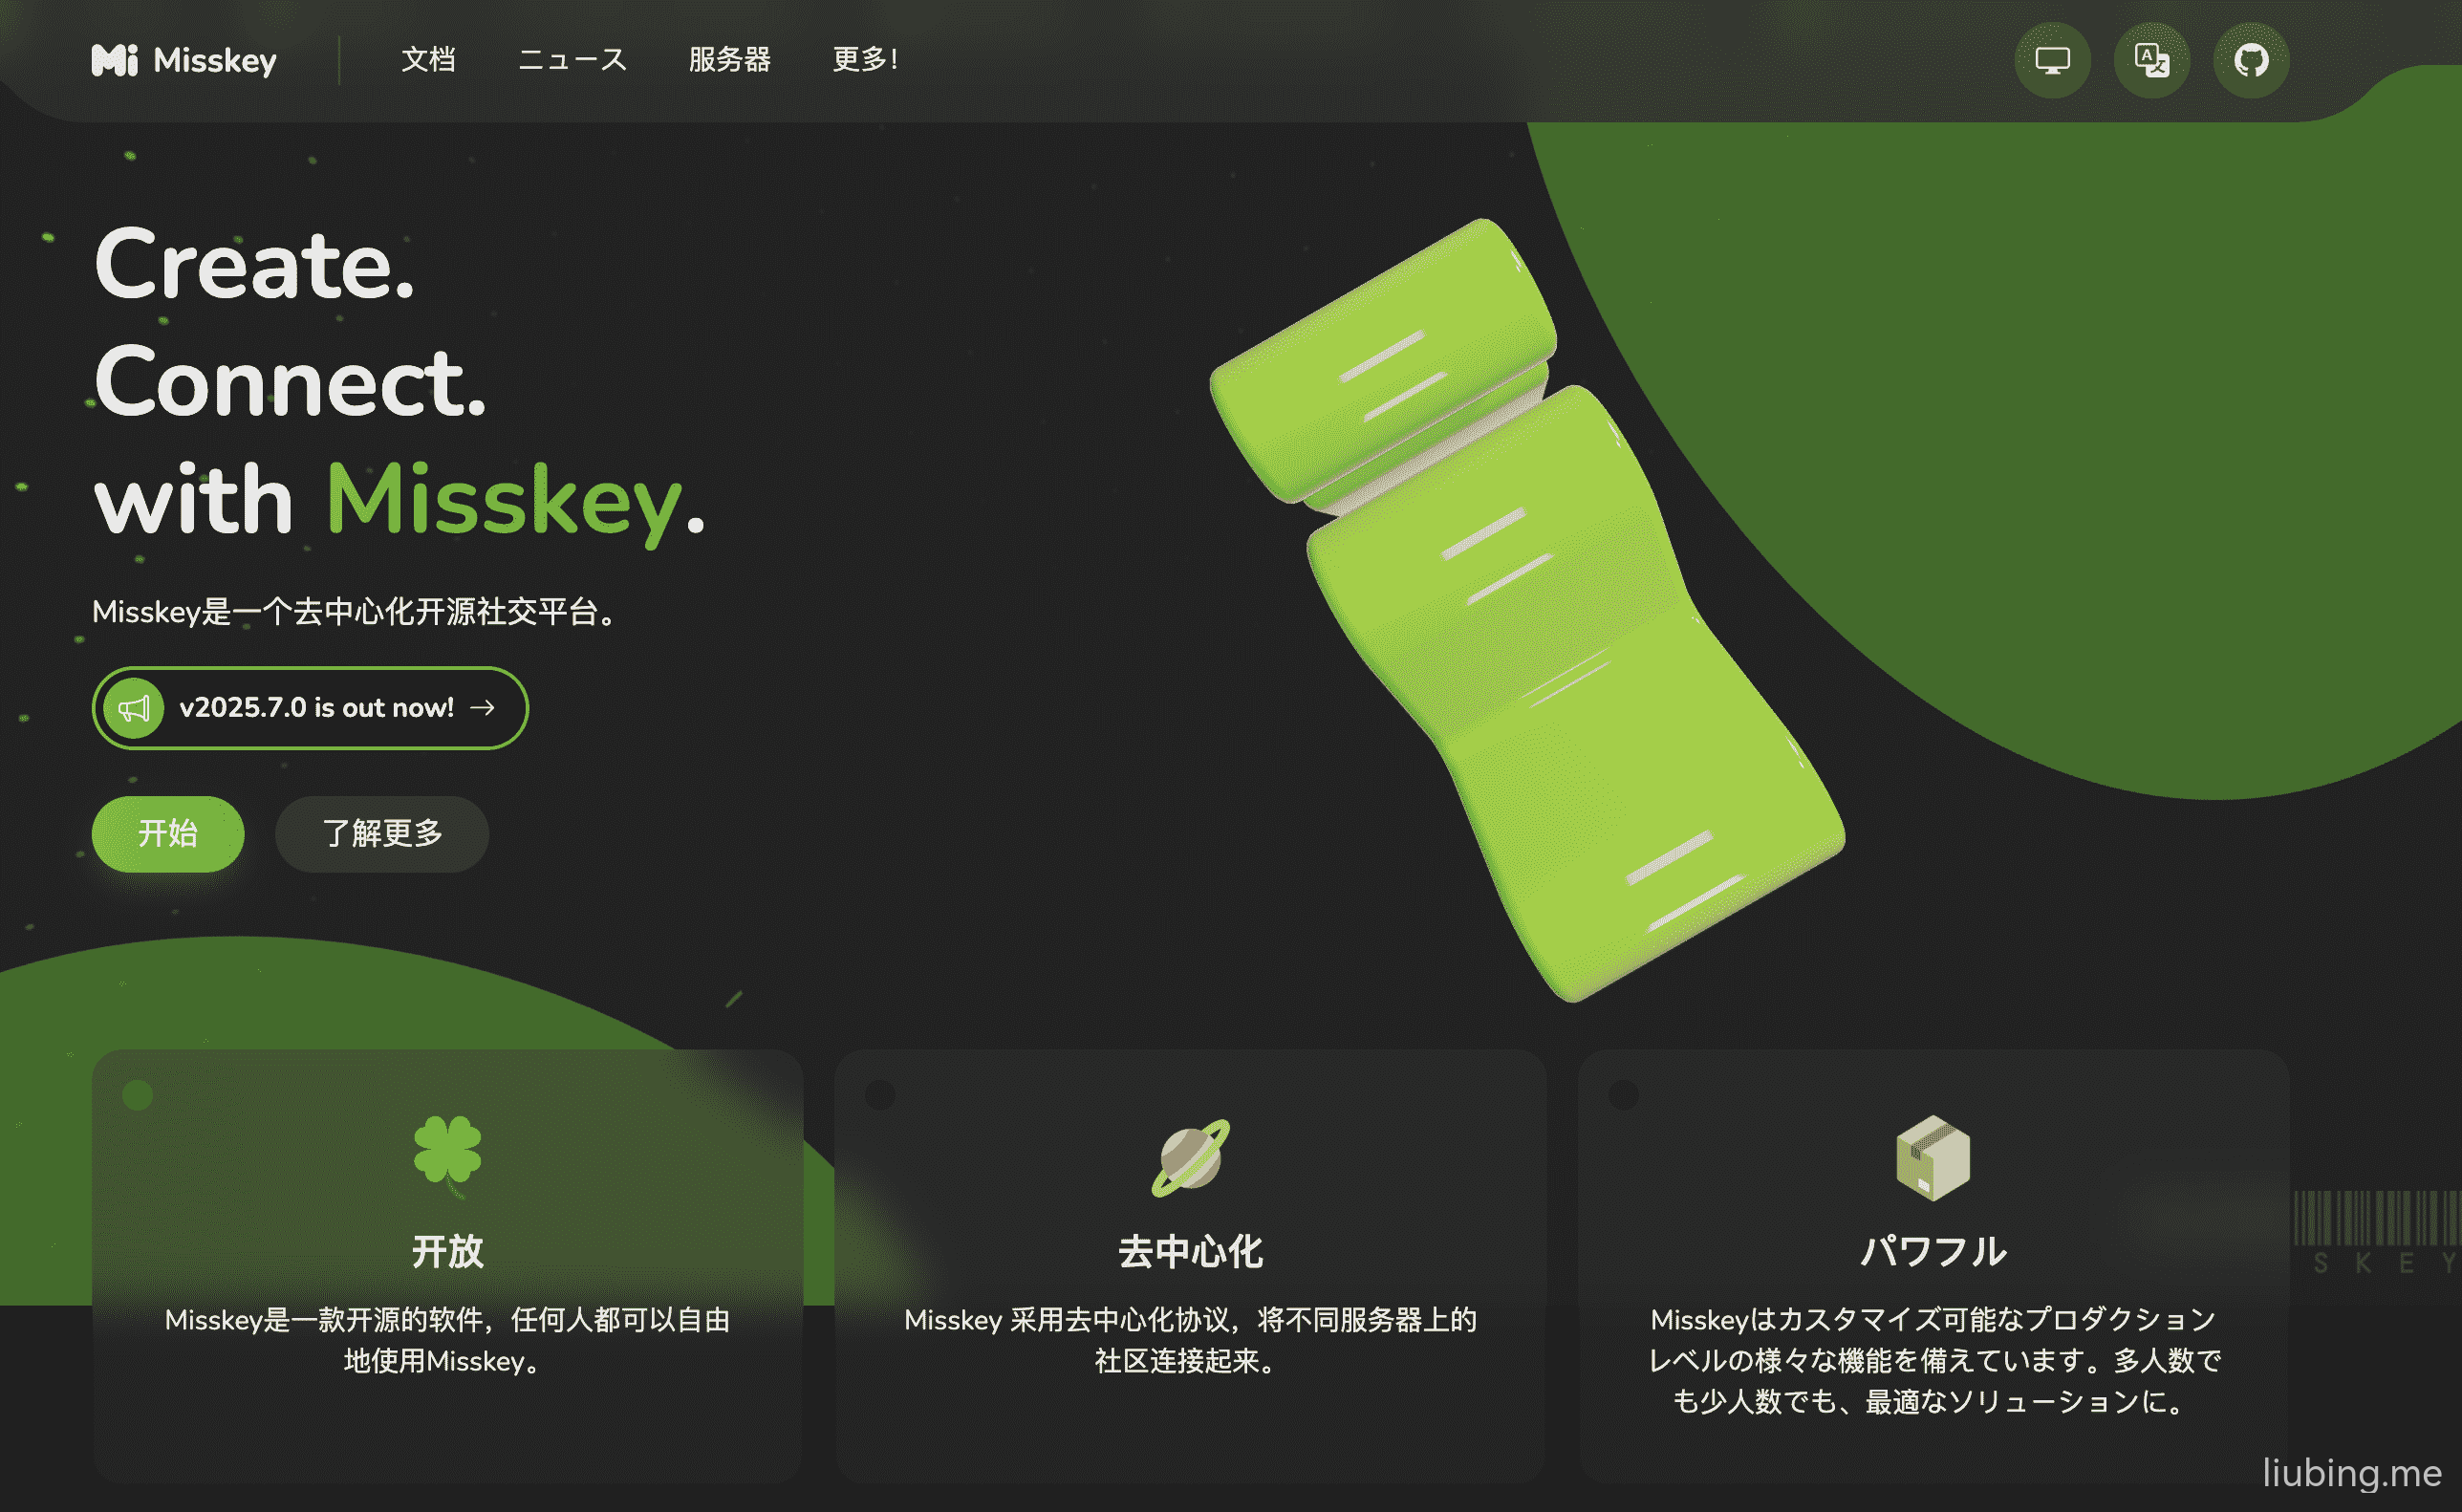
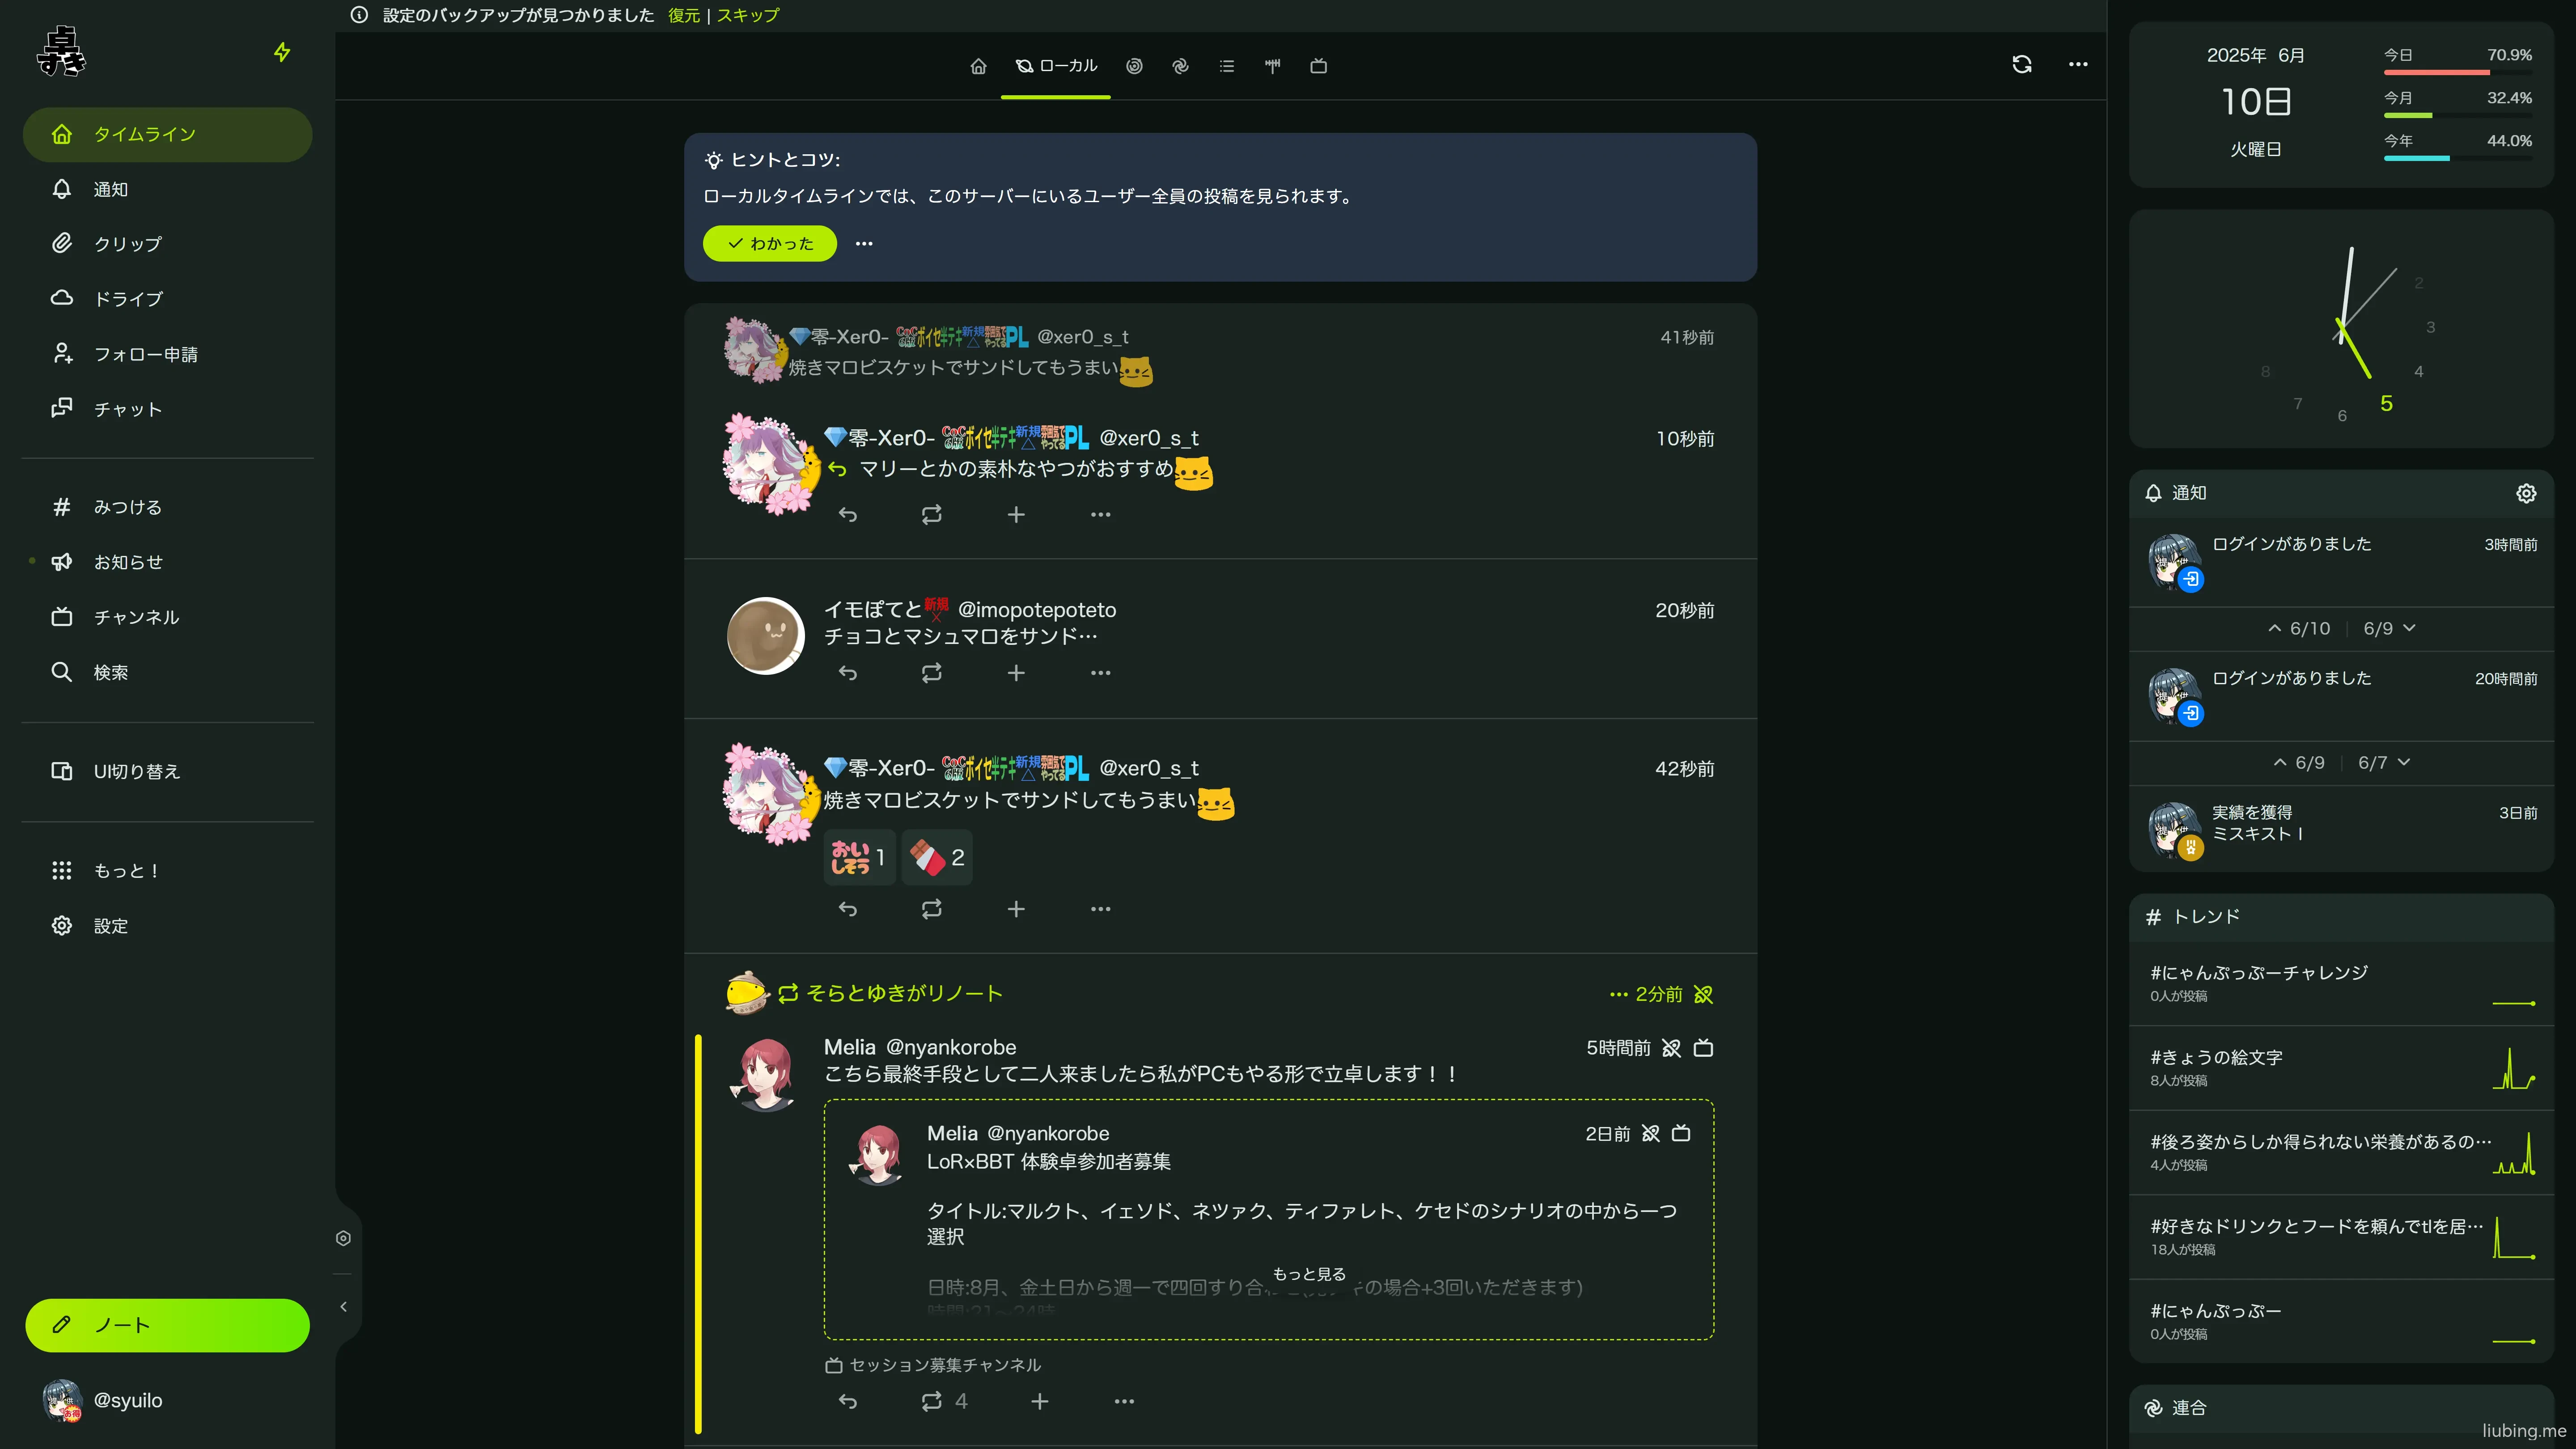
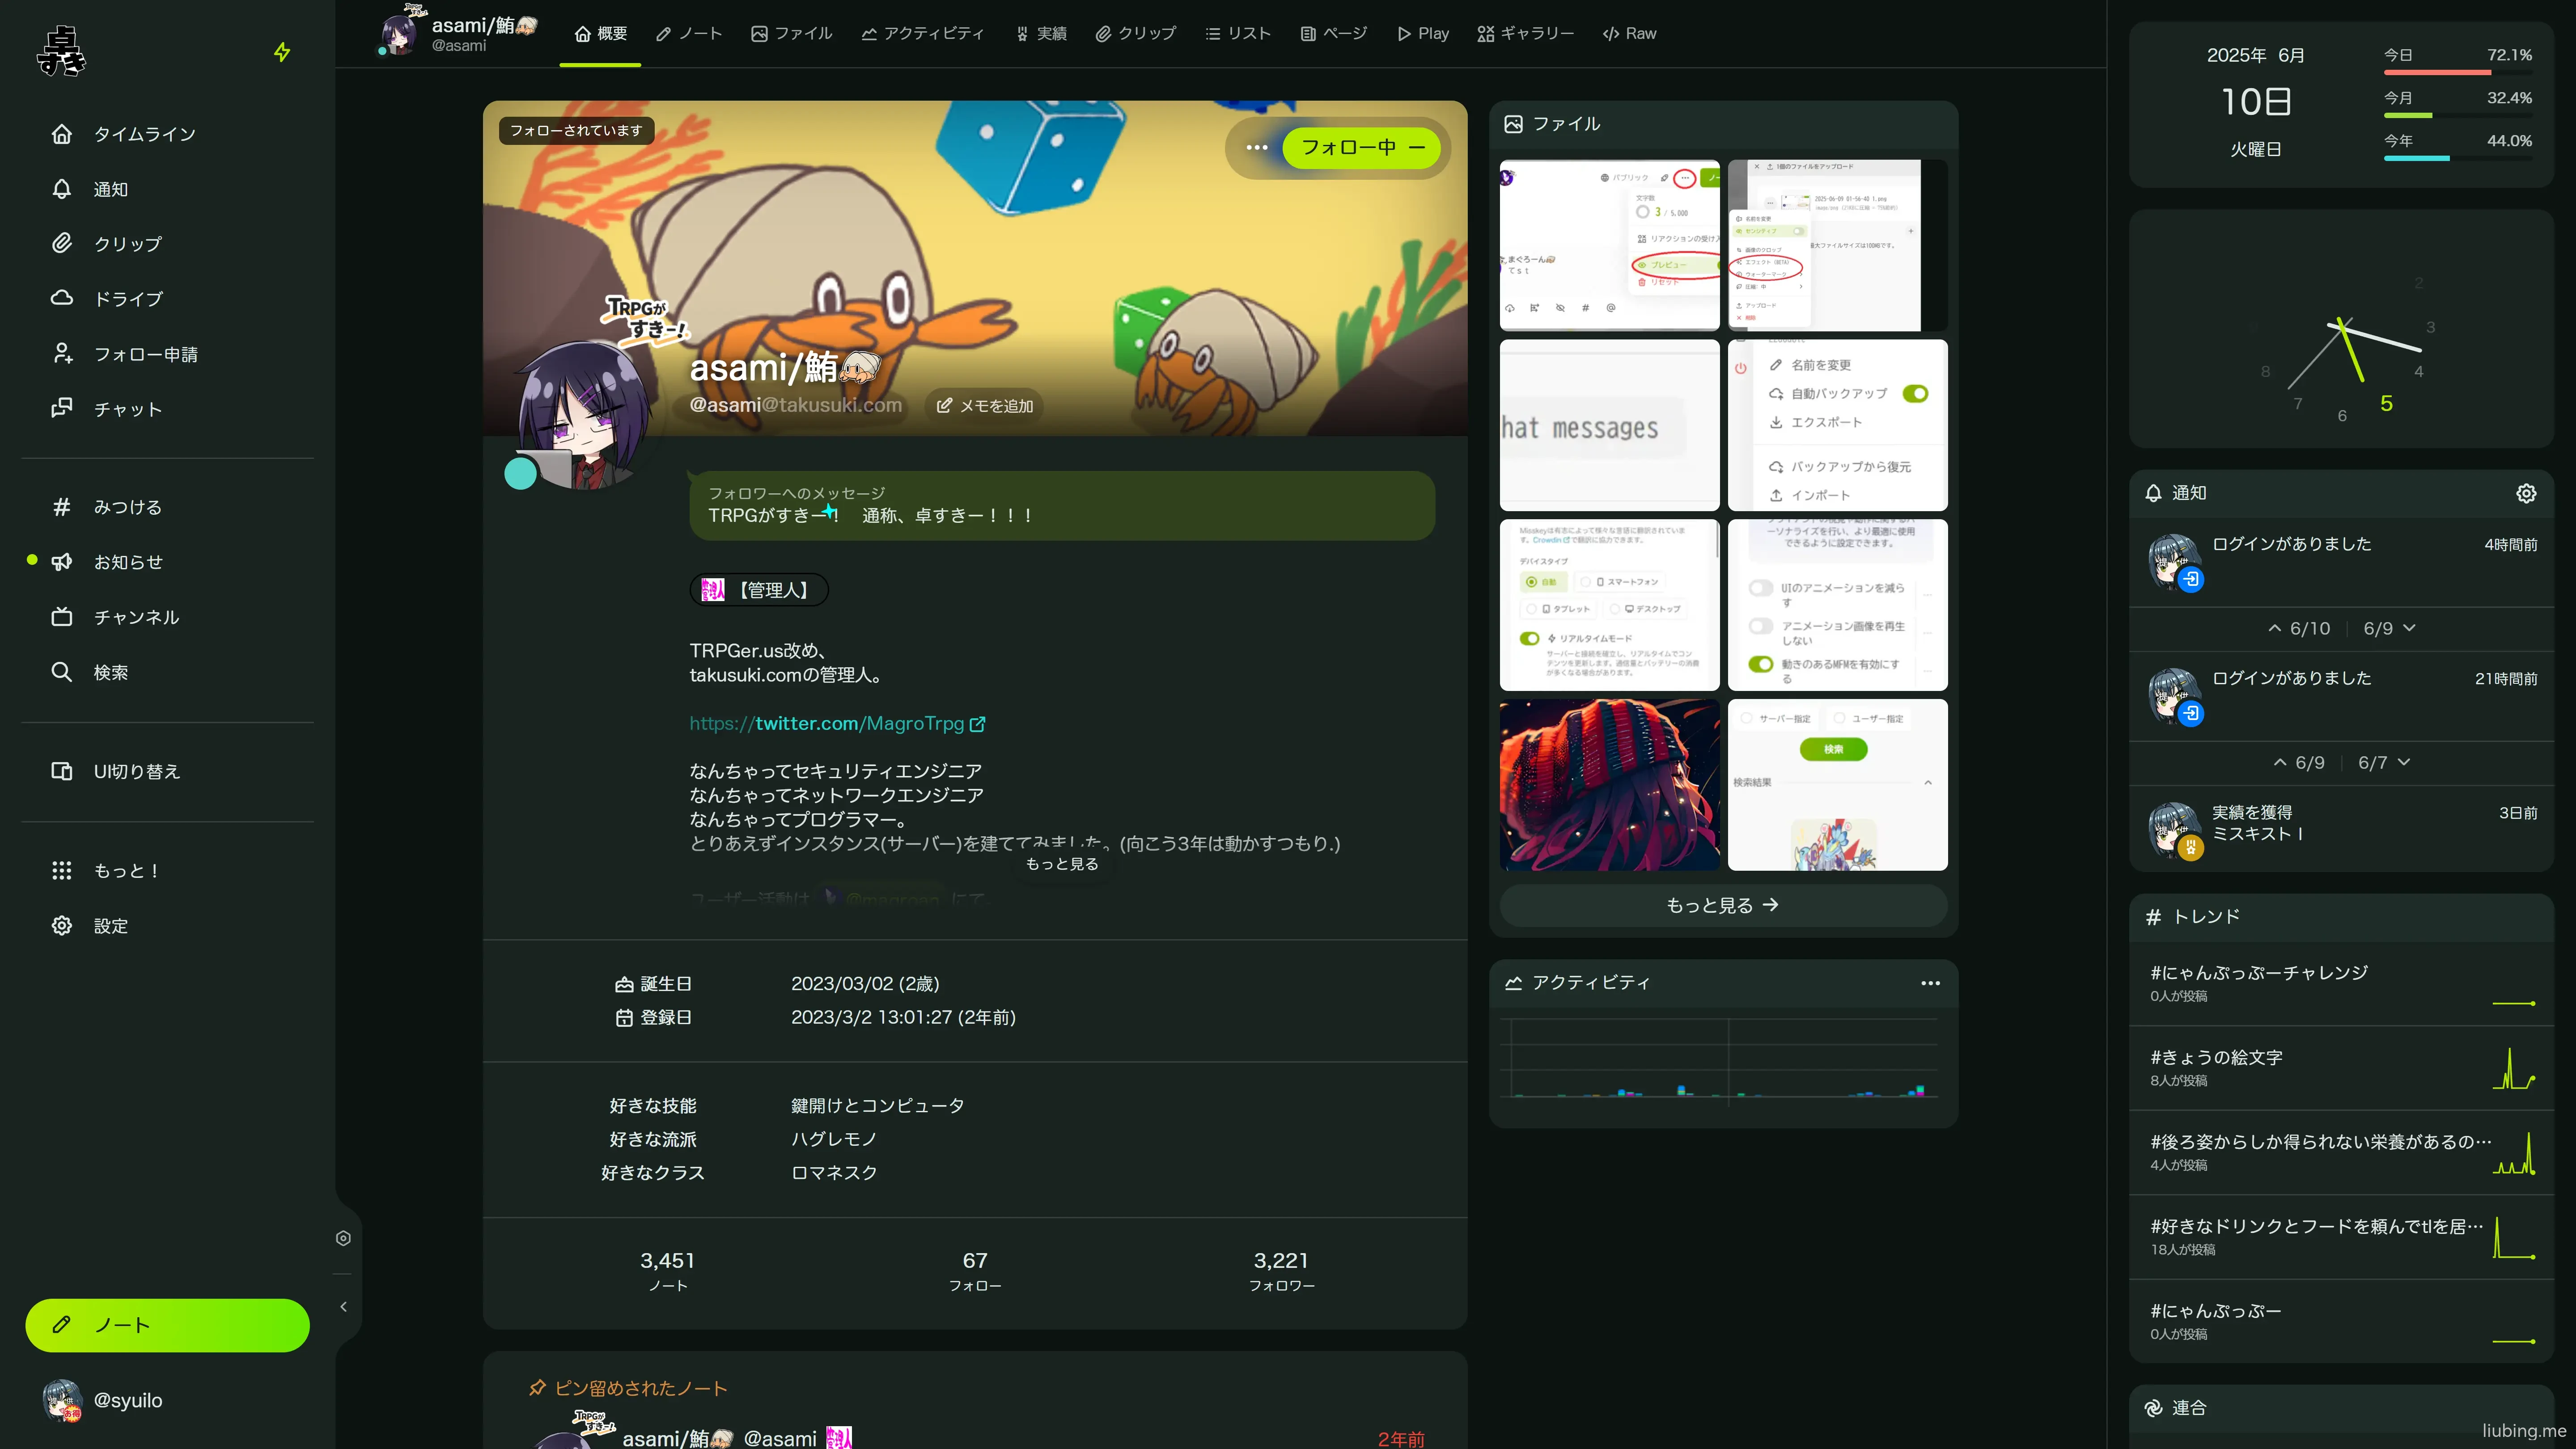
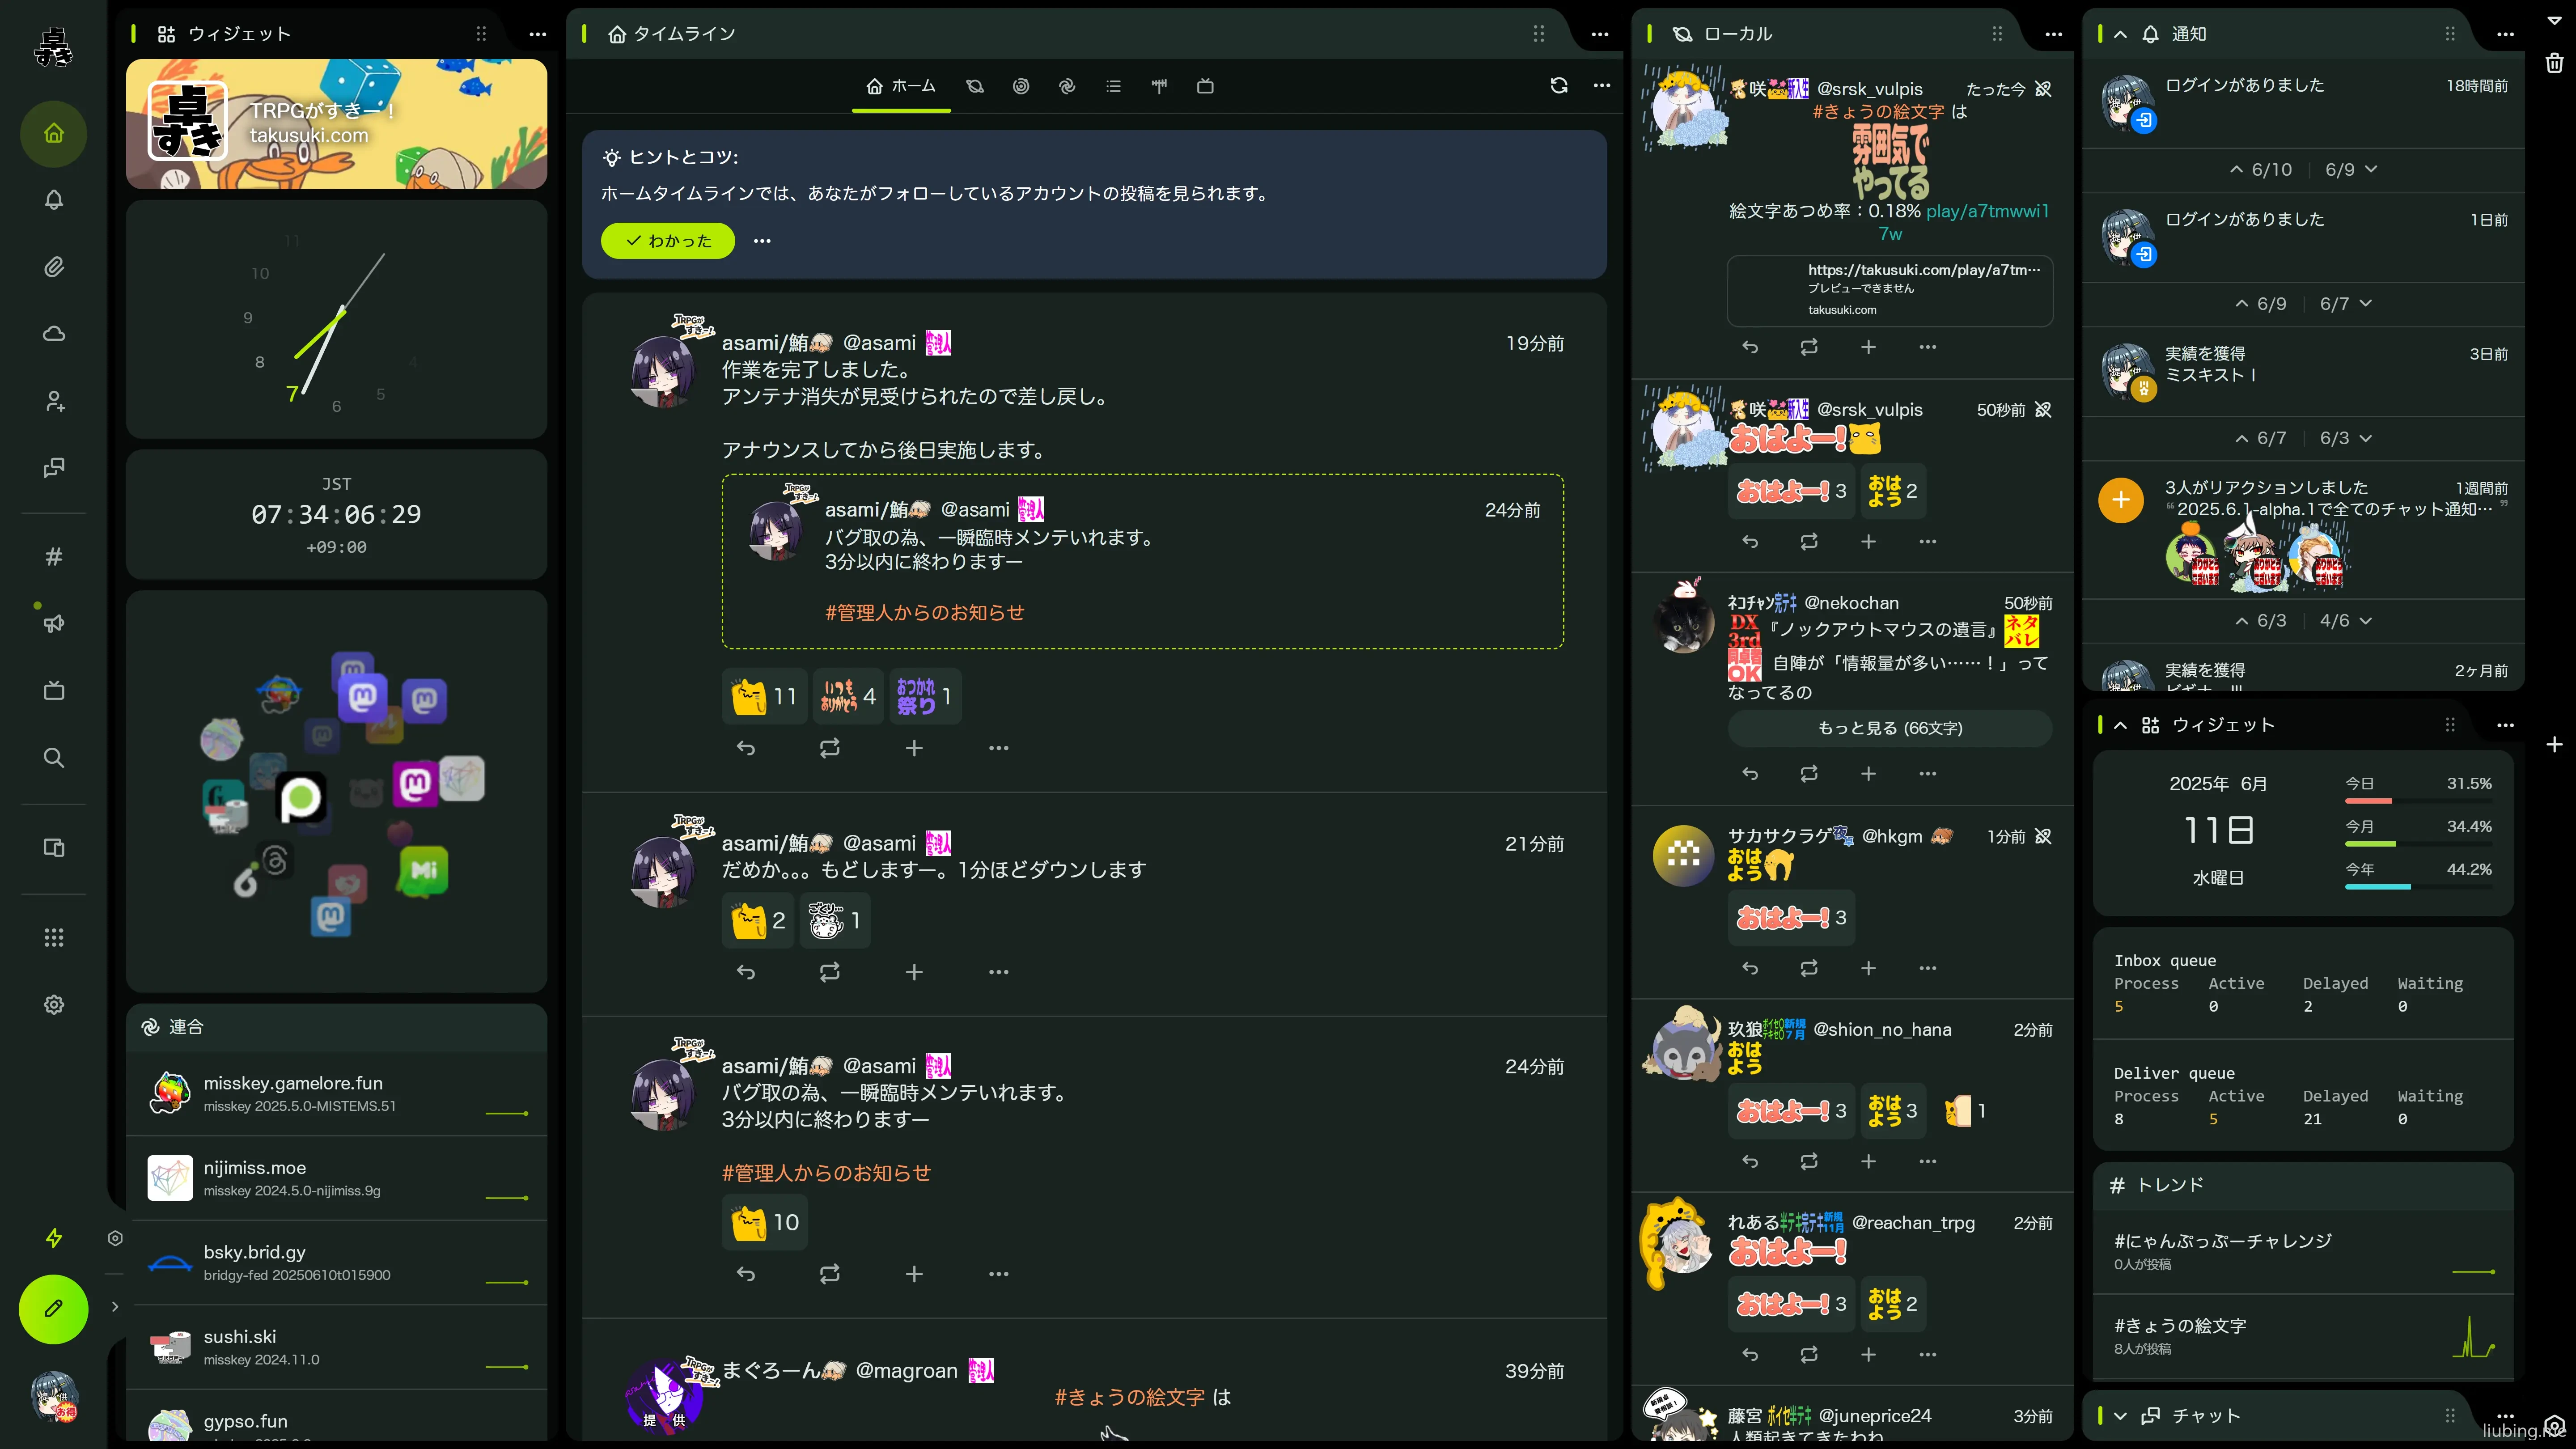
什么 Misskey
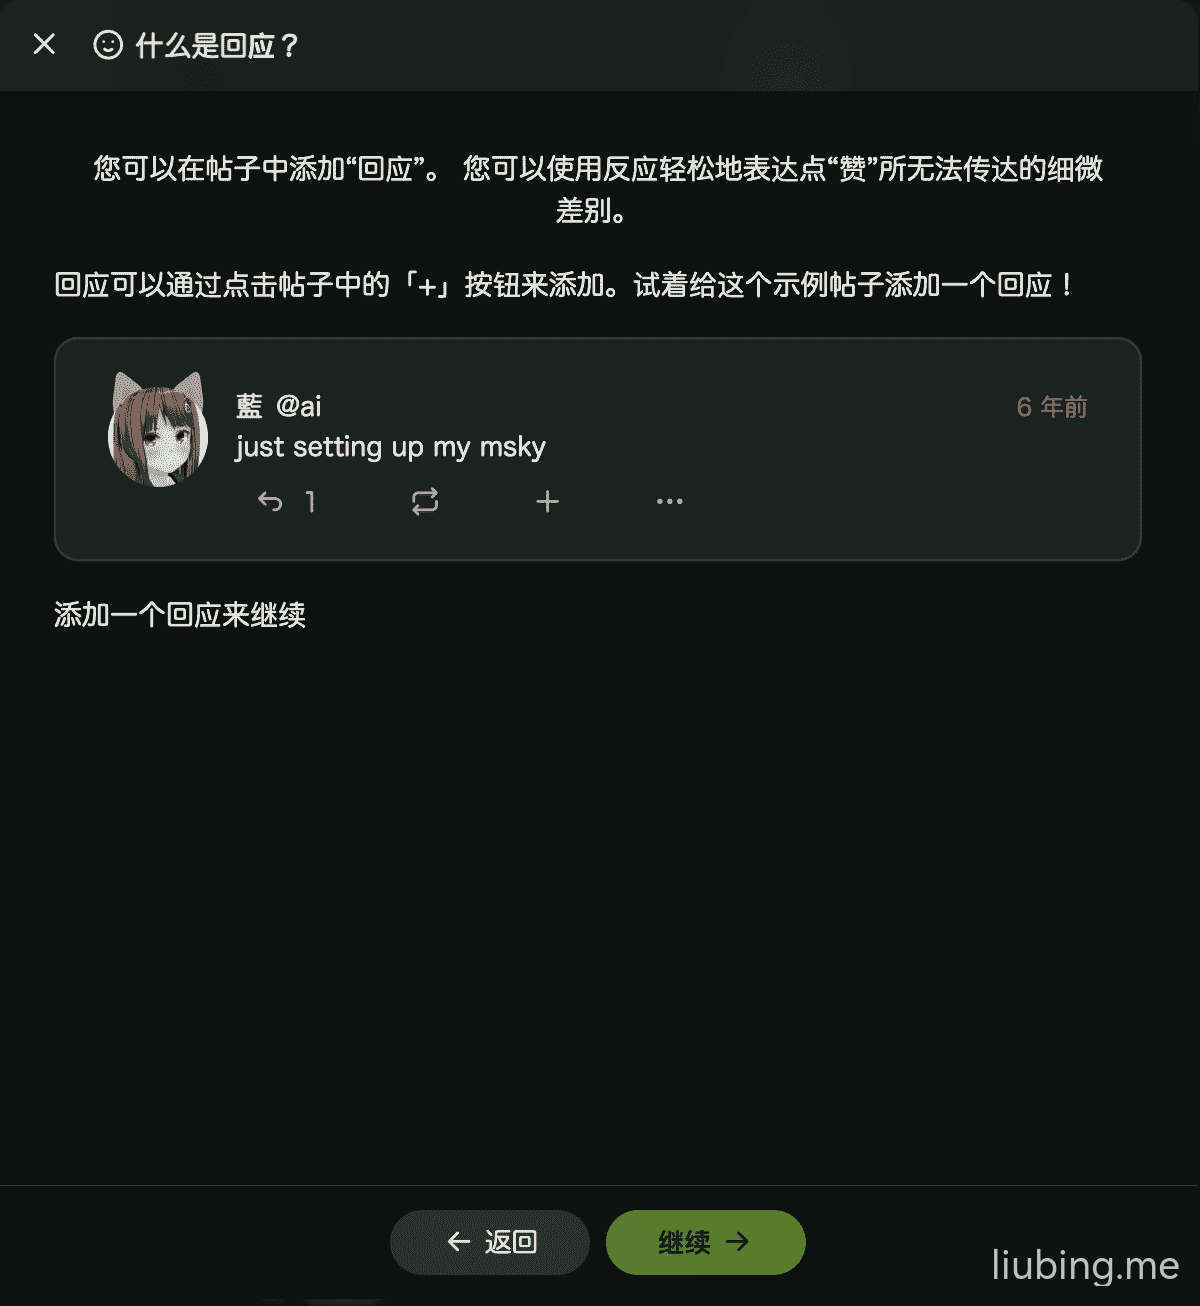
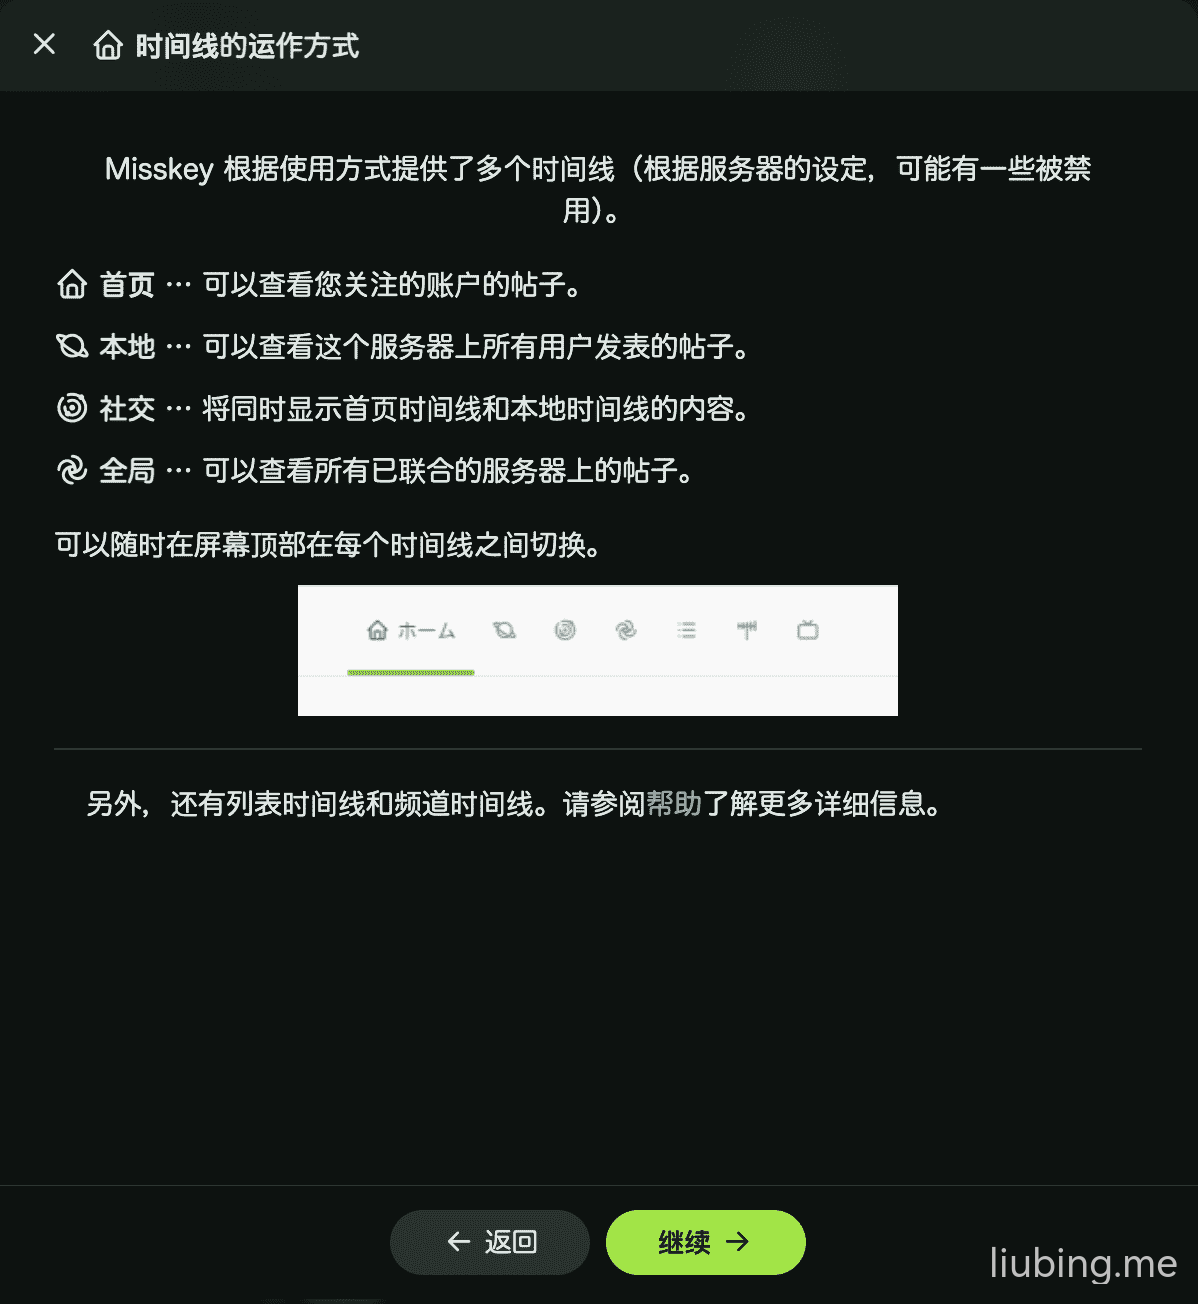
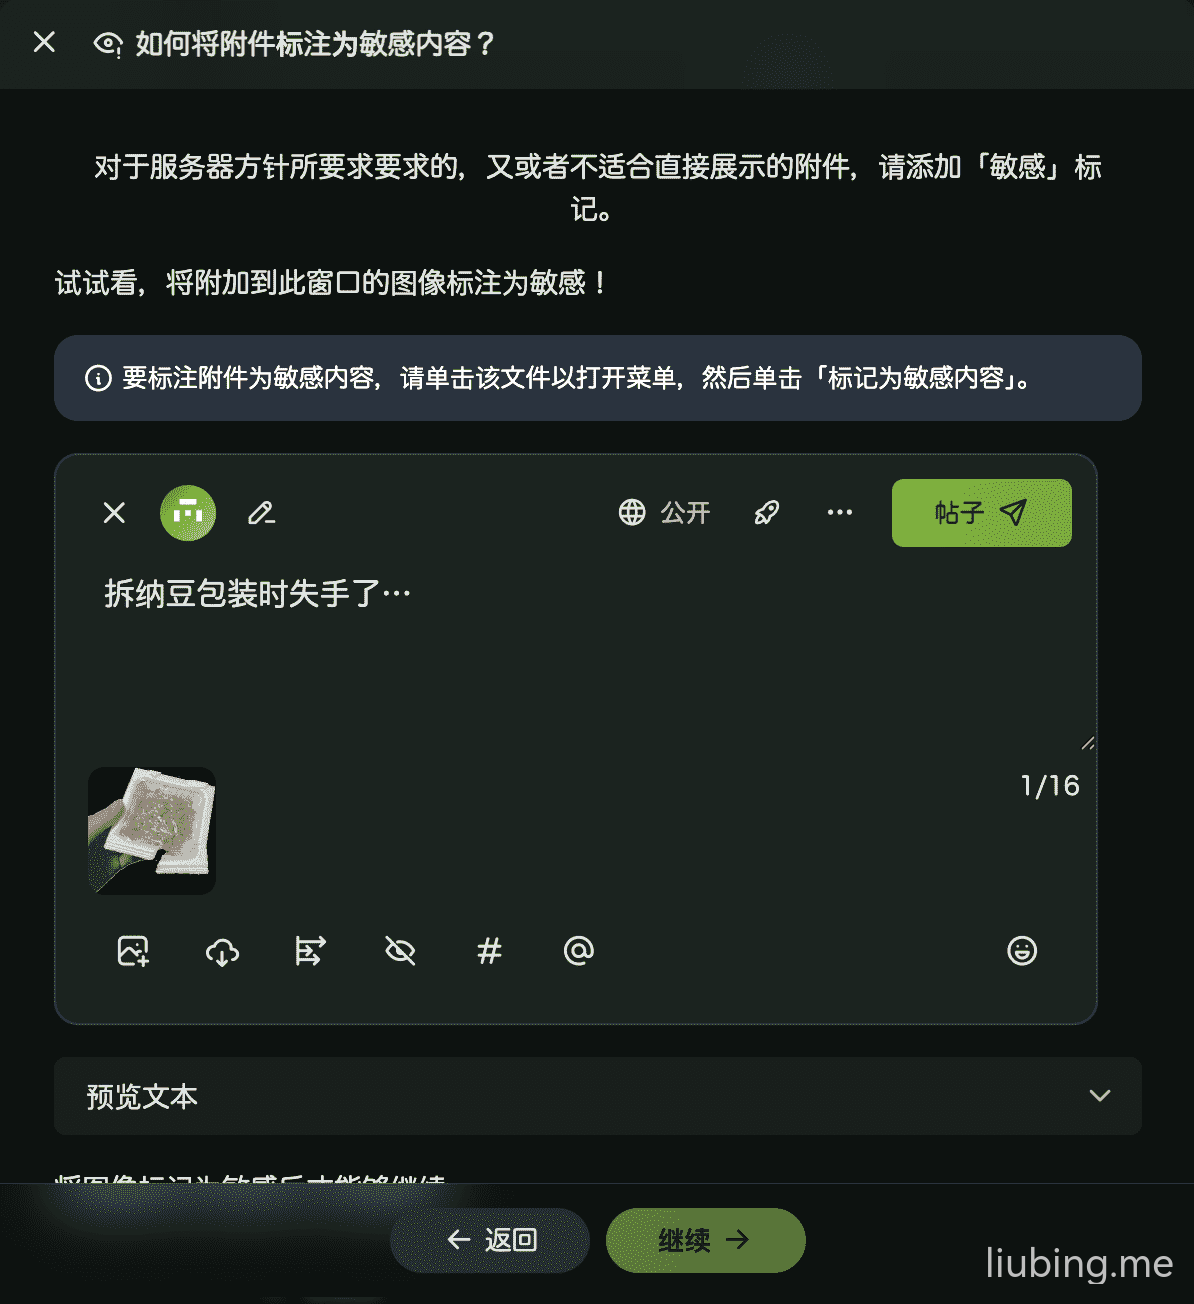
Misskey 是一个开源的去中心化开源社交平台,和国内的微博有点类似,但是比微博更自由,由于采用了去中心化协议,可以将不同服务器上的社区连接起来,说白点你可以加入其他人搭建的实例进行交流。下面贴几张官方的示例图供大家了解下。
准备
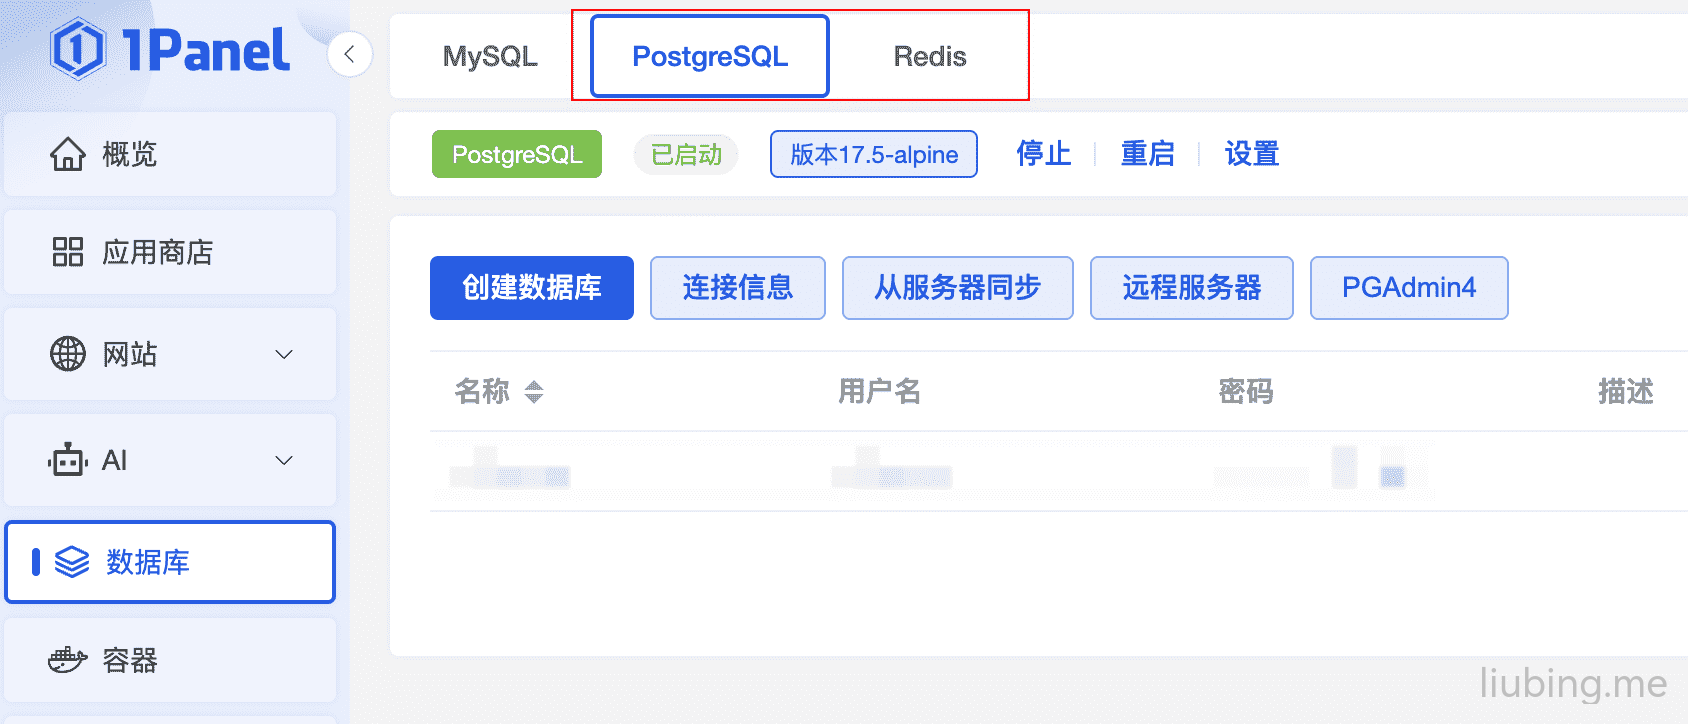
一台安装过 1Panel 面板的服务器,如果你是新安装的面板,可以先在数据库模块将 PostgreSQL 和 Redis 先安装好,后面需要使用。
部署
新建站点
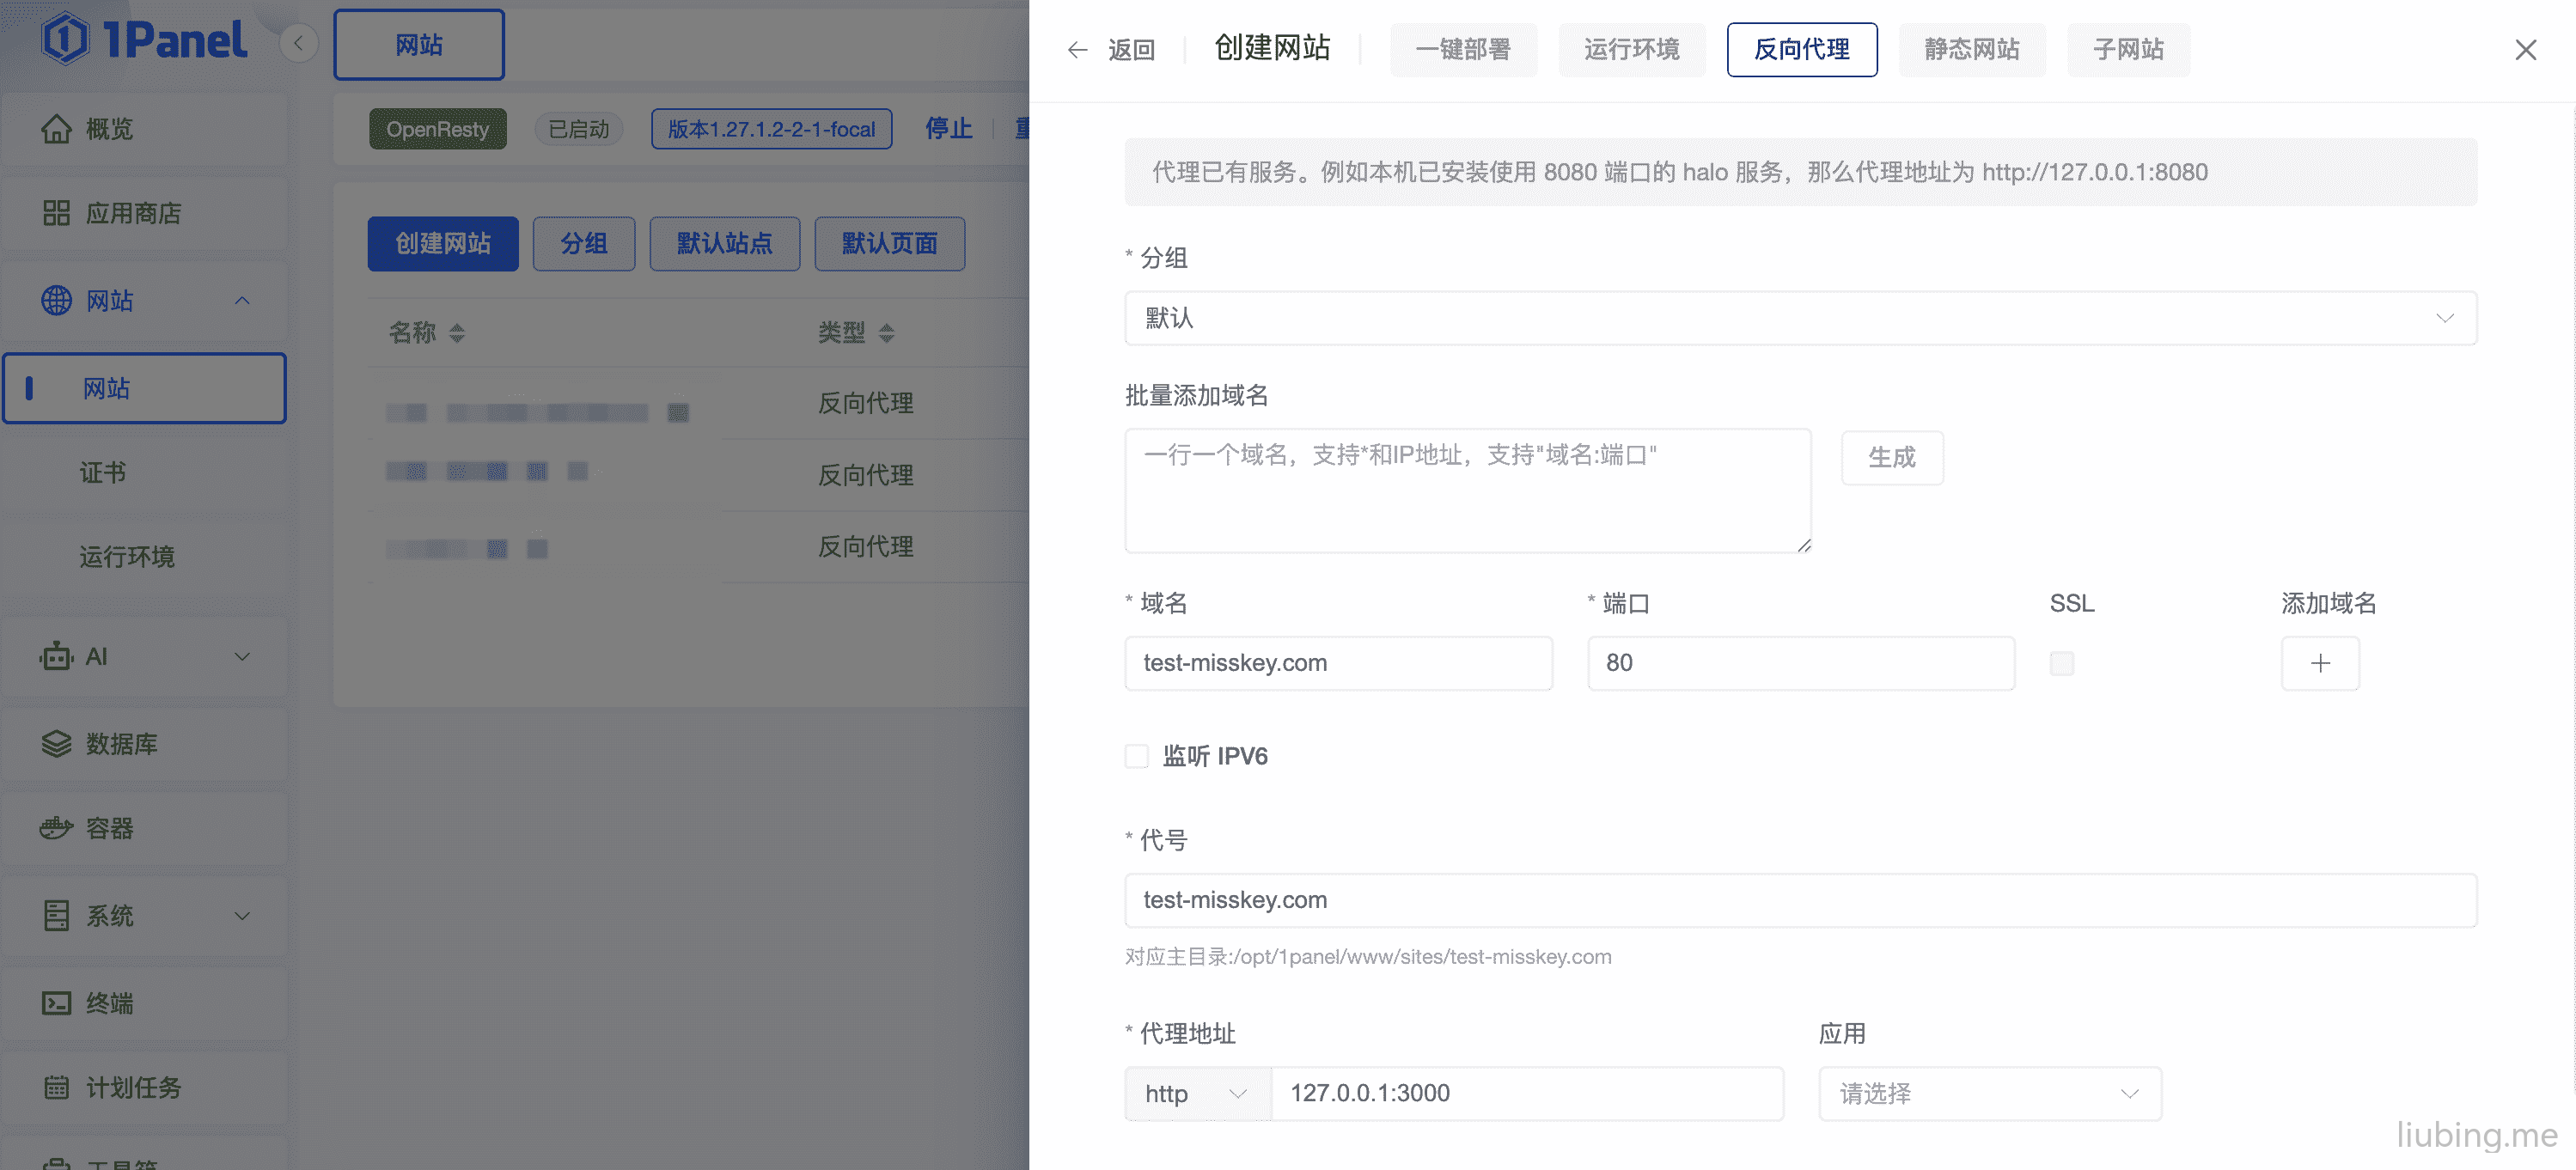
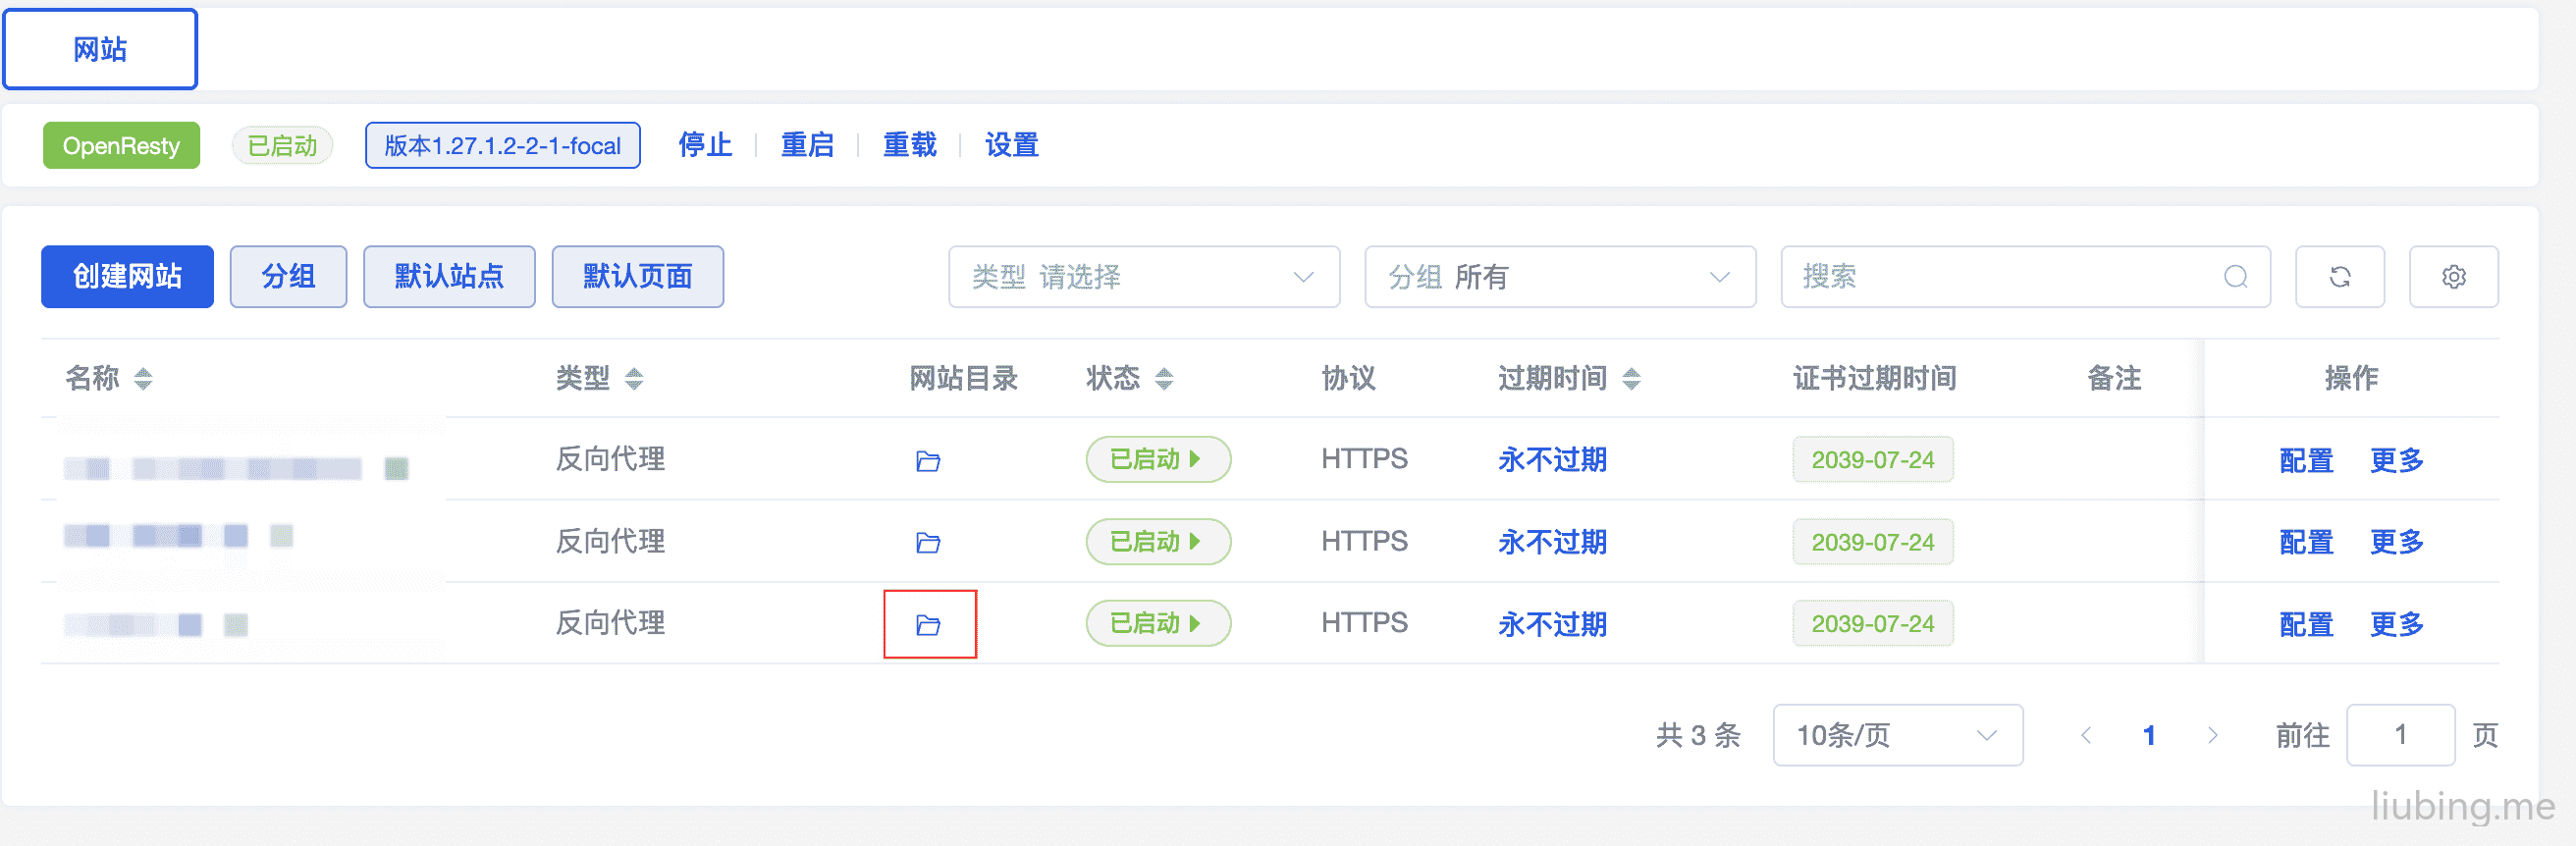
可以先将需要使用的域名提前解析好,然后新建一个反向代理的网站,如test-misskey.com,代理地址填写127.0.0.1:3000,后续教程都需要将test-misskey.com替换成你们实际部署的网址,反向代理网站创建好后顺带启用面板的 HTTPS,先建一个网站的目的是方便我们后续将需要部署的内容统一放到这个网站目录下面进行统一管理。
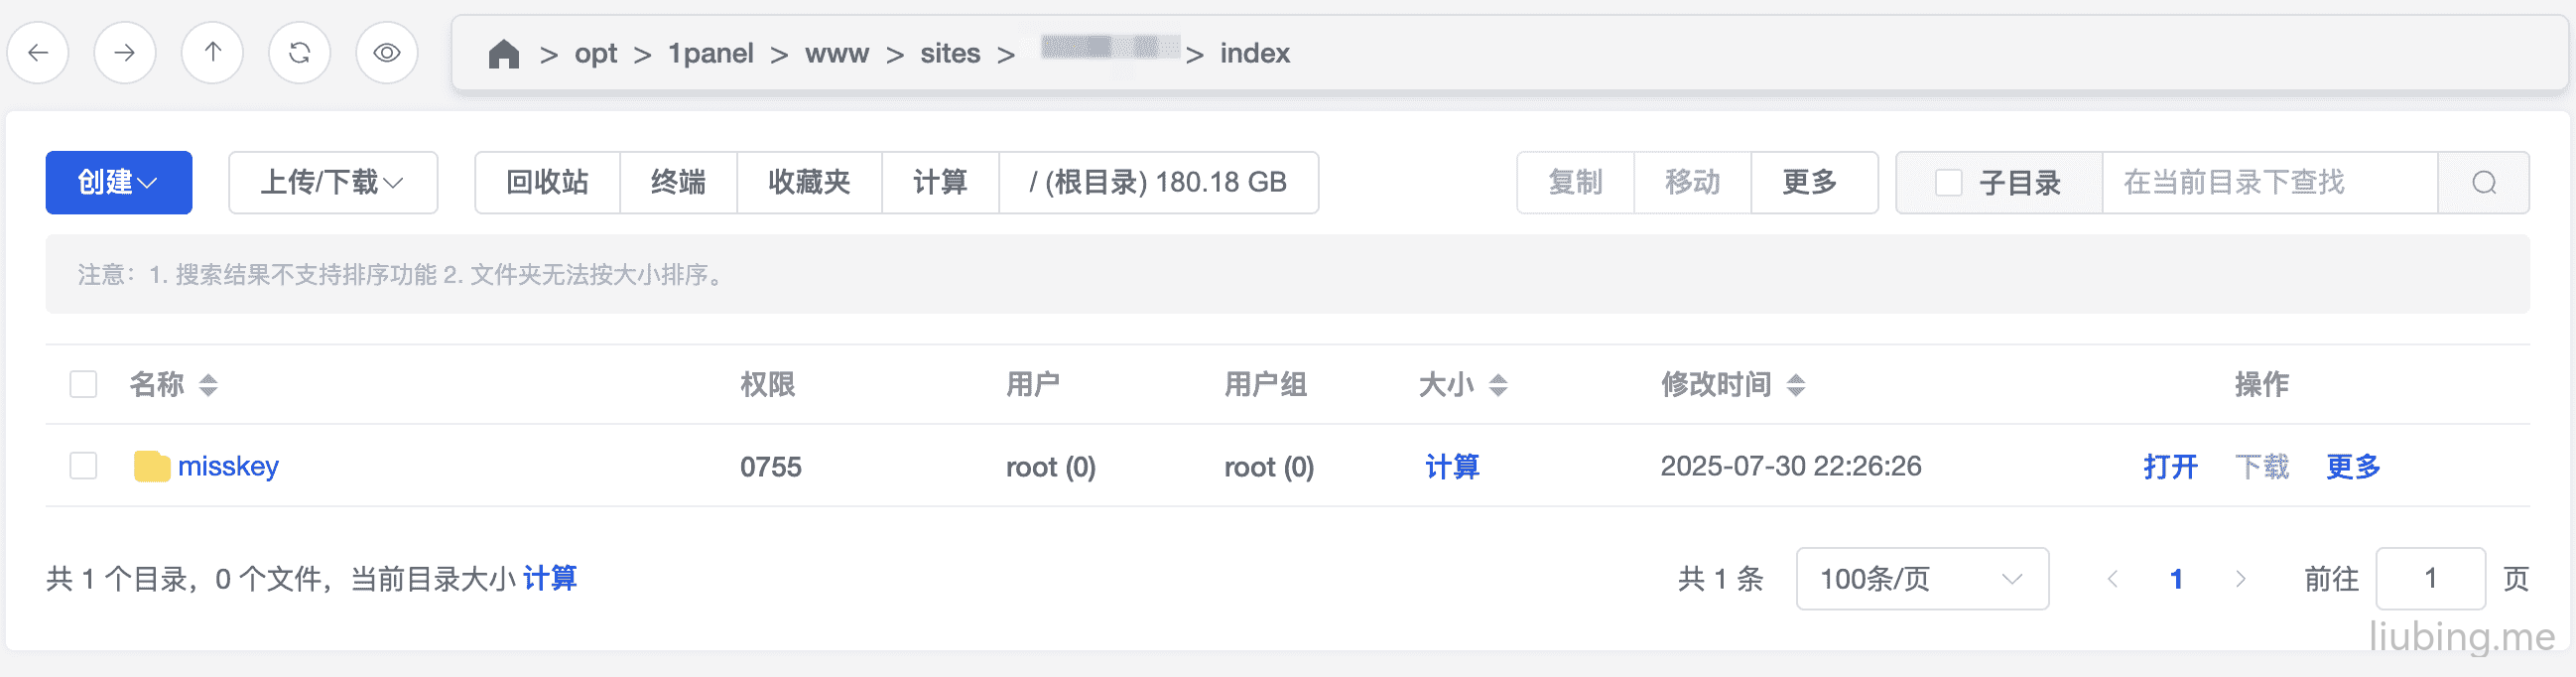
然后点击网站目录小图标进入到站点目录:
/opt/1panel/www/sites/test-misskey.com/index
新建一个misskey目录用于存放数据和部署相关内容。
手动配置
进入到刚刚新建的misskey目录,接下来可以参考官方的使用 Docker Compose 构建 Misskey教程将配置文件都建立好,由于官方部署教程使用的是手动构建 Misskey 和数据库初始化,对于大部分小白和低配置的人来说就不太适用了,好在官方给我们构建好了可以直接使用的镜像,我们可以直接拿来使用。
在刚刚创建的misskey目录新建一个编排文件docker-compose.yml,这个文件你们可以直接复制过来使用,都不用改的。
networks:
  1panel-network:
    external: true
services:
  web:
    image: misskey/misskey:latest
    container_name: misskey
    restart: always
    ports:
      - '3000:3000'
    networks:
      - 1panel-network
    volumes:
      - ./files:/misskey/files
- ./.config:/misskey/.config:ro新建.config目录,然后在.config目录中新建default.yml配置文件,该配置文件的内容可以参考官方源码里面的docker_example.yml,也可以直接复制下面的文件按步骤进行字段替换。
url需要替换成你们实际的访问地址。db.host中1Panel-postgresql-xxx修改成你们面板实际的PostgreSQL的容器连接,这个地址可以在数据库的 PostgreSQL 连接信息中找到,里面容器连接的地址就是我们需要的。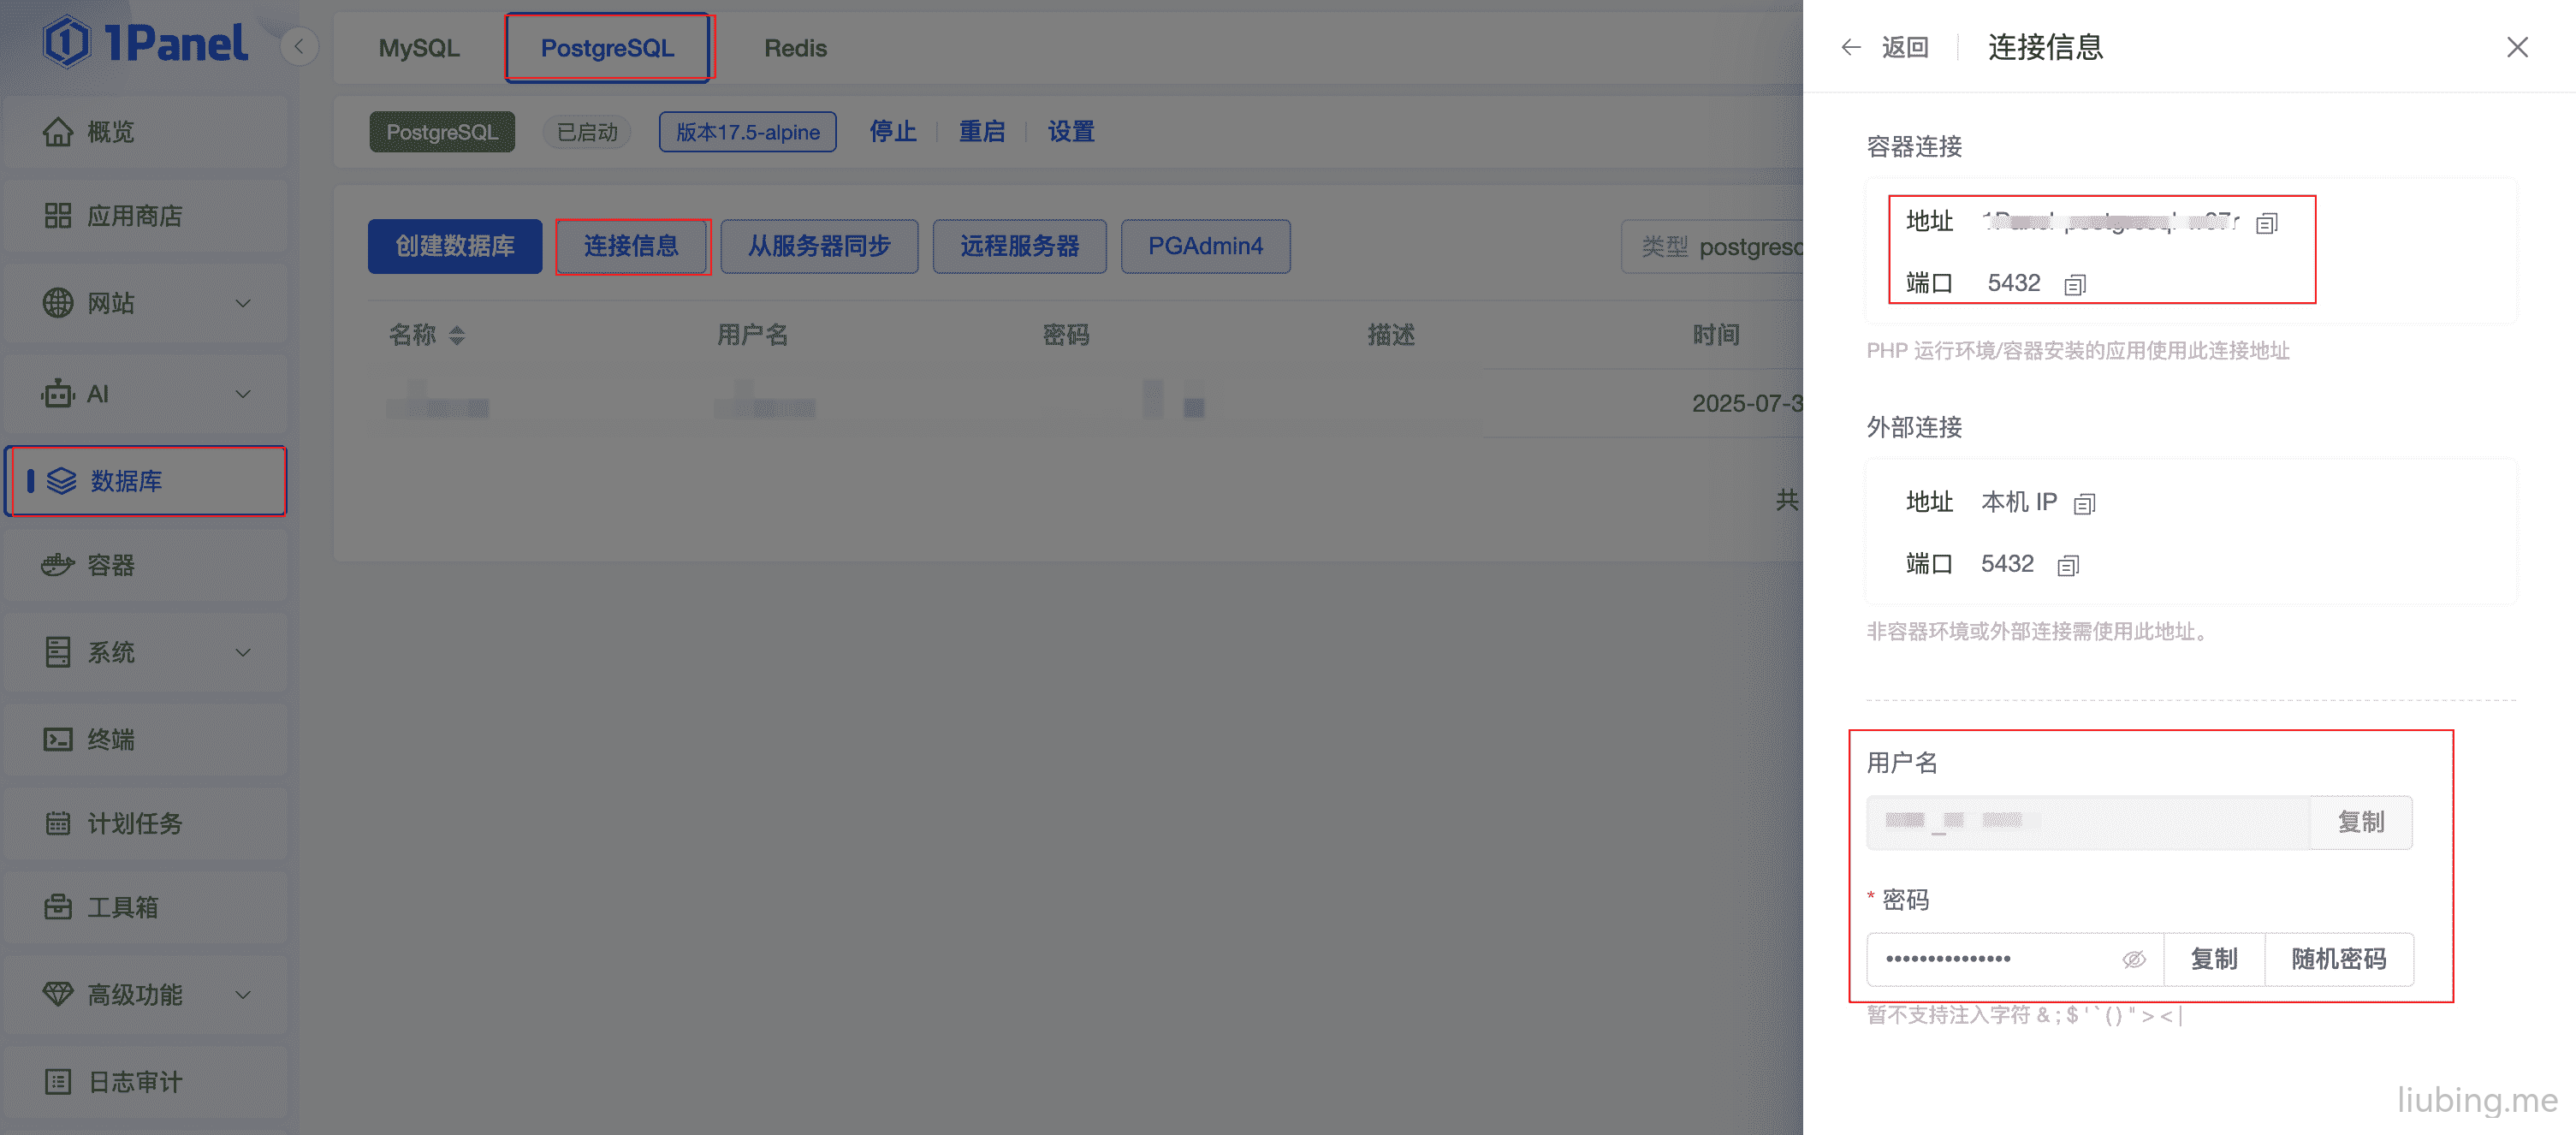
image 在 PostgreSQL 中创建一个新数据库,
名称和用户名直接都使用misskey,密码使用默认生成的随机密码就行,这样只需要替换下面db.pass中misskey_pass替换成你实际的密码就行。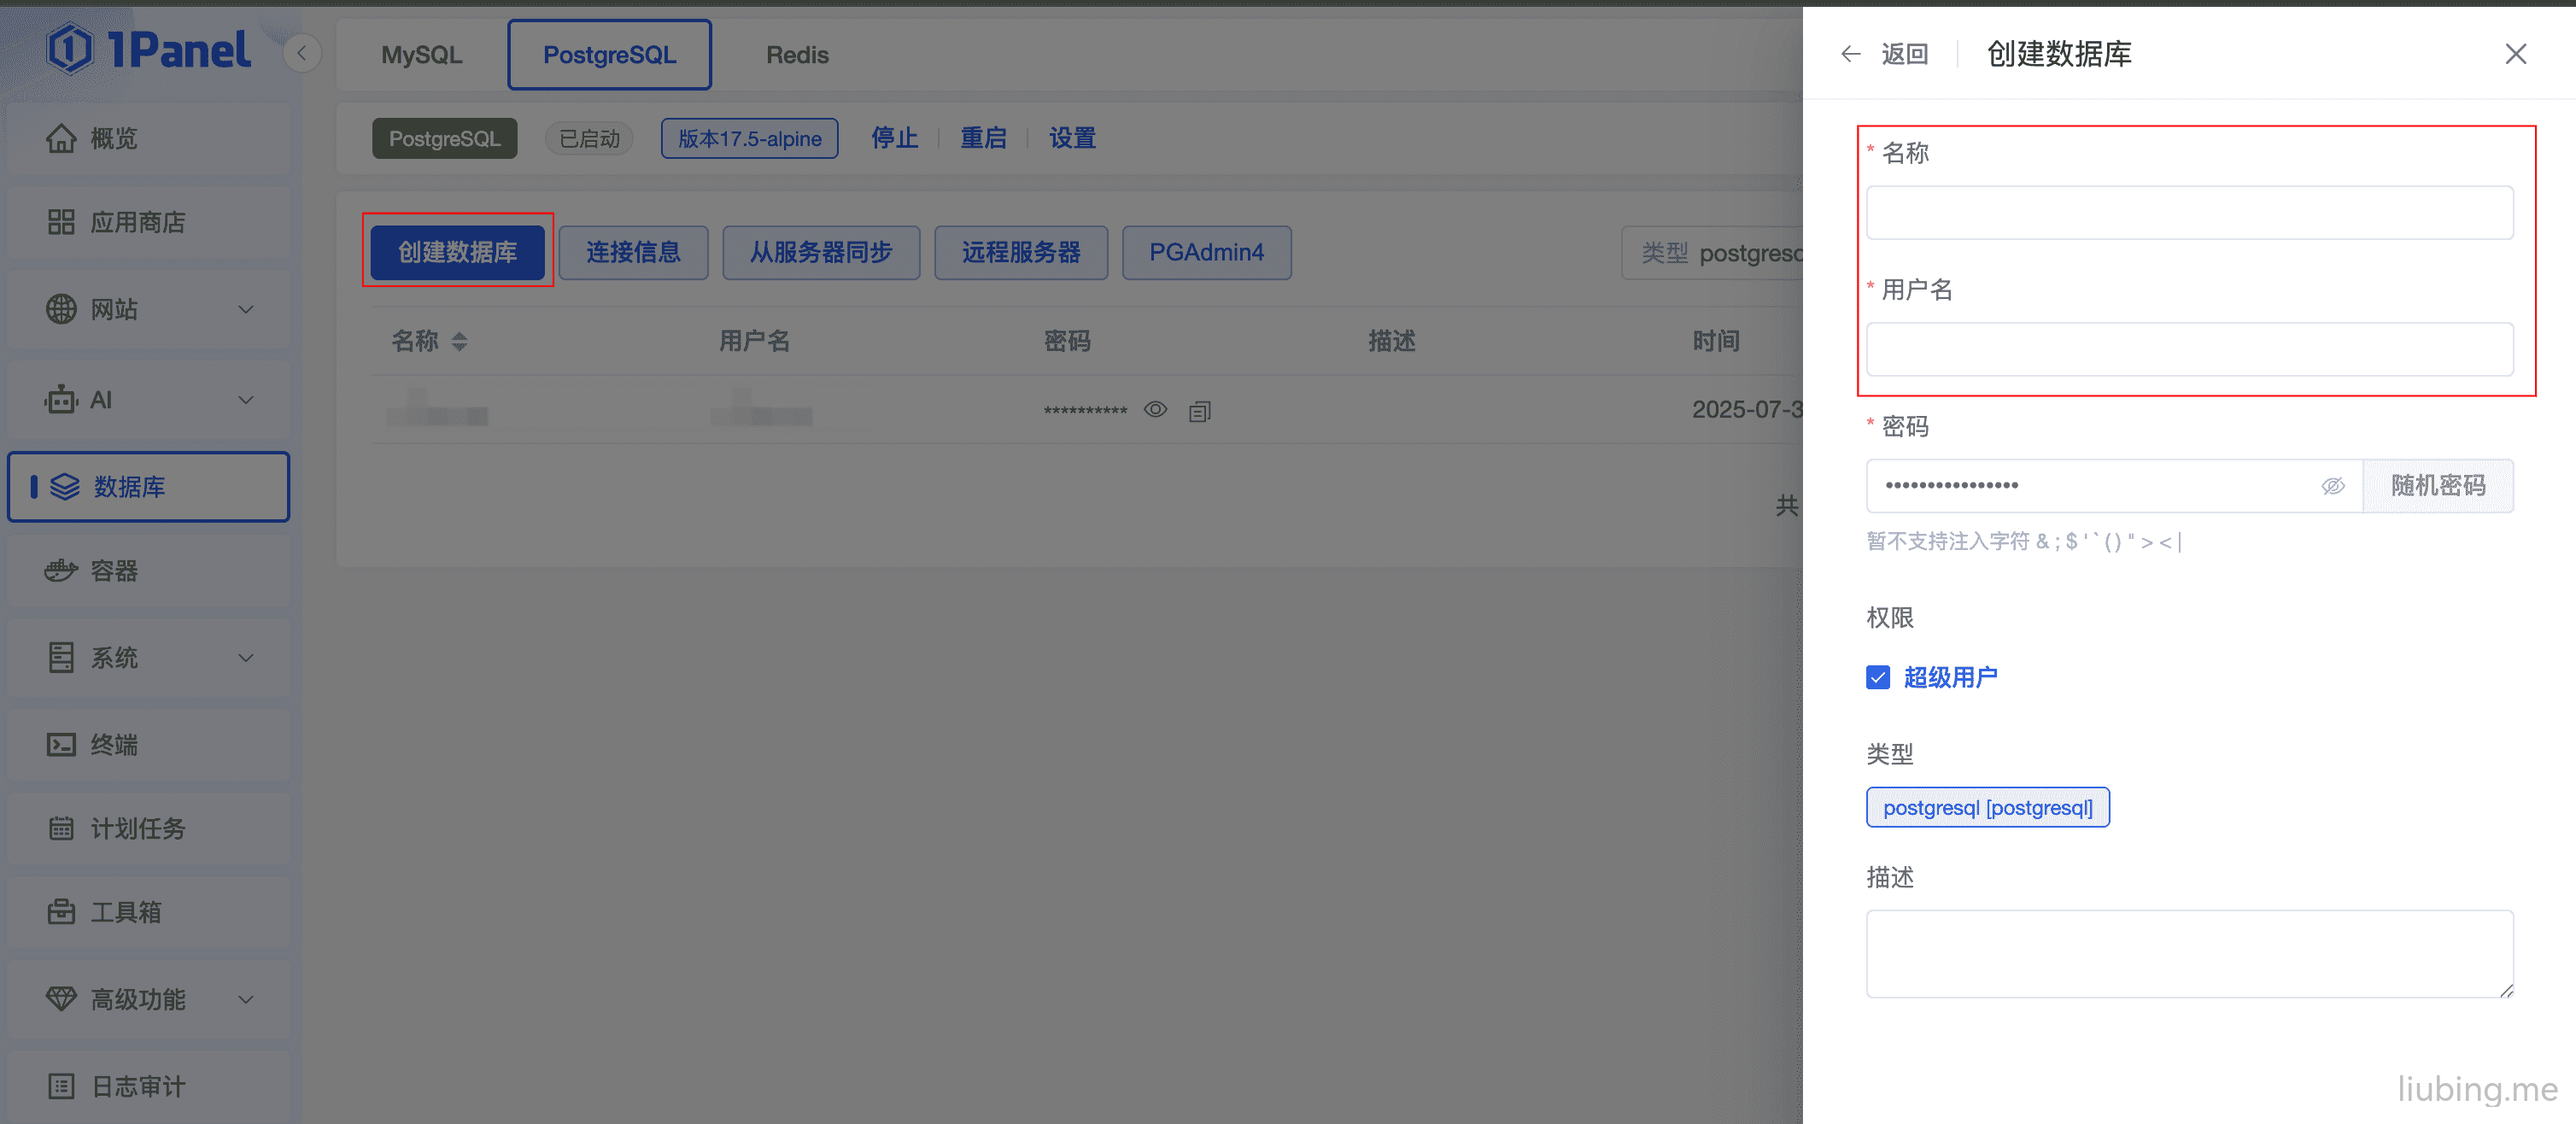
image redis.host中1Panel-redis-xxx替换成实际的容器连接,redis.pass中redis_pass替换成实际的密码,查看连接信息同 PostgreSQL。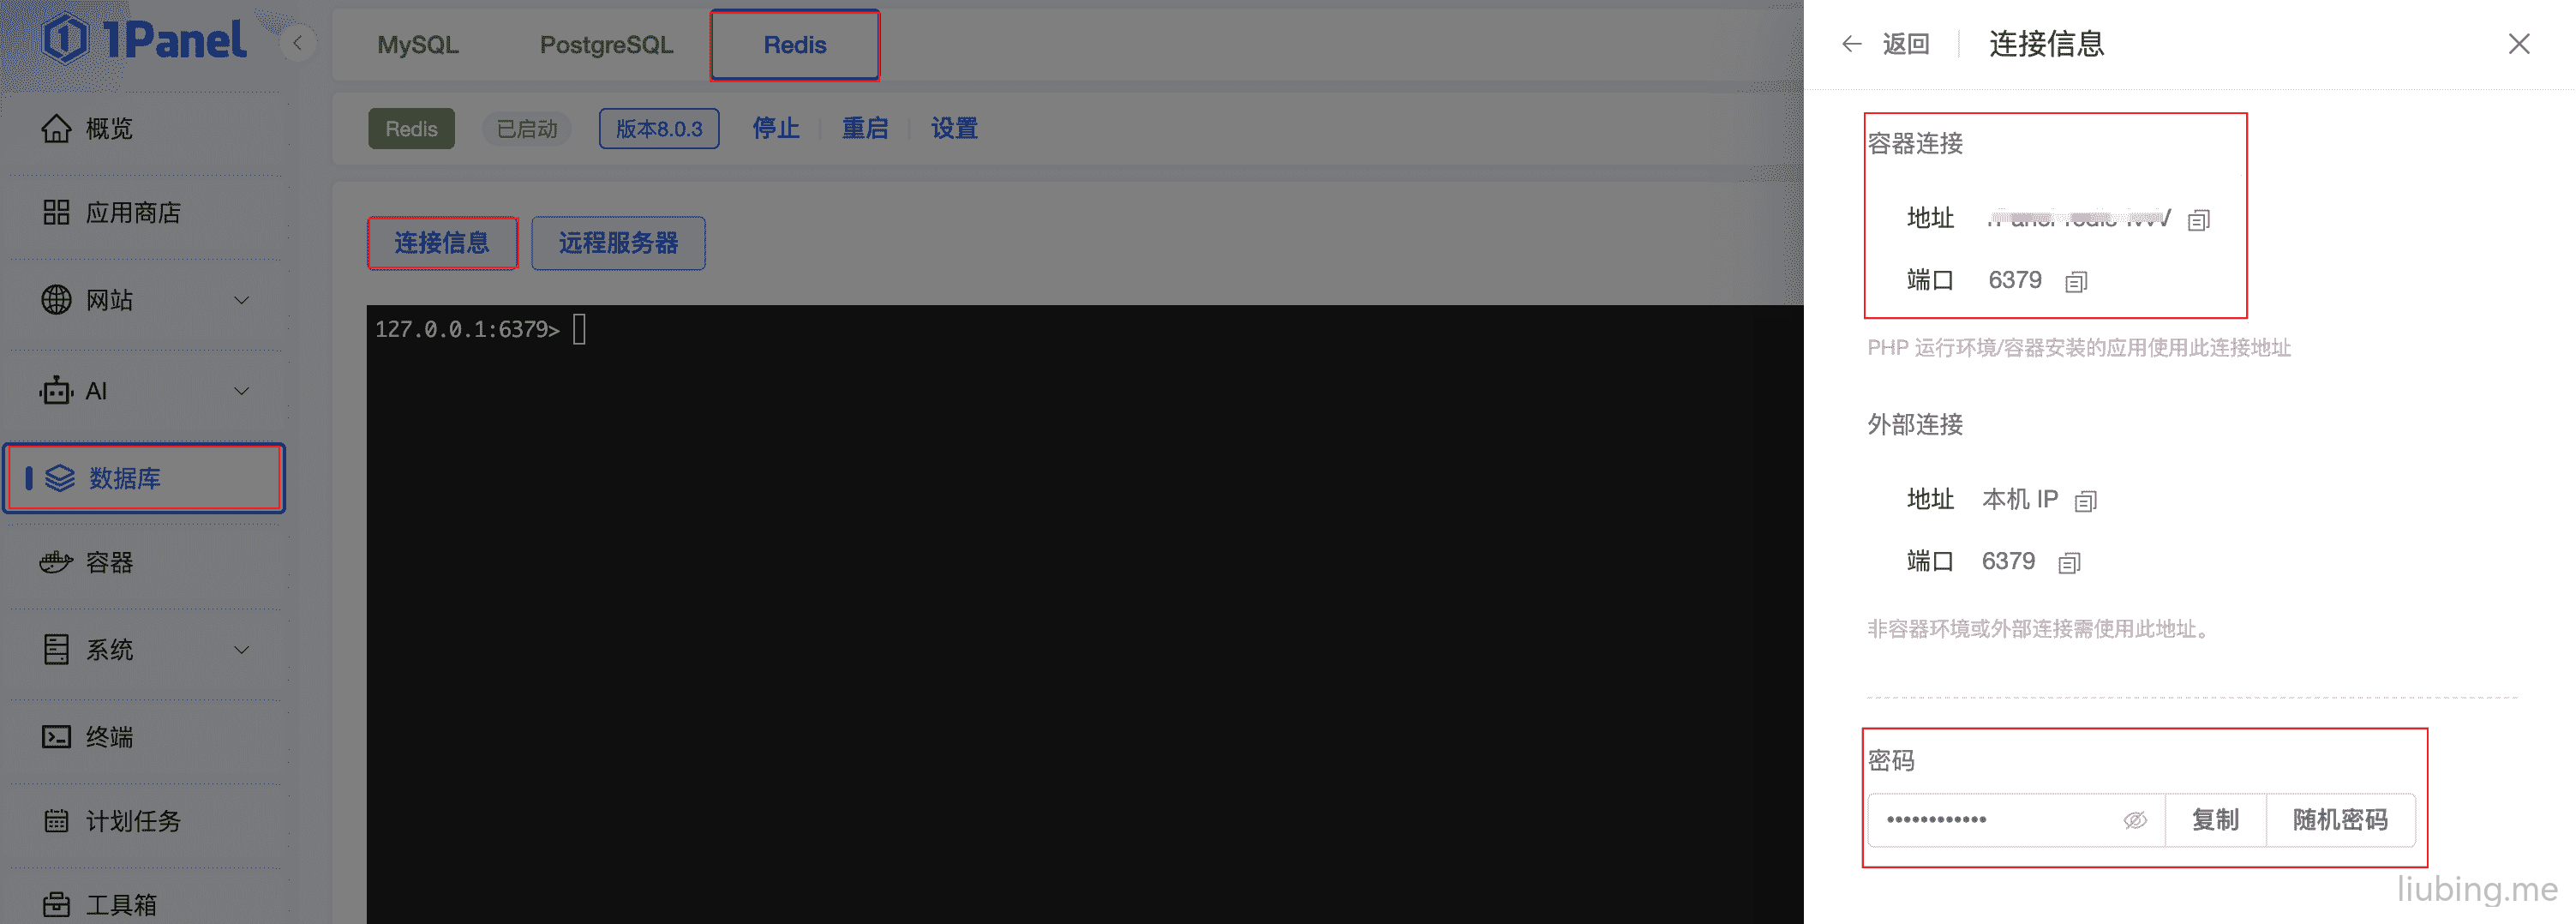
image 上面的内容都替换好后这个配置文件就可以用了。
#━━━━━━━━━━━━━━━━━━━━━━━━━━━━━━━━━━━━━━━━━━━━━━━━━━━━━━━━━━━━━━━
# Misskey configuration
#━━━━━━━━━━━━━━━━━━━━━━━━━━━━━━━━━━━━━━━━━━━━━━━━━━━━━━━━━━━━━━━

#   ┌─────┐
#───┘ URL └─────────────────────────────────────────────────────

# Final accessible URL seen by a user.
# You can set url from an environment variable instead.
url: https://test-misskey.com/

# ONCE YOU HAVE STARTED THE INSTANCE, DO NOT CHANGE THE
# URL SETTINGS AFTER THAT!

#   ┌───────────────────────┐
#───┘ Port and TLS settings └───────────────────────────────────

#
# Misskey requires a reverse proxy to support HTTPS connections.
#
#                 +----- https://example.tld/ ------------+
#   +------+      |+-------------+      +----------------+|
#   | User | ---> || Proxy (443) | ---> | Misskey (3000) ||
#   +------+      |+-------------+      +----------------+|
#                 +---------------------------------------+
#
#   You need to set up a reverse proxy. (e.g. nginx)
#   An encrypted connection with HTTPS is highly recommended
#   because tokens may be transferred in GET requests.

# The port that your Misskey server should listen on.
port: 3000

#   ┌──────────────────────────┐
#───┘ PostgreSQL configuration └────────────────────────────────

db:
  host: 1Panel-postgresql-xxx
  port: 5432

  # Database name
  # You can set db from an environment variable instead.
  db: misskey

  # Auth
  # You can set user and pass from environment variables instead.
  user: misskey
  pass: misskey_pass

  # Whether disable Caching queries
  #disableCache: true

  # Extra Connection options
  #extra:
  #  ssl: true

dbReplications: false

# You can configure any number of replicas here
#dbSlaves:
#  -
#    host:
#    port:
#    db:
#    user:
#    pass:
#  -
#    host:
#    port:
#    db:
#    user:
#    pass:

#   ┌─────────────────────┐
#───┘ Redis configuration └─────────────────────────────────────

redis:
  host: 1Panel-redis-xxx
  port: 6379
  #family: 0  # 0=Both, 4=IPv4, 6=IPv6
  pass: redis_pass
  #prefix: example-prefix
  #db: 1

#redisForPubsub:
#  host: redis
#  port: 6379
#  #family: 0  # 0=Both, 4=IPv4, 6=IPv6
#  #pass: example-pass
#  #prefix: example-prefix
#  #db: 1

#redisForJobQueue:
#  host: redis
#  port: 6379
#  #family: 0  # 0=Both, 4=IPv4, 6=IPv6
#  #pass: example-pass
#  #prefix: example-prefix
#  #db: 1

#redisForTimelines:
#  host: redis
#  port: 6379
#  #family: 0  # 0=Both, 4=IPv4, 6=IPv6
#  #pass: example-pass
#  #prefix: example-prefix
#  #db: 1

#redisForReactions:
#  host: redis
#  port: 6379
#  #family: 0  # 0=Both, 4=IPv4, 6=IPv6
#  #pass: example-pass
#  #prefix: example-prefix
#  #db: 1

#   ┌───────────────────────────────┐
#───┘ Fulltext search configuration └─────────────────────────────

# These are the setting items for the full-text search provider.
fulltextSearch:
  # You can select the ID generation method.
  # - sqlLike (default)
  #   Use SQL-like search.
  #   This is a standard feature of PostgreSQL, so no special extensions are required.
  # - sqlPgroonga
  #   Use pgroonga.
  #   You need to install pgroonga and configure it as a PostgreSQL extension.
  #   In addition to the above, you need to create a pgroonga index on the text column of the note table.
  #   see: https://pgroonga.github.io/tutorial/
  # - meilisearch
  #   Use Meilisearch.
  #   You need to install Meilisearch and configure.
  provider: sqlLike

# For Meilisearch settings.
# If you select "meilisearch" for "fulltextSearch.provider", it must be set.
# You can set scope to local (default value) or global
# (include notes from remote).

#meilisearch:
#  host: meilisearch
#  port: 7700
#  apiKey: ''
#  ssl: true
#  index: ''
#  scope: local

#   ┌───────────────┐
#───┘ ID generation └───────────────────────────────────────────

# You can select the ID generation method.
# You don't usually need to change this setting, but you can
# change it according to your preferences.

# Available methods:
# aid ... Short, Millisecond accuracy
# aidx ... Millisecond accuracy
# meid ... Similar to ObjectID, Millisecond accuracy
# ulid ... Millisecond accuracy
# objectid ... This is left for backward compatibility

# ONCE YOU HAVE STARTED THE INSTANCE, DO NOT CHANGE THE
# ID SETTINGS AFTER THAT!

id: 'aidx'

#   ┌────────────────┐
#───┘ Error tracking └──────────────────────────────────────────

# Sentry is available for error tracking.
# See the Sentry documentation for more details on options.

#sentryForBackend:
#  enableNodeProfiling: true
#  options:
#    dsn: 'https://examplePublicKey@o0.ingest.sentry.io/0'

#sentryForFrontend:
#  vueIntegration:
#    tracingOptions:
#      trackComponents: true
#  browserTracingIntegration:
#  replayIntegration:
#  options:
#    dsn: 'https://examplePublicKey@o0.ingest.sentry.io/0'

#   ┌─────────────────────┐
#───┘ Other configuration └─────────────────────────────────────

# Whether disable HSTS
#disableHsts: true

# Number of worker processes
#clusterLimit: 1

# Job concurrency per worker
# deliverJobConcurrency: 128
# inboxJobConcurrency: 16

# Job rate limiter
# deliverJobPerSec: 128
# inboxJobPerSec: 32

# Job attempts
# deliverJobMaxAttempts: 12
# inboxJobMaxAttempts: 8

# IP address family used for outgoing request (ipv4, ipv6 or dual)
#outgoingAddressFamily: ipv4

# Proxy for HTTP/HTTPS
#proxy: http://127.0.0.1:3128

proxyBypassHosts:
  - api.deepl.com
  - api-free.deepl.com
  - www.recaptcha.net
  - hcaptcha.com
  - challenges.cloudflare.com
# Proxy for SMTP/SMTPS
#proxySmtp: http://127.0.0.1:3128   # use HTTP/1.1 CONNECT
#proxySmtp: socks4://127.0.0.1:1080 # use SOCKS4
#proxySmtp: socks5://127.0.0.1:1080 # use SOCKS5

# Media Proxy
#mediaProxy: https://example.com/proxy

# For security reasons, uploading attachments from the intranet is prohibited,
# but exceptions can be made from the following settings. Default value is "undefined".
# Read changelog to learn more (Improvements of 12.90.0 (2021/09/04)).
#allowedPrivateNetworks: [
#  '127.0.0.1/32'
#]

# Upload or download file size limits (bytes)
#maxFileSize: 262144000

# Log settings
# logging:
#   sql:
#     # Outputs query parameters during SQL execution to the log.
#     # default: false
#     enableQueryParamLogging: false
#     # Disable query truncation. If set to true, the full text of the query will be output to the log.
#     # default: false
# disableQueryTruncation: false最终的结构目录如下所示,由于我已经装过了,所以额外自动生成了files目录。
misskey
├─ docker-compose.yml
└─ .config
 └─ default.yml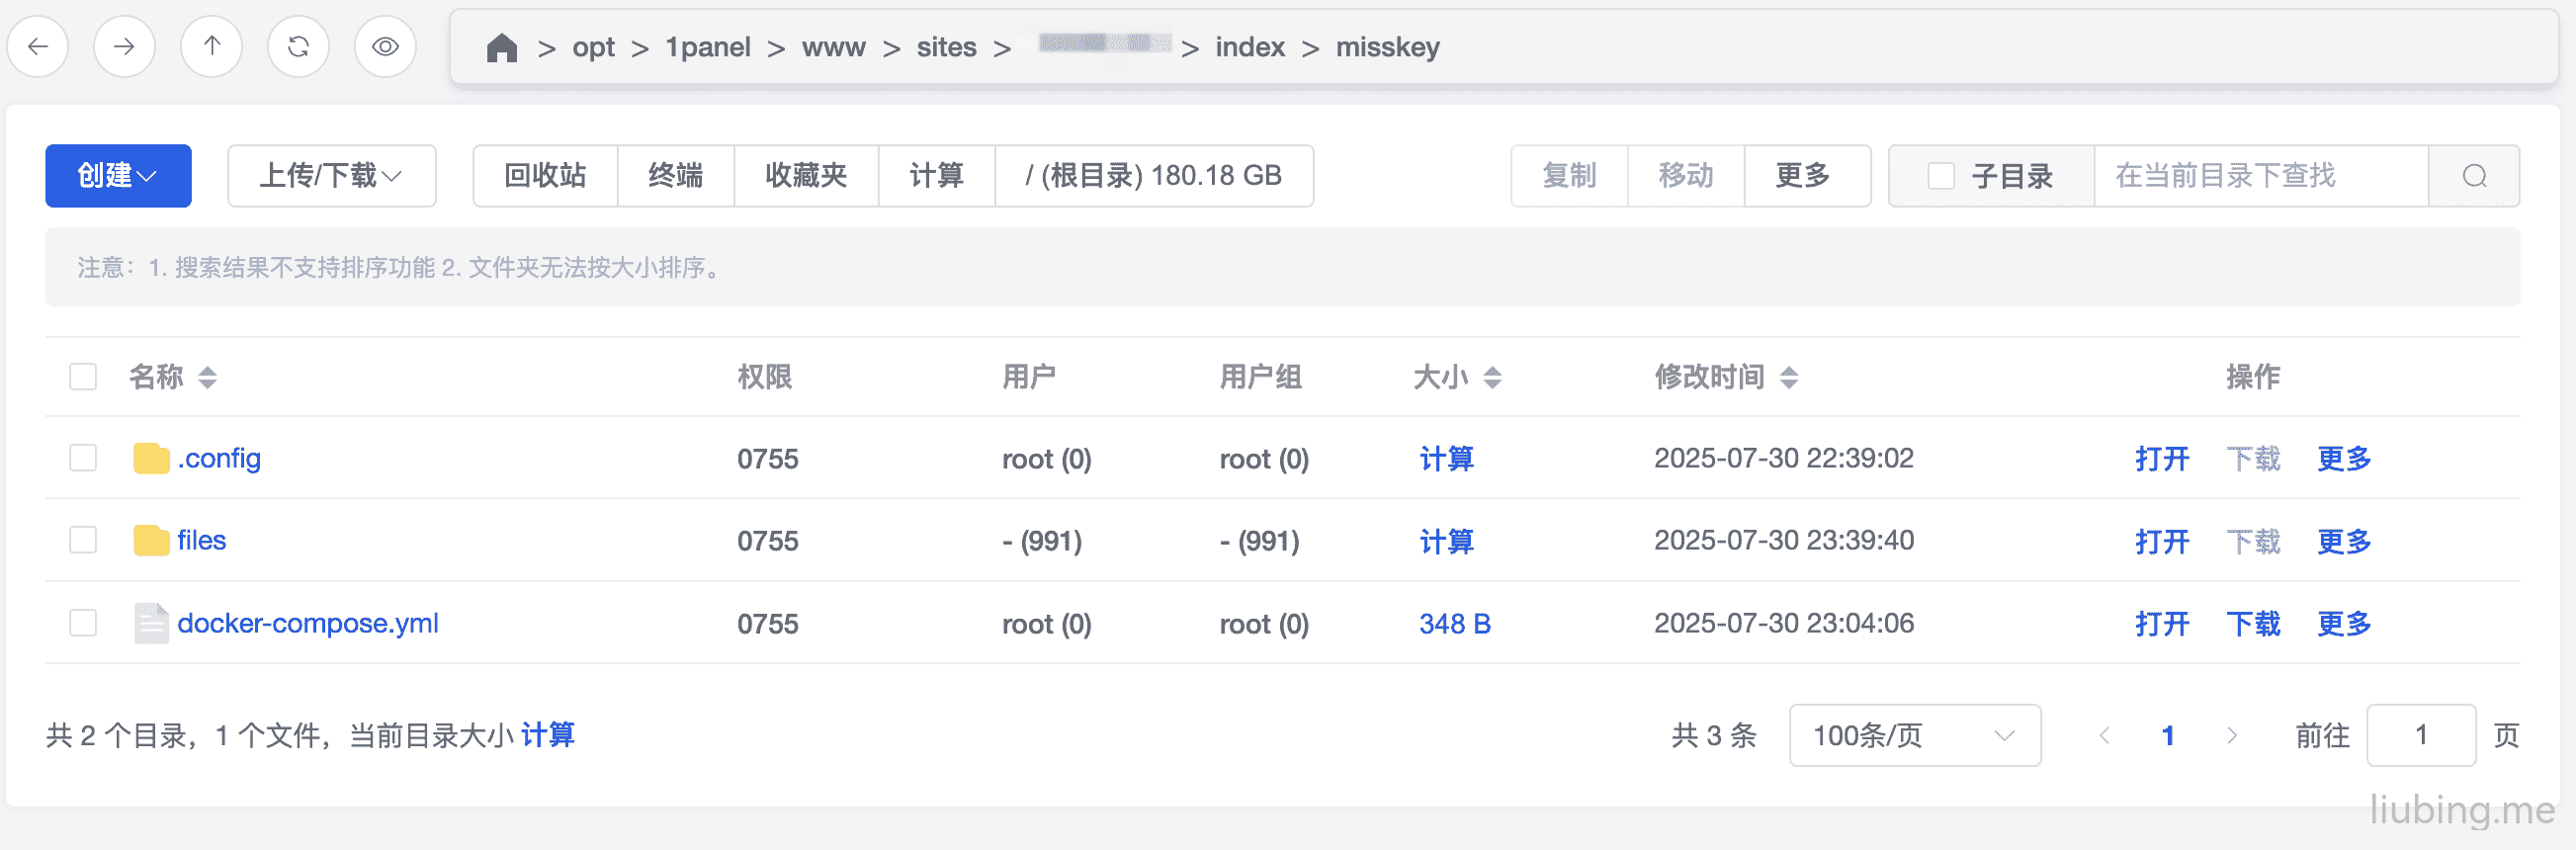
启动 Misskey
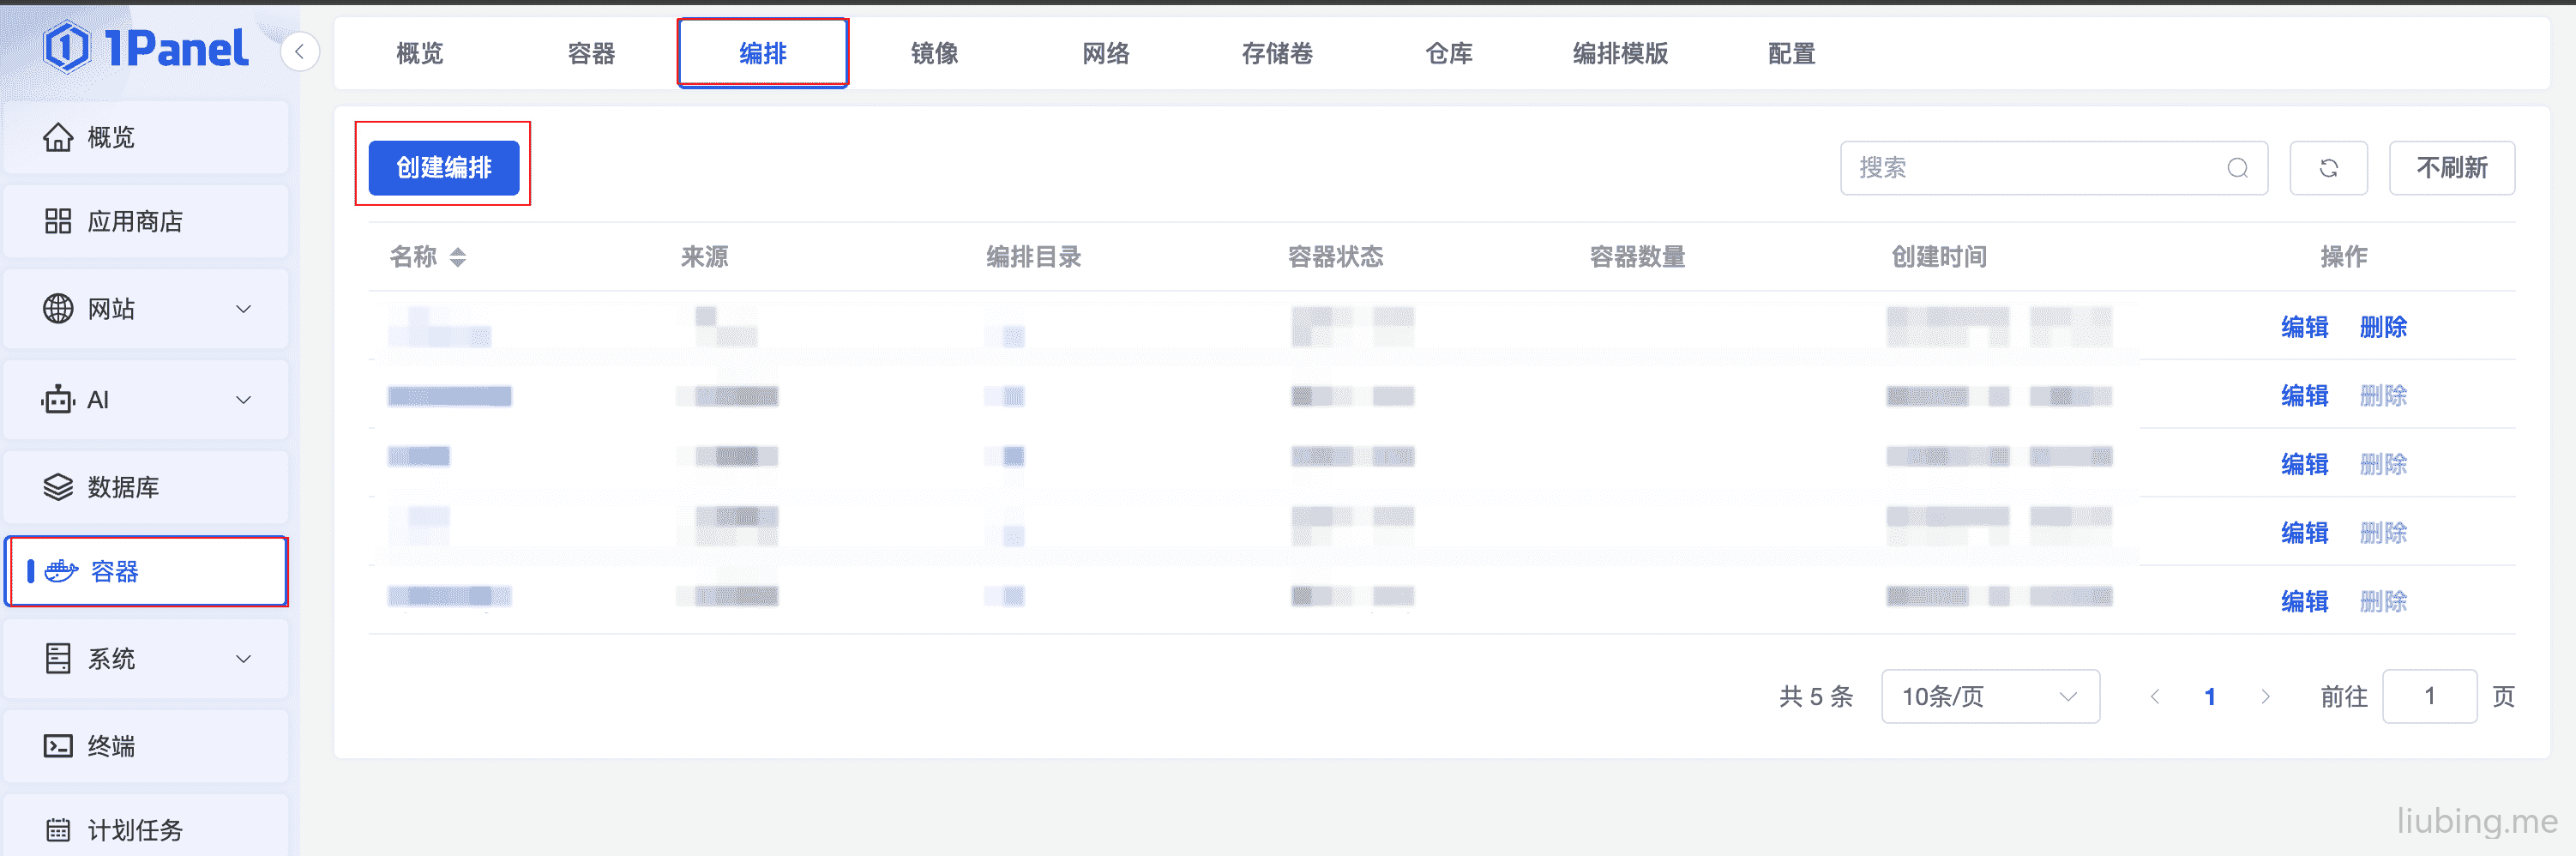
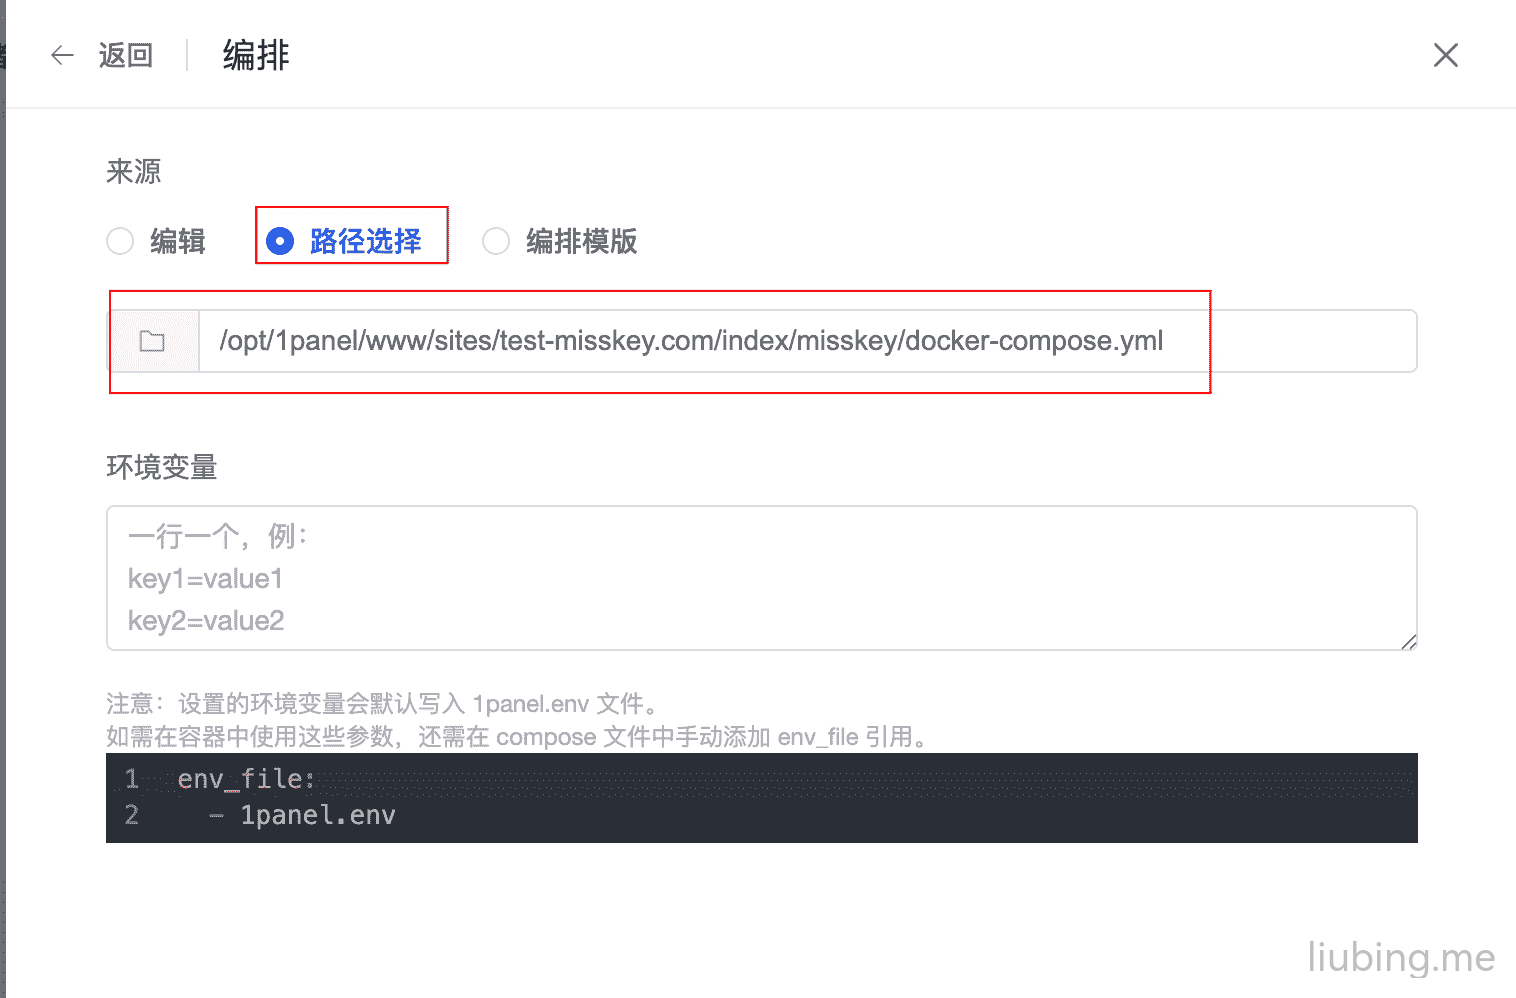
万事具备,只欠启动了,我们在容器里面创建个编排,使用路径选择,路径地址使用刚才创建的docker-compose.yml文件路径,下面的路径中test-misskey.com按实际替换,确认后等待一小会儿,不出意外的话返回到容器列表后就能到看到运行的Misskey了。
/opt/1panel/www/sites/test-misskey.com/index/misskey/docker-compose.yml
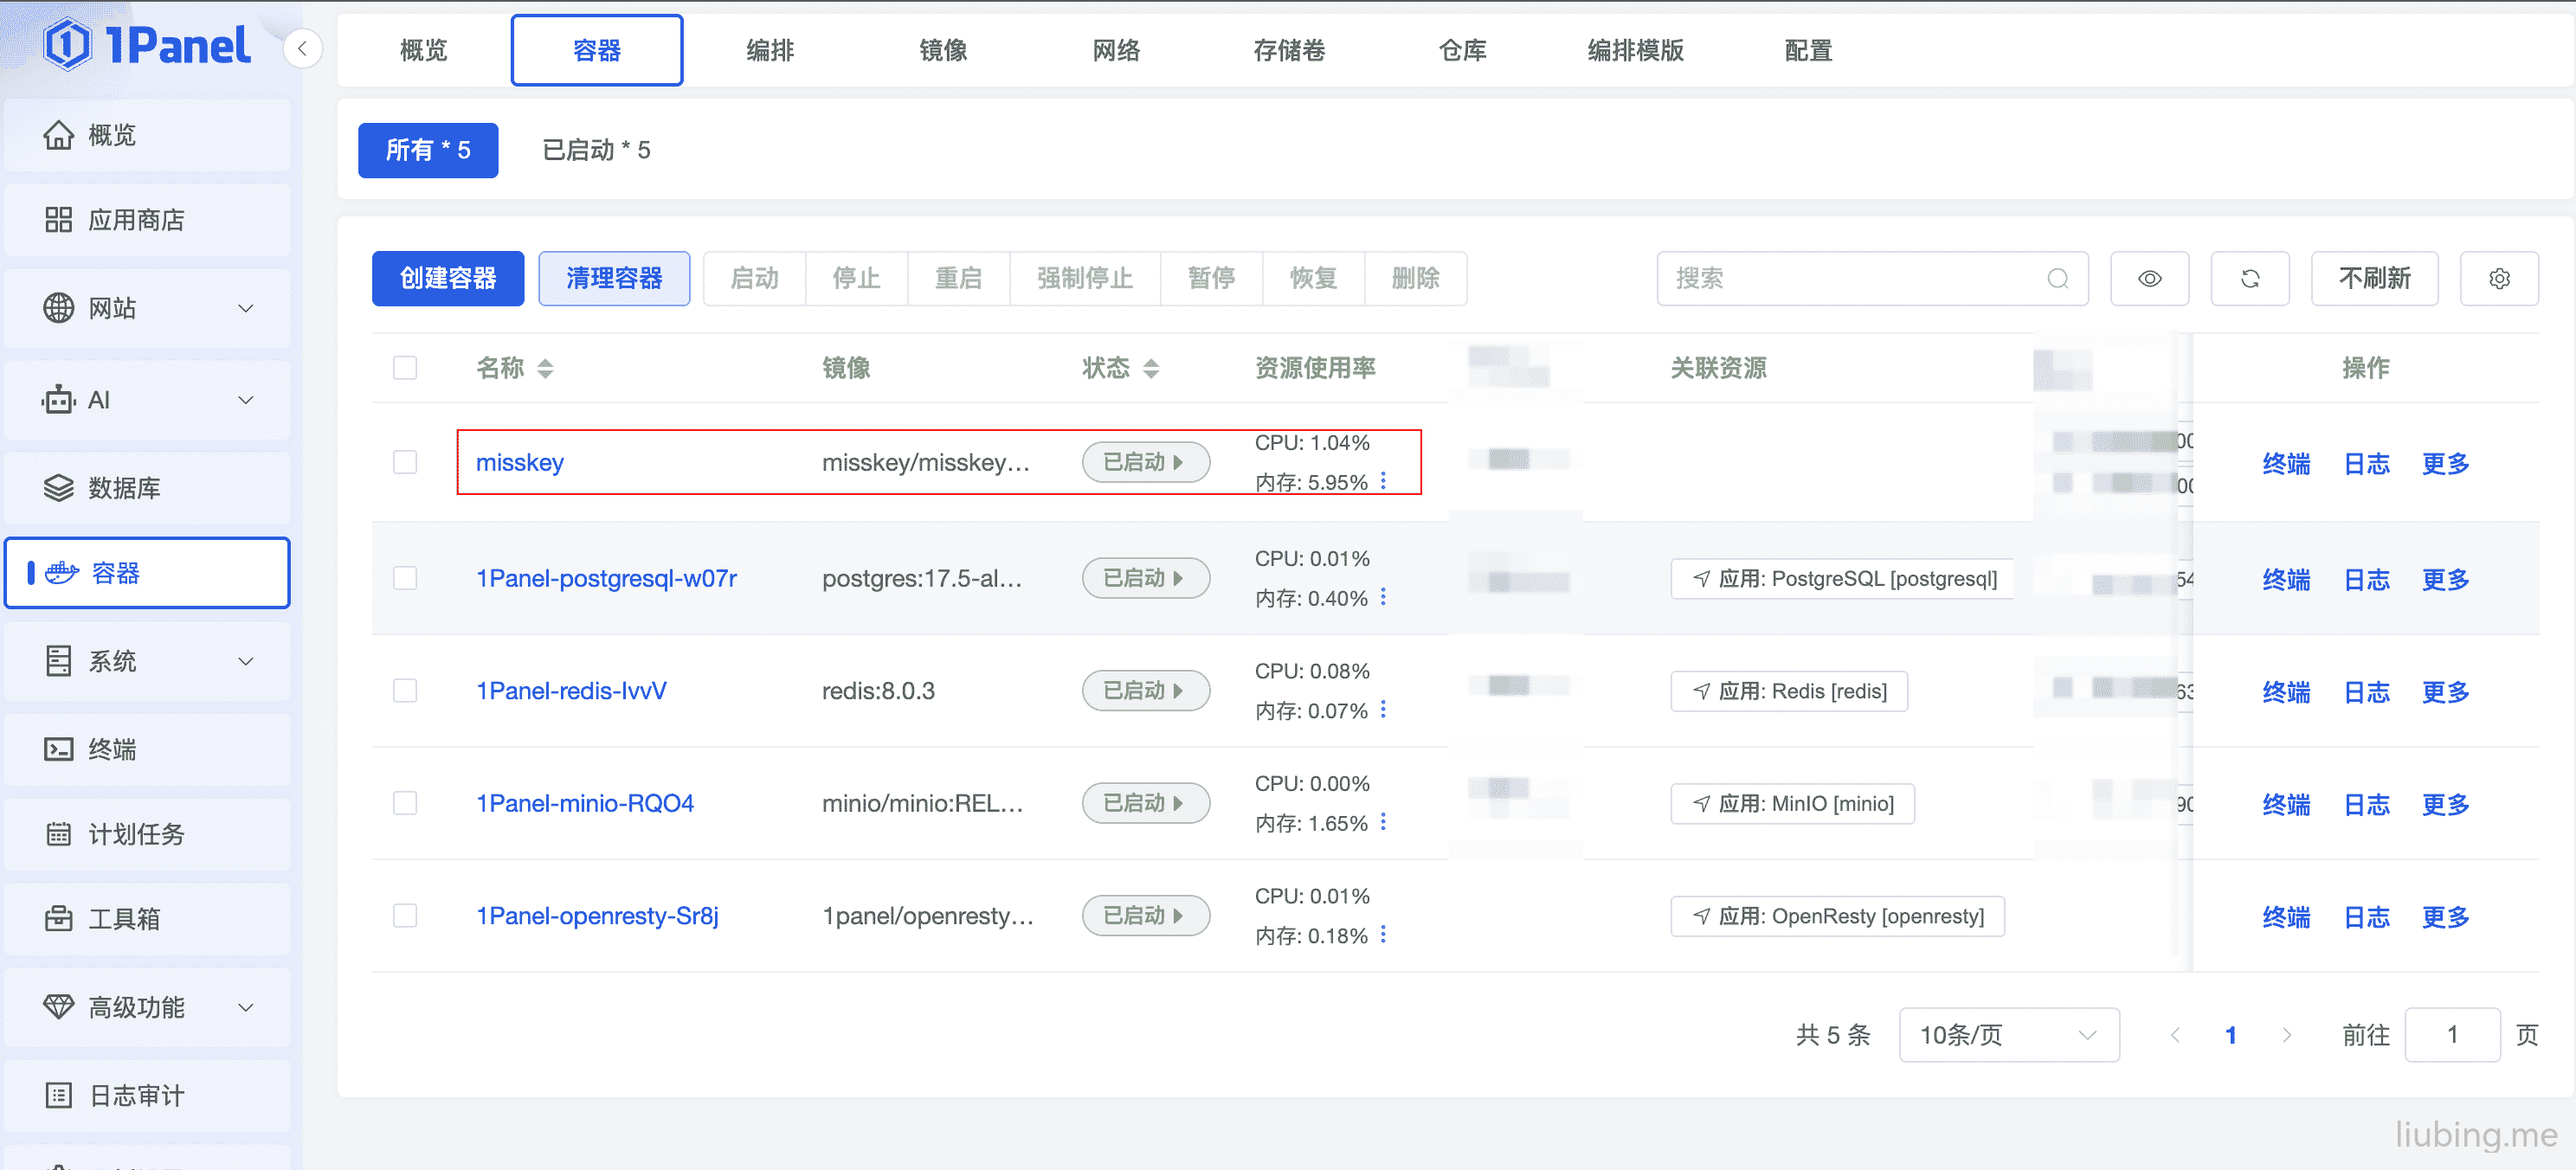
点开右边操作的日志,如果里面出现Welcome to Misskey!字样就代表部署成功了。
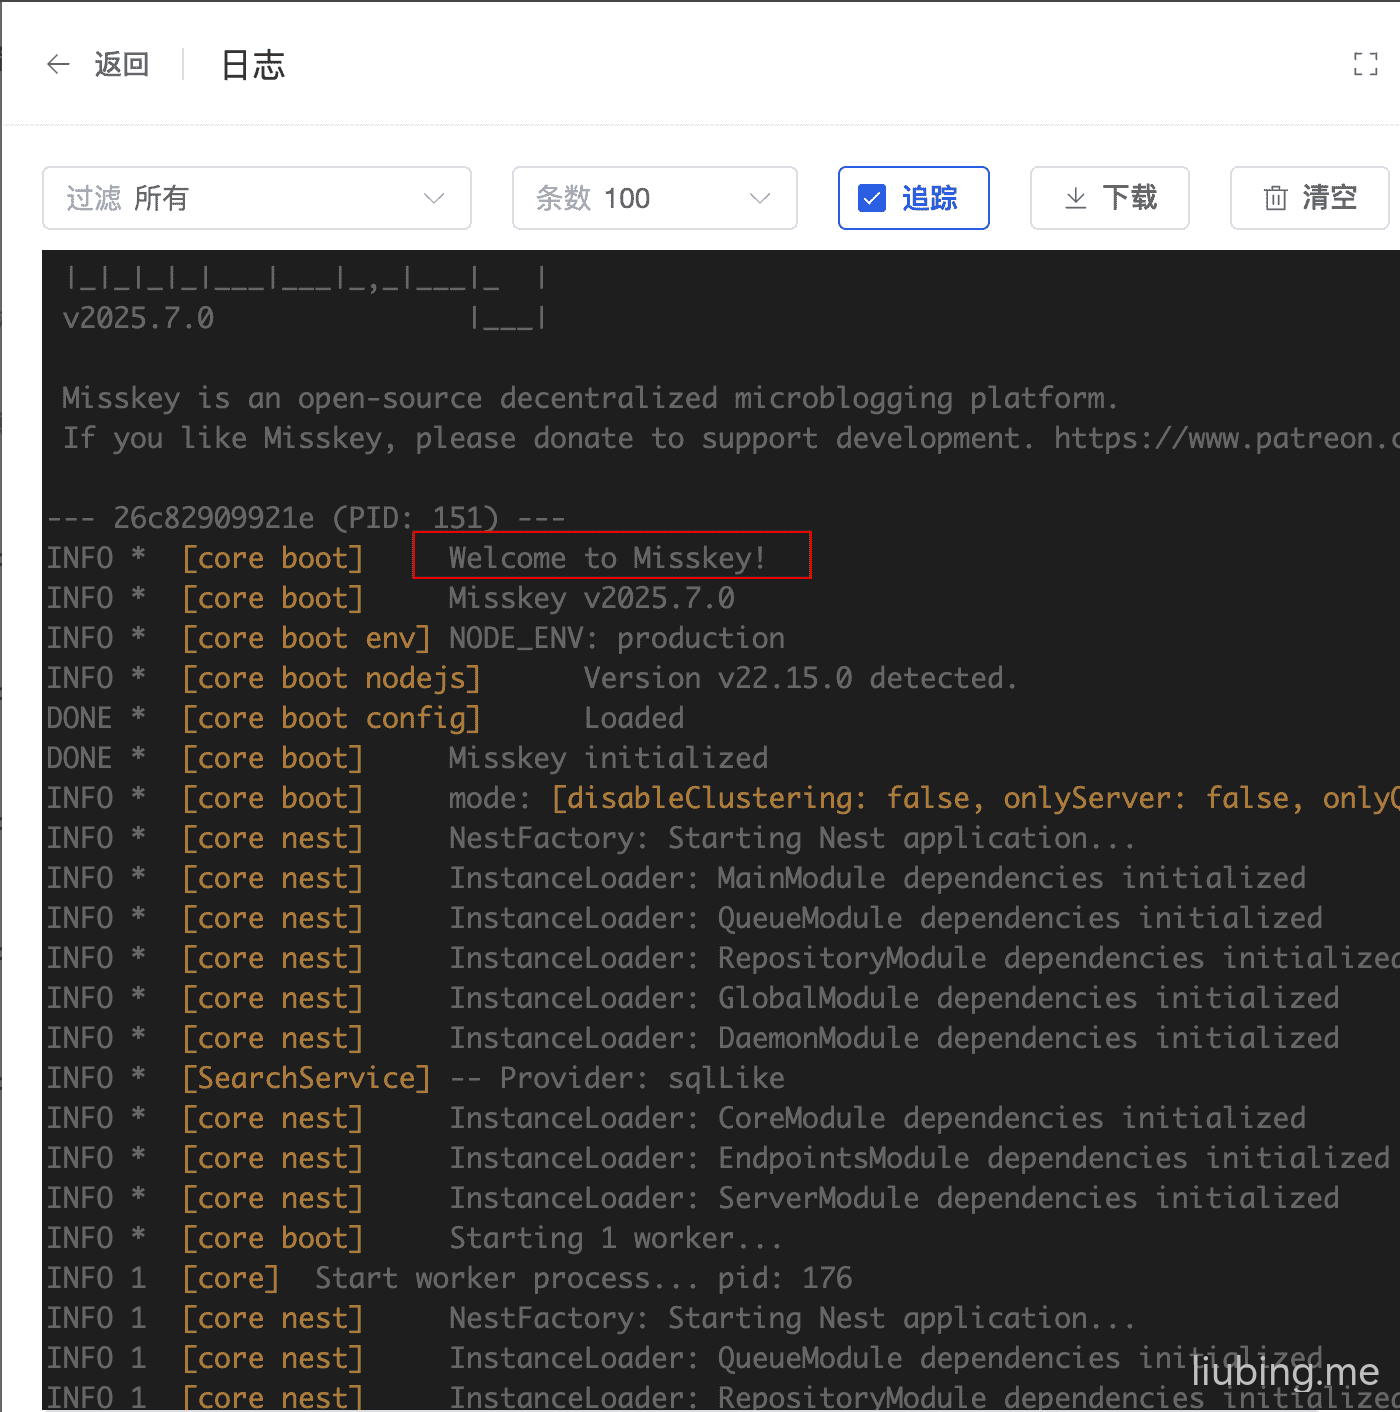
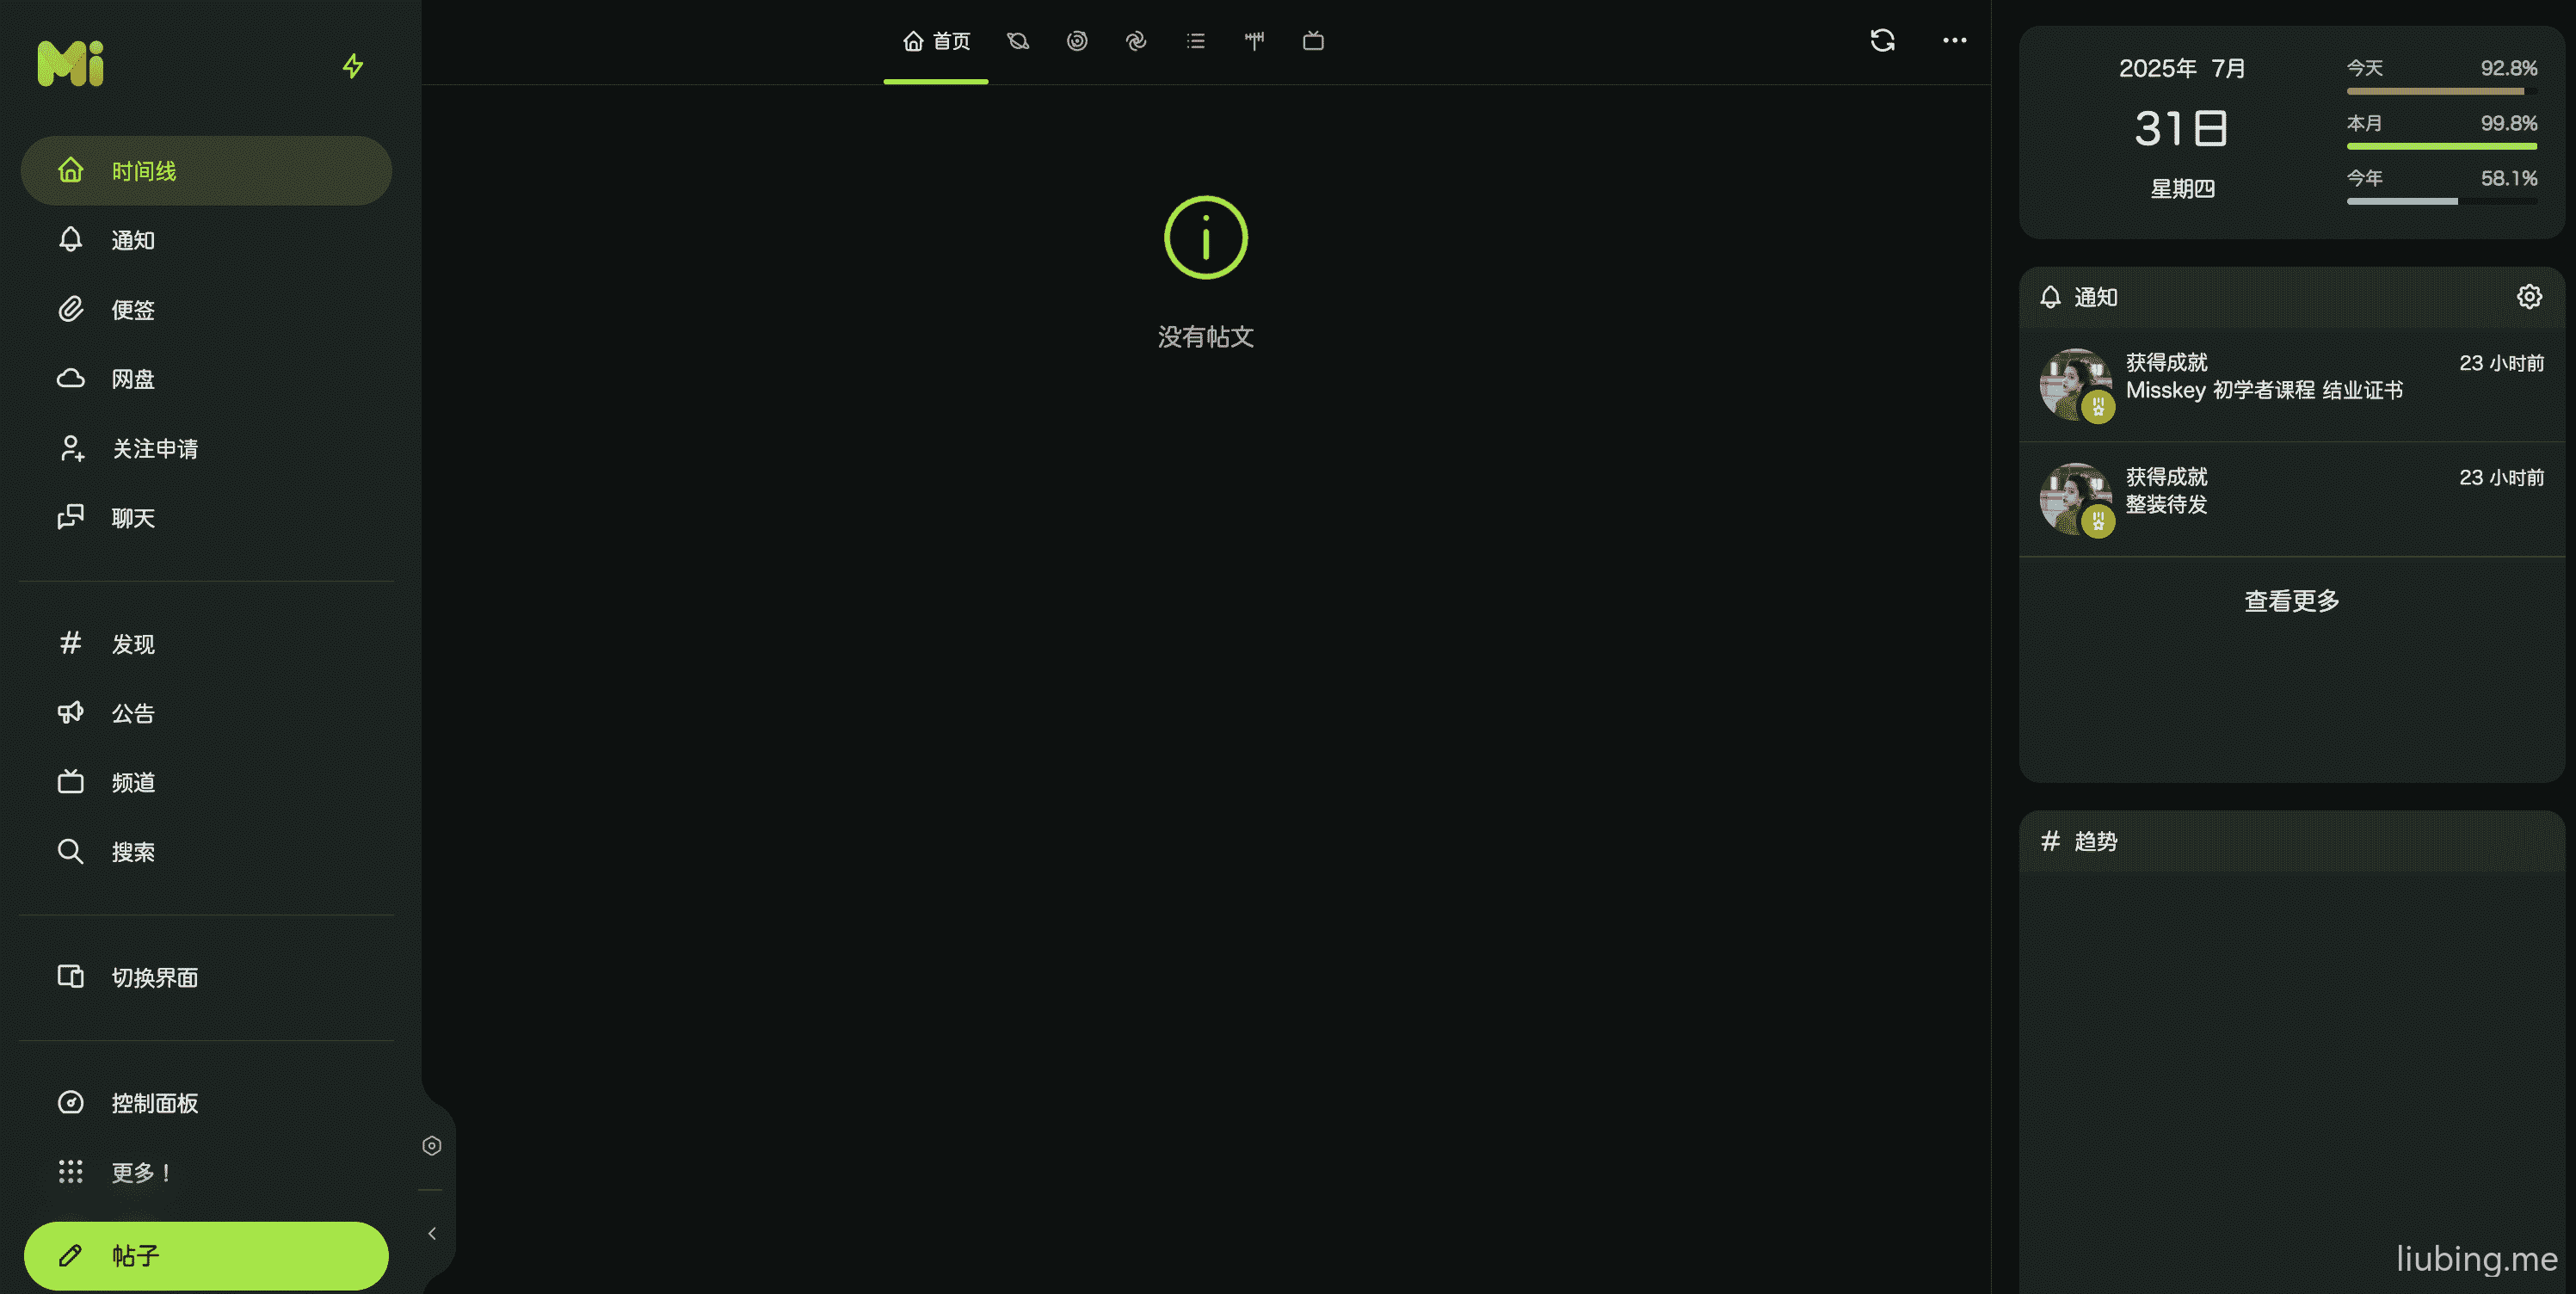
然后打开实际访问的网址就能看到熟悉的页面了,等待加载完整后就可以进行基本设置后使用了。

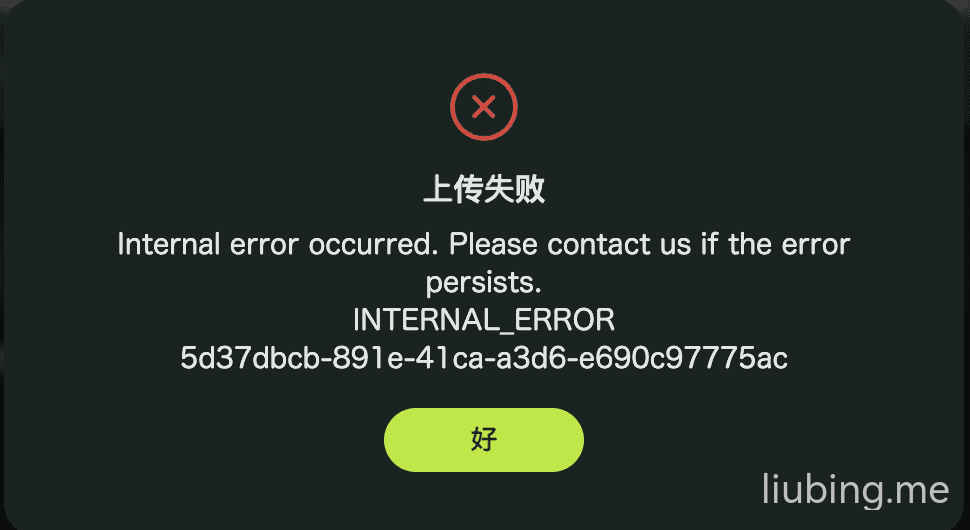
文件上传异常
这个时候你在发帖子上传图片或者设置头像上传图片的时候会有个上传的报错,网上搜索了下,大致是 files 文件夹权限的问题。
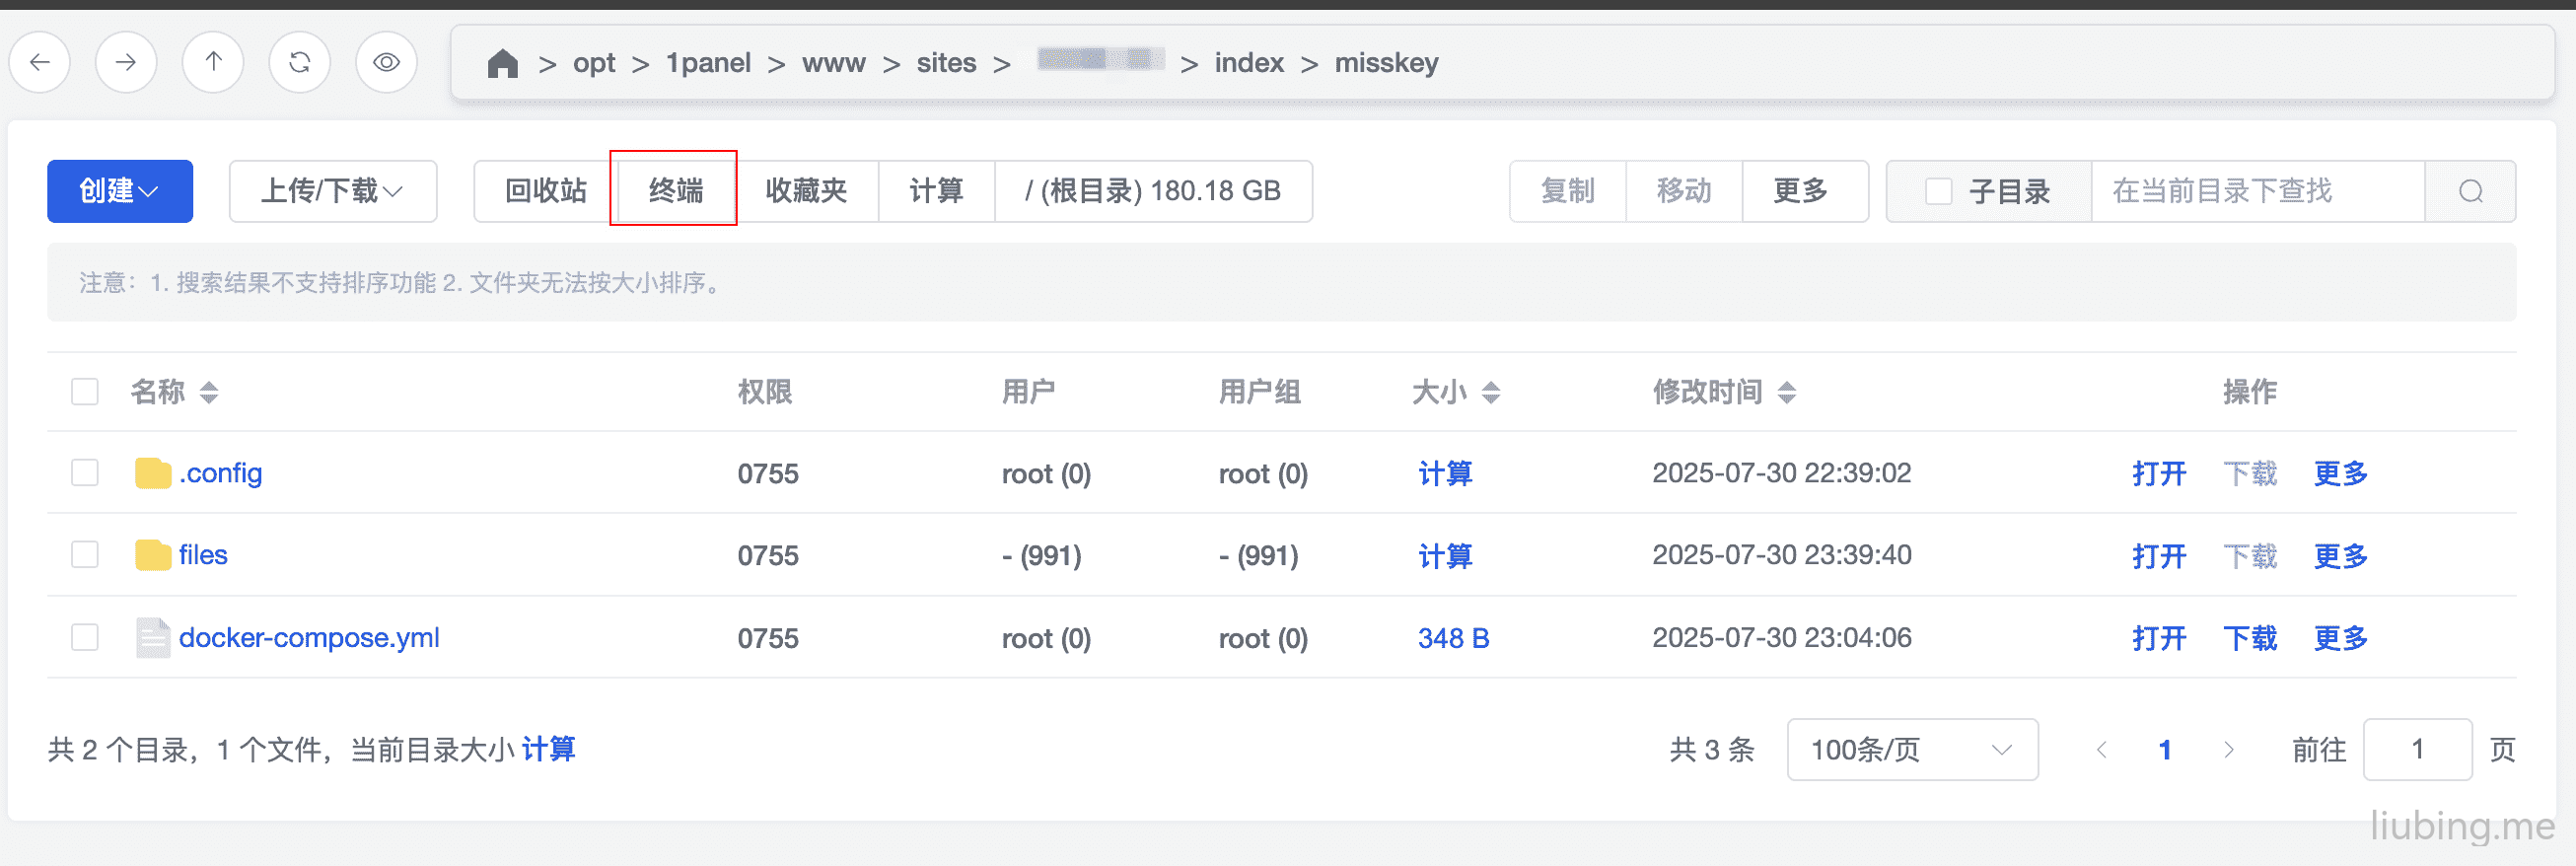
最后在这篇博主教程中找到一个命令,在 misskey 根目录运行后重启下容器。
sudo chown -hR 991:991 ./filesPS:就是这个目录,点击终端后执行上面的命令即可。
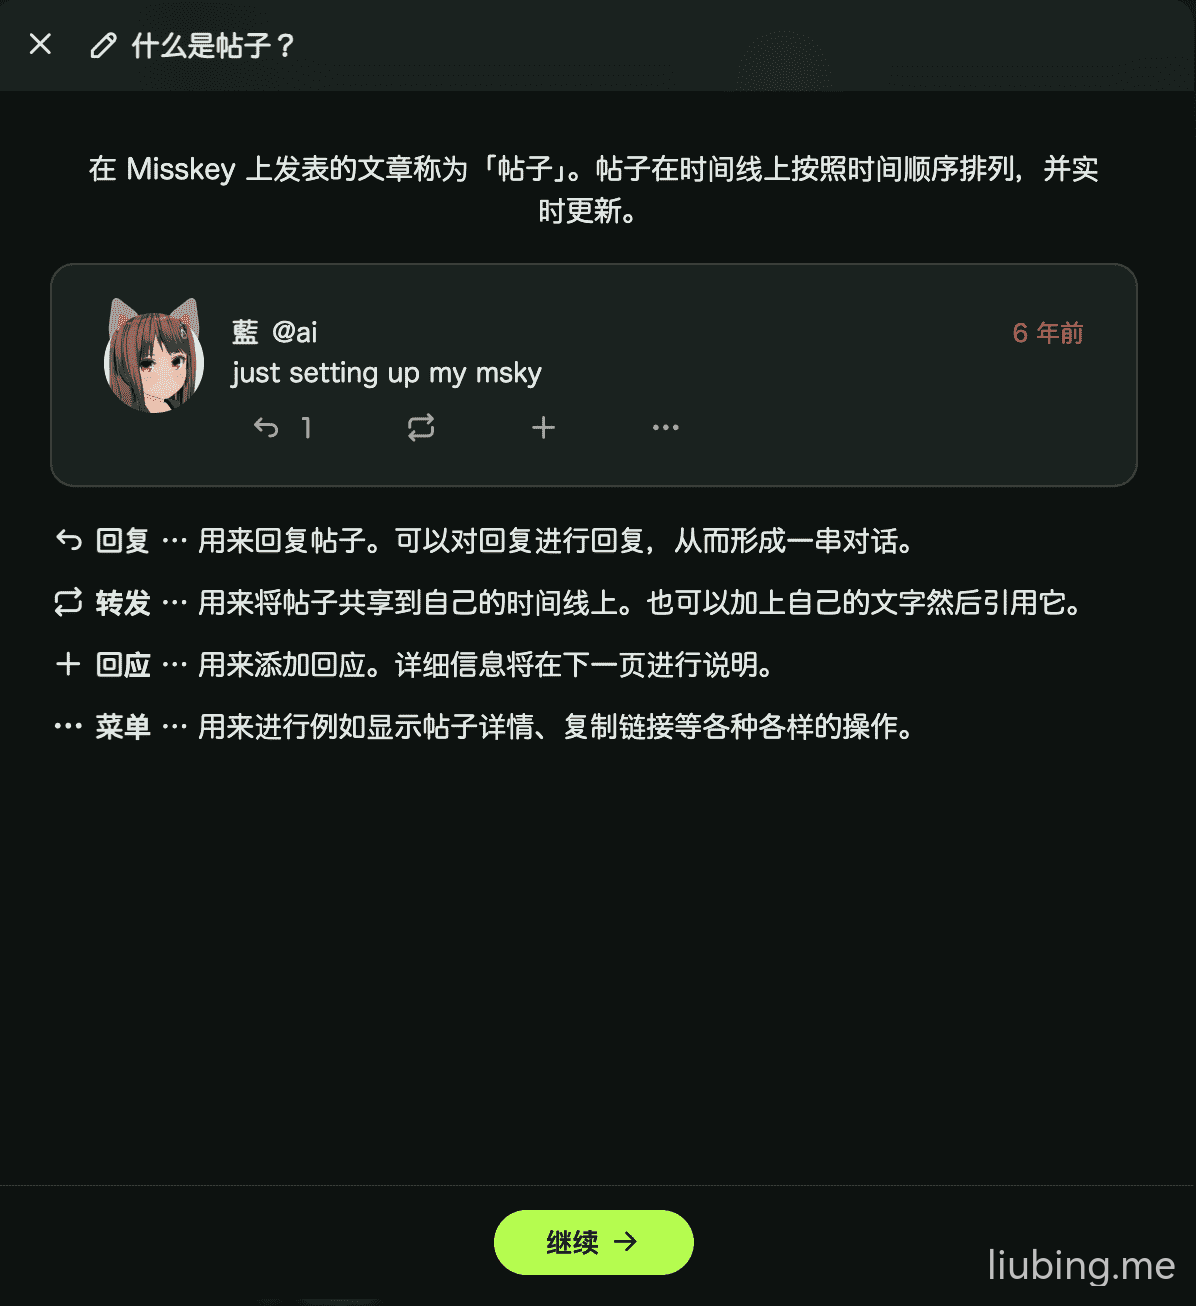
内置 Tip 小教程
结语
最后就可以快乐的玩耍了,希望这个教程可以帮助到有需要的人 😁
PS:博主也在摸索阶段...
其他
Misskey 管理员密码重置
首次安装完成后设置账号和密码的时候由于密码是用的随机生成的密码,而且忘了保存了,导致后面密码不知道是啥了,就很尴尬,网上搜了一圈也没找到相关方法,问了 GPT 也是说的改user表的passwordHash字段,关键表里面都没有这个字段,只能在和 user 相关的表里面找,然后找到了user_profile表,里面正好有个password字段,盲猜一波就是它了,先把原值复制出来备份下。

问了 GPT 得知密码是 bcrypt 哈希(cost 为 8)加密的,叫 GPT 给个在线工具Bcrypt Hash Generator,将Rounds (Cost Factor)调成8,Text to Hash输入明文密码,点击Generate Hash按钮生成 Hash,然后复制后替换库里面password的值即可。

 Cloudflare
 1Panel
 VuePress
 VuePress Theme Hope