- 本文链接:Vue3 H5实现一个自定义扫码界面
- 版权声明: 本博客所有文章除特别声明外,均采用
BY-NC-SA 许可协议,转载请注明出处!
Vue3 H5实现一个自定义扫码界面
2023/12/31大约 5 分钟
Vue3 H5实现一个自定义扫码界面
前段时间由于业务需要,需要在客户使用的H5端集成一个扫描二维码的功能,调研后决定使用Zxing-js的库,目前市面上大部分扫码功能都是基于该库去实现。
简单实现
可以参考官网文档中的示例:Scan 1D/2D Code from Video Camera,示例代码可以点击查看。
按照示例代码中的写法转换成Vue3的写法:
<template>
  <div class="relative h-100vh overflow-hidden">
    <video
      id="qrcode-scanner"
      class="h-full absolute left-1/2 -translate-x-1/2"
    ></video>
  </div>
</template>

<script lang="ts" setup>
import { BrowserMultiFormatReader } from '@zxing/library'
import { ref, onMounted } from 'vue'

const loading = ref(false)
const render = new BrowserMultiFormatReader()
const deviceId = ref('')

onMounted(() => {
  openScan()
})

function openScan() {
  loading.value = true
  render.listVideoInputDevices().then((videoInputDevices) => {
    if (videoInputDevices.length) {
      // 0 前置摄像头  1 后置摄像头
      // 默认获取第一个摄像头设备id
      deviceId.value = videoInputDevices[0]?.deviceId
      if (videoInputDevices.length > 1) {
        deviceId.value = videoInputDevices[1]?.deviceId
      }
      decodeFromInputVideo()
    }
  })
}

function decodeFromInputVideo() {
  render.decodeFromVideoDevice(deviceId.value, 'qrcode-scanner', (result) => {
    if (result) {
      console.log('result', result)
    }
  })
}
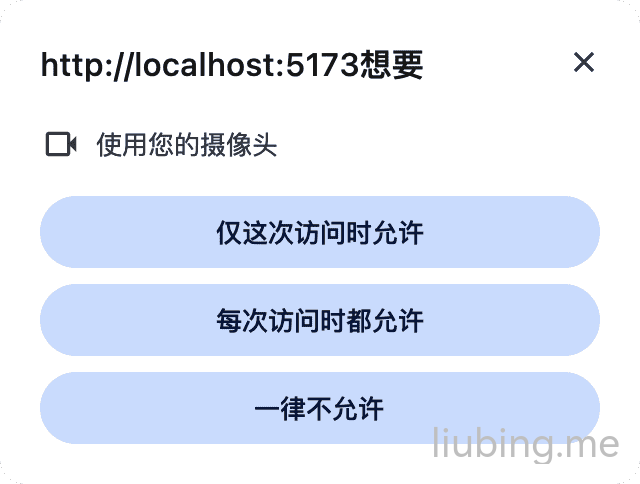
</script>首次运行后会有权限的提示,这里先选择每次访问都允许
尝试识别一个二维码
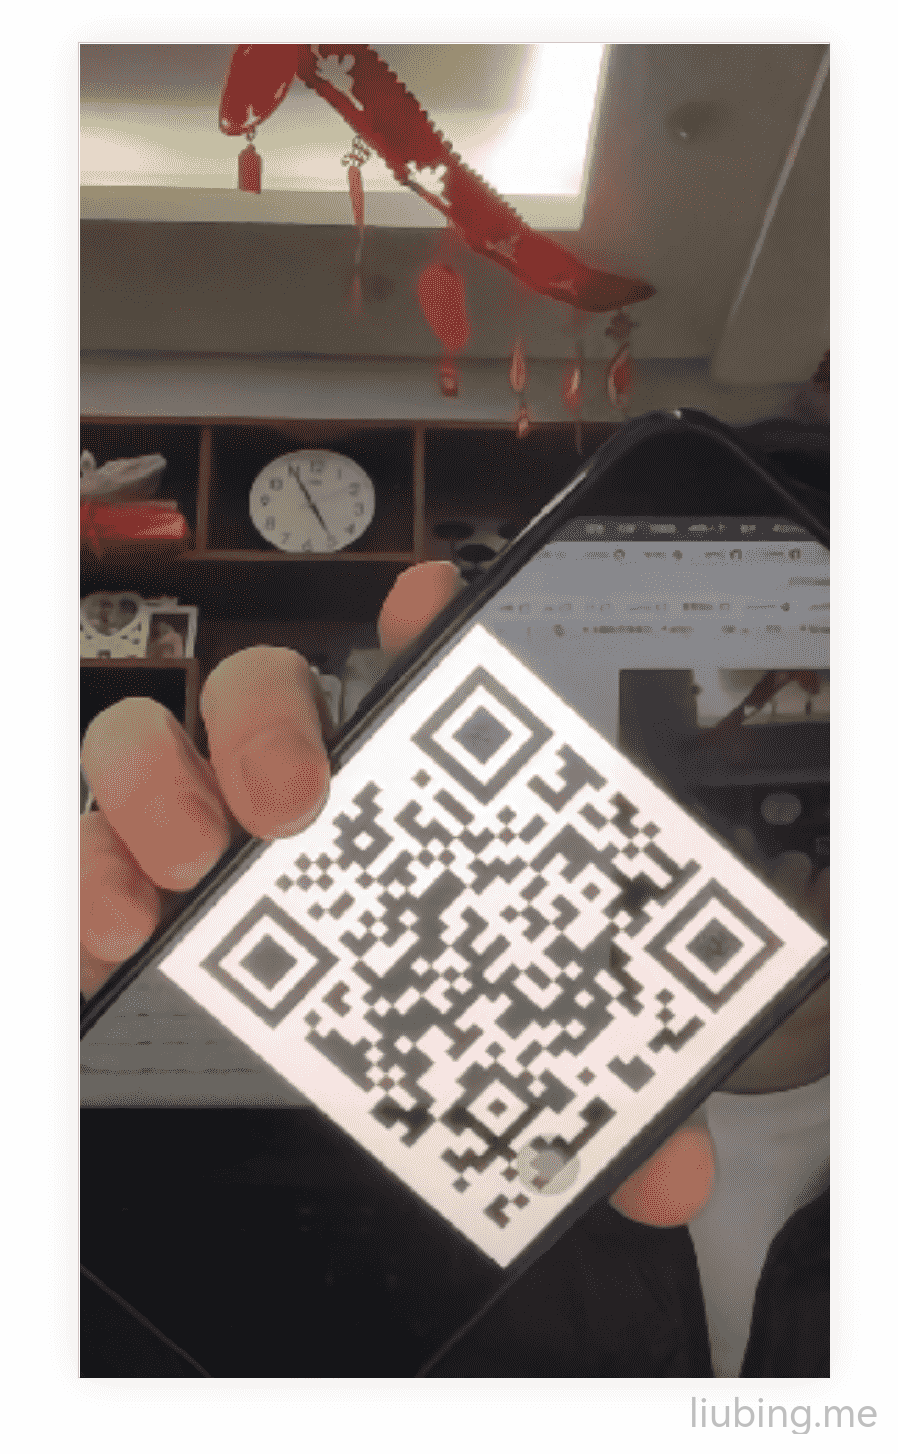
识别结果:

模拟扫码框
相关样式使用的UnoCSS
模拟扫描框
<template>
  <div class="relative h-100vh overflow-hidden">
    <video
      id="qrcode-scanner"
      class="h-full absolute left-1/2 -translate-x-1/2"
    ></video>
    <!-- 扫描框 -->
    <div class="scan-box h-400 w-310 rounded-20 absolute-center">
      <!-- 扫描框四个角 -->
      <div class="relative h-full w-full color-white">
        <svg-icon
          class="absolute left-16 top-16 h-42 w-42"
          name="scan-top-left"
        />
        <svg-icon
          class="absolute right-16 top-16 h-42 w-42"
          name="scan-top-right"
        />
        <svg-icon
          class="absolute bottom-16 left-16 h-42 w-42"
          name="scan-bottom-left"
        />
        <svg-icon
          class="absolute bottom-16 right-16 h-42 w-42"
          name="scan-bottom-right"
        />
      </div>
    </div>
  </div>
</template>

<script lang="ts" setup>
import { ref, onMounted } from 'vue'
import { BrowserMultiFormatReader } from '@zxing/library'

const render = new BrowserMultiFormatReader()
const deviceId = ref('')

onMounted(() => {
  openScan()
})

function openScan() {
  render.listVideoInputDevices().then((videoInputDevices) => {
    if (videoInputDevices.length) {
      // 0 前置摄像头  1 后置摄像头
      // 默认获取第一个摄像头设备id
      deviceId.value = videoInputDevices[0]?.deviceId
      if (videoInputDevices.length > 1) {
        deviceId.value = videoInputDevices[1]?.deviceId
      }
      decodeFromInputVideo()
    }
  })
}

function decodeFromInputVideo() {
  render.decodeFromVideoDevice(deviceId.value, 'qrcode-scanner', (result) => {
    if (result) {
      console.log('result', result)
    }
  })
}
</script>

<style lang="less">
.scan-box {
  box-shadow: rgba(0, 0, 0, 0.5) 0px 0px 0px 5000px;
}
</style>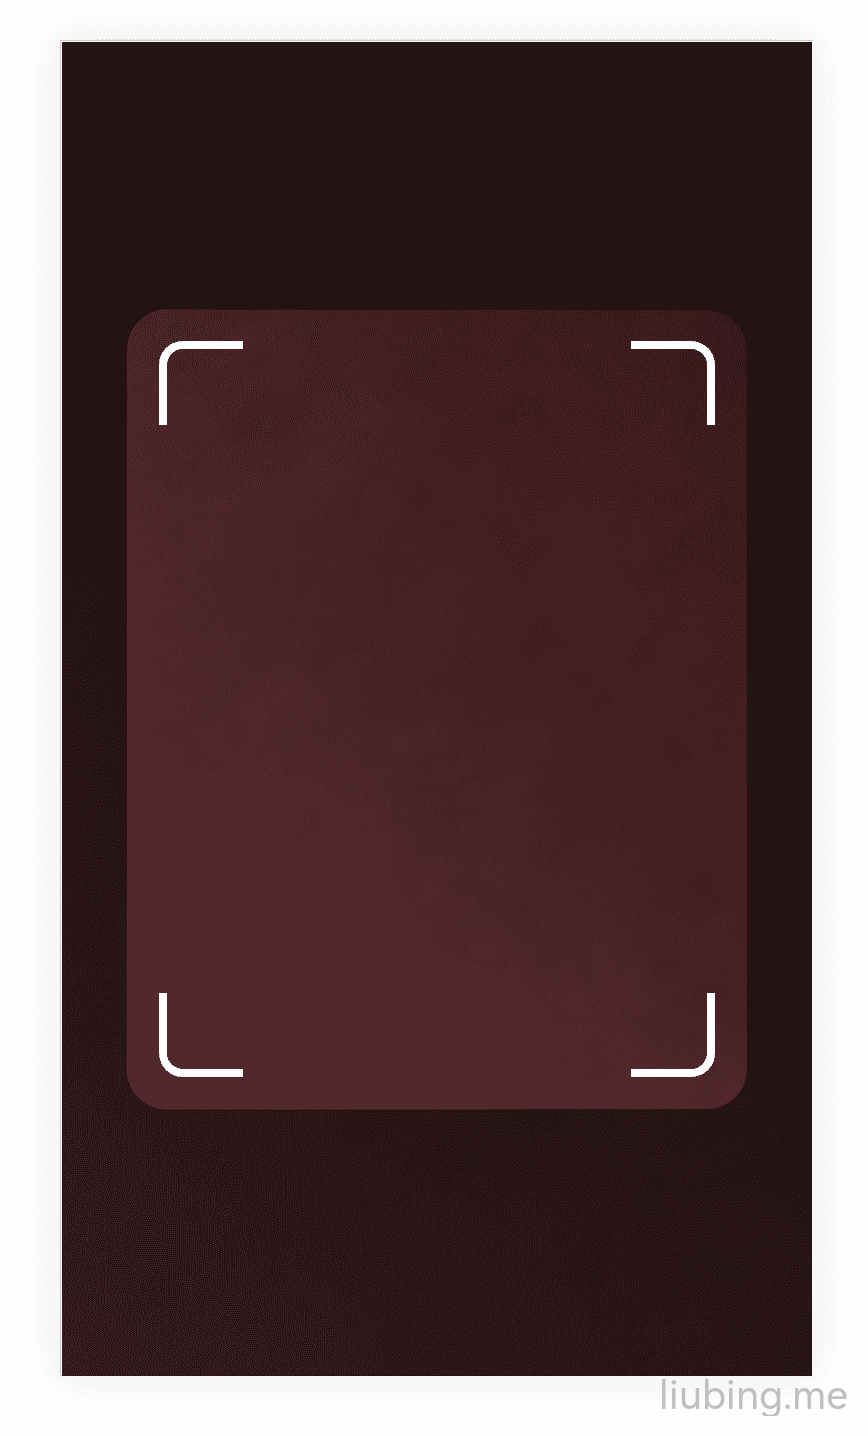
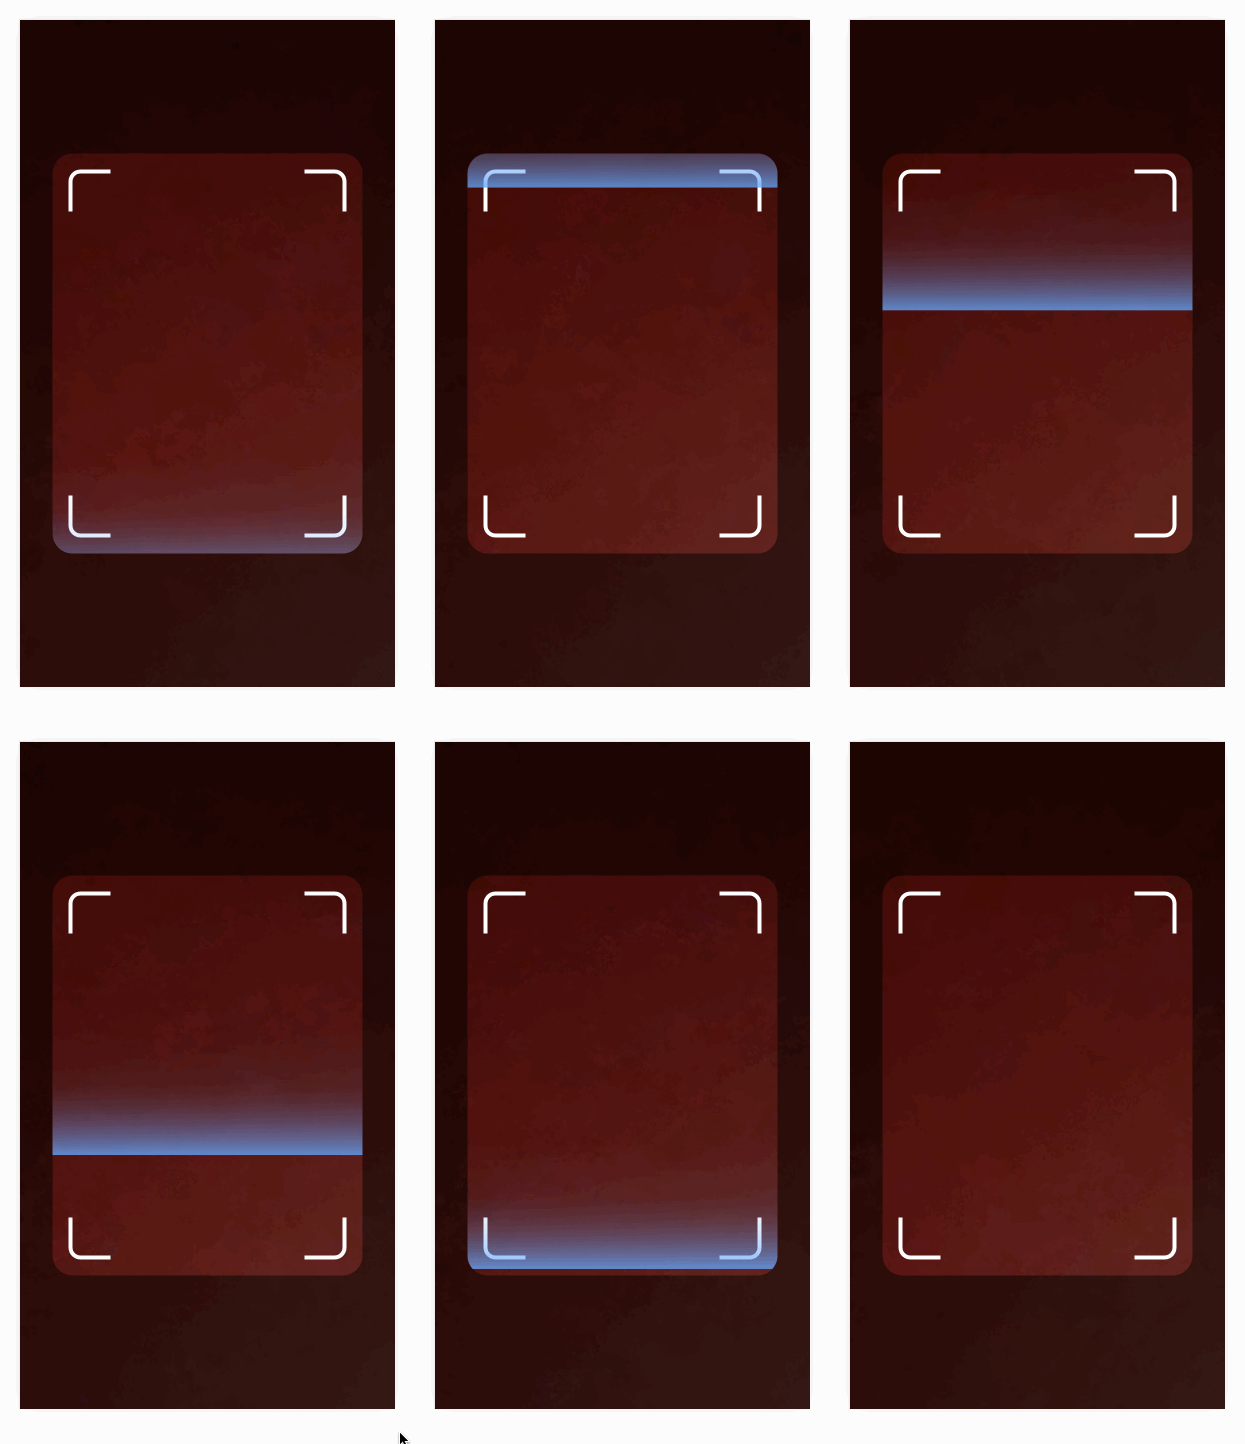
模拟上下扫描效果
<template>
<div class="relative h-100vh overflow-hidden">
<video
id="qrcode-scanner"
class="h-full absolute left-1/2 -translate-x-1/2"
></video>
<!-- 扫描框 -->
<div class="scan-box h-400 w-310 rounded-20 absolute-center">
<!-- 扫描框四个角 -->
<div class="relative h-full w-full color-white">
<svg-icon
class="absolute left-16 top-16 h-42 w-42"
name="scan-top-left"
/>
<svg-icon
class="absolute right-16 top-16 h-42 w-42"
name="scan-top-right"
/>
<svg-icon
class="absolute bottom-16 left-16 h-42 w-42"
name="scan-bottom-left"
/>
<svg-icon
class="absolute bottom-16 right-16 h-42 w-42"
name="scan-bottom-right"
/>
</div>
<!-- 扫描动画 -->
<div class="absolute top-0 h-full w-full overflow-hidden rounded-20">
<div class="scanning absolute inset-x-0 inset-y-0 z-2 h-126"></div>
</div>
</div>
</div>
</template>
<script lang="ts" setup>
import { ref, onMounted } from 'vue'
import { BrowserMultiFormatReader } from '@zxing/library'
const render = new BrowserMultiFormatReader()
const deviceId = ref('')
onMounted(() => {
openScan()
})
function openScan() {
render.listVideoInputDevices().then((videoInputDevices) => {
if (videoInputDevices.length) {
// 0 前置摄像头 1 后置摄像头
// 默认获取第一个摄像头设备id
deviceId.value = videoInputDevices[0]?.deviceId
if (videoInputDevices.length > 1) {
deviceId.value = videoInputDevices[1]?.deviceId
}
decodeFromInputVideo()
}
})
}
function decodeFromInputVideo() {
render.decodeFromVideoDevice(deviceId.value, 'qrcode-scanner', (result) => {
if (result) {
console.log('result', result)
}
})
}
</script>
<style lang="less">
.scan-box {
box-shadow: rgba(0, 0, 0, 0.5) 0px 0px 0px 5000px;
}
.scanning {
background: linear-gradient(
rgba(255, 255, 255, 0),
80%,
rgba(96, 165, 250, 0.8)
);
animation: move 2s linear infinite;
-webkit-animation: move 2s linear infinite;
}
优化封装组件
为了方便其他地方使用,这里可以封装成QrcodeScanner组件,优化下交互及异常处理,如新增Loading、异常信息展示等等。
点击查看
<template>
  <div class="relative h-100vh overflow-hidden">
    <!-- 主体 -->
    <video
      id="qrcode-scanner"
      class="h-full absolute left-1/2 -translate-x-1/2"
    ></video>
    <!-- 扫描框 -->
    <div class="scan-box h-400 w-310 rounded-20 absolute-center">
      <!-- 扫描框四个角 -->
      <div
        class="relative h-full w-full"
        :class="{
          'color-white': !qrcodeText,
          'color-blue': qrcodeText
        }"
      >
        <svg-icon
          class="absolute left-16 top-16 h-42 w-42"
          name="scan-top-left"
        />
        <svg-icon
          class="absolute right-16 top-16 h-42 w-42"
          name="scan-top-right"
        />
        <svg-icon
          class="absolute bottom-16 left-16 h-42 w-42"
          name="scan-bottom-left"
        />
        <svg-icon
          class="absolute bottom-16 right-16 h-42 w-42"
          name="scan-bottom-right"
        />
      </div>
      <!-- 扫描动画 -->
      <div
        v-if="!loading && !errorText && !qrcodeText"
        class="absolute top-0 h-full w-full overflow-hidden rounded-20"
      >
        <div class="scanning absolute inset-x-0 inset-y-0 z-2 h-126"></div>
      </div>
      <!-- loading加载 -->
      <div v-if="loading" class="absolute-center">加载中...</div>
      <!-- 异常信息 -->
      <div v-if="errorText" class="absolute-center">{{ errorText }}</div>
    </div>
  </div>
</template>

<script lang="ts" setup>
import { BrowserMultiFormatReader } from '@zxing/library'
import { ref, onMounted, onBeforeUnmount } from 'vue'

const emit = defineEmits<{
  (e: 'scaned', value: string): void
}>()

const render = new BrowserMultiFormatReader()
const loading = ref(false) // Loading
const errorText = ref('') // 错误信息
const qrcodeText = ref('') // 扫描到的内容
const deviceId = ref('') // 使用的设备ID

onMounted(() => {
  openScan()
})

onBeforeUnmount(() => {
  render.reset()
})

function openScan() {
  loading.value = true
  // 初始化
  render
    .listVideoInputDevices()
    .then((videoInputDevices) => {
      if (videoInputDevices.length) {
        // 0 前置摄像头  1 后置摄像头
        // 默认获取第一个摄像头设备id
        deviceId.value = videoInputDevices[0]?.deviceId
        if (videoInputDevices.length > 1) {
          deviceId.value = videoInputDevices[1]?.deviceId
        }
        decodeFromInputVideo()
      } else {
        // 未检测到摄像头
        loading.value = false
        errorText.value = '未检测到摄像头'
      }
    })
    .catch((err) => {
      handleError(err)
    })
}

function decodeFromInputVideo() {
  render
    .decodeFromVideoDevice(deviceId.value, 'qrcode-scanner', (result) => {
      if (result) {
        const resultText = result.getText()
        render.stopContinuousDecode()
        qrcodeText.value = resultText
        emit('scaned', qrcodeText.value)
      }
      if (loading.value) loading.value = false
    })
    .catch((err) => {
      handleError(err)
    })
}

function handleError(err: any) {
  loading.value = false
  if (err.message === 'Permission denied') {
    errorText.value = '授权失败'
  } else {
    errorText.value = '初始化异常请重试'
  }
}

defineExpose({
  render
})
</script>

<style lang="less">
.scan-box {
  box-shadow: rgba(0, 0, 0, 0.5) 0px 0px 0px 5000px;
}
.scanning {
  background: linear-gradient(
    rgba(255, 255, 255, 0),
    80%,
    rgba(96, 165, 250, 0.8)
  );
  animation: move 2s linear infinite;
  -webkit-animation: move 2s linear infinite;
}

@keyframes move {
  0% {
    transform: translateY(-126px);
  }
  100% {
    transform: translateY(400px);
  }
}
</style>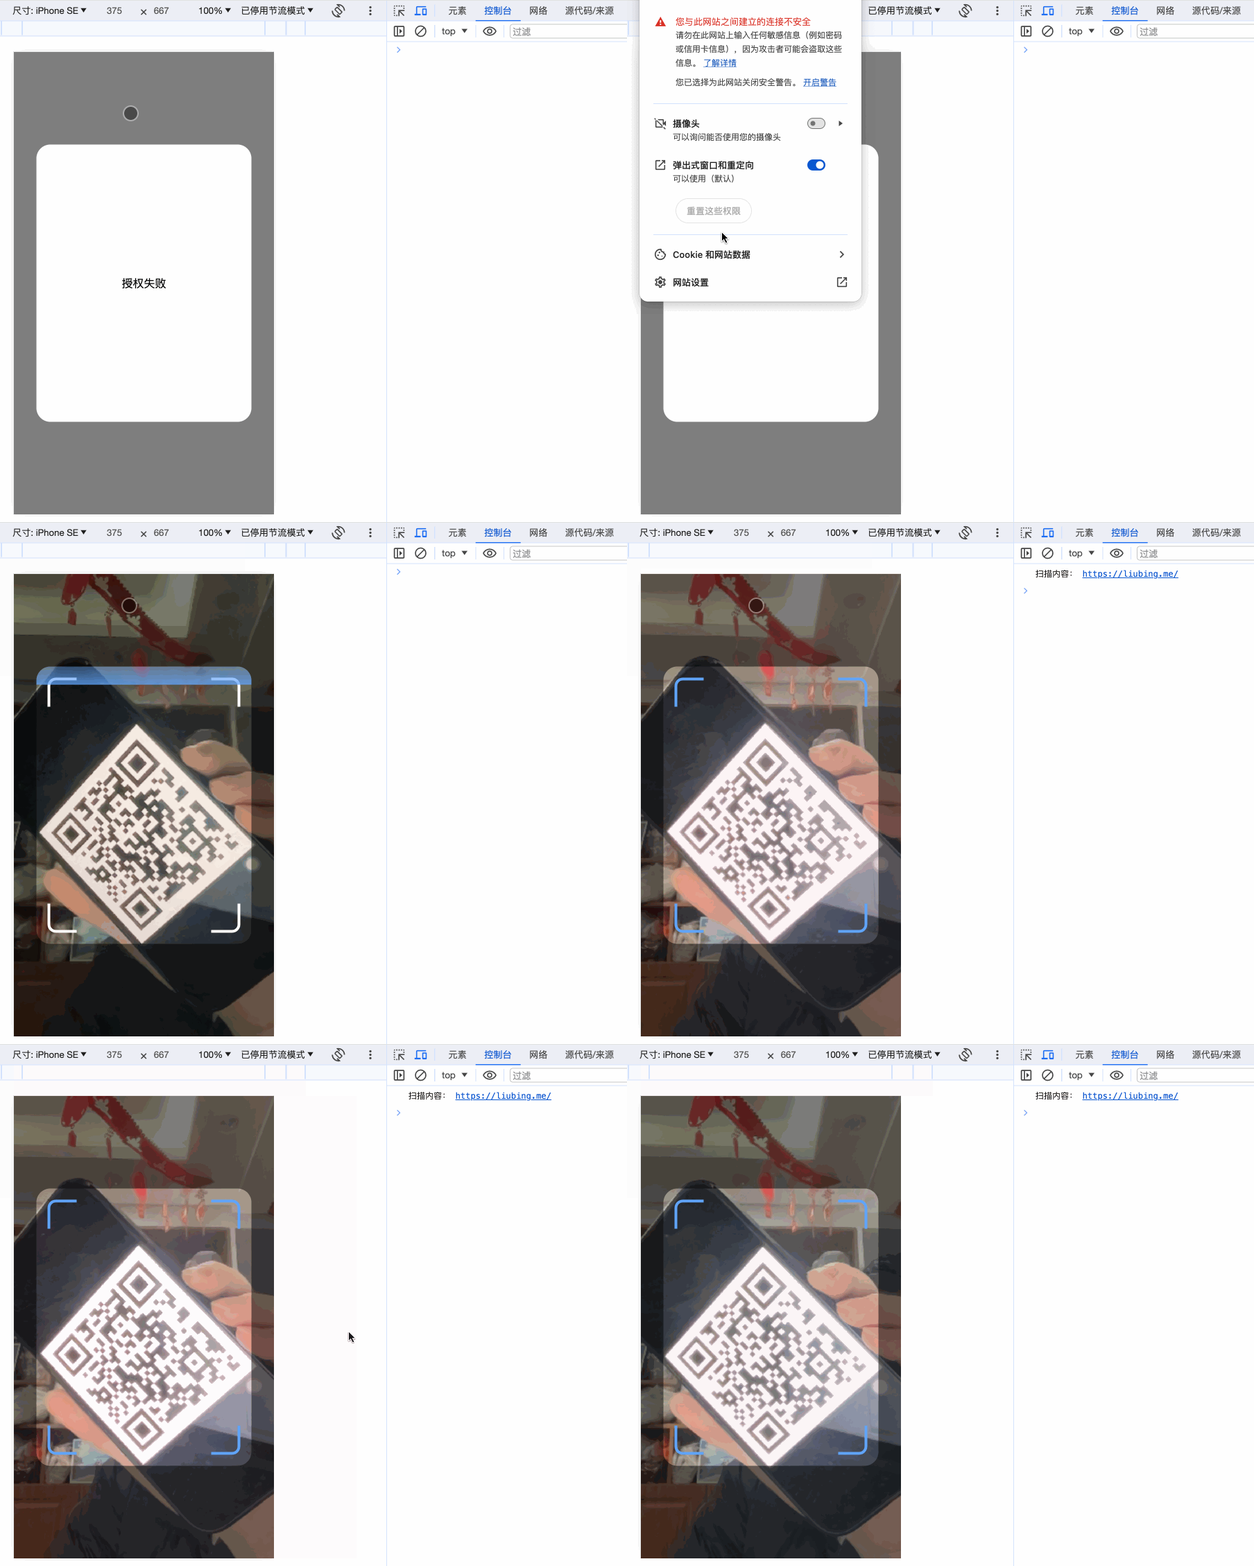
完整代码
完整代码:https://github.com/liub1934/vue3-h5-qrcode-scan 在线手机预览:https://github.liubing.me/vue3-h5-qrcode-scan